VizMuse LogoVizMuse wordmark in graphite with coral and mint accents.VizMuse
CREATE
AI Photo Editor
AI Background Changer
AI Object Remover
AI Photo Enhancer
AI Image Extender
AI Tools
EXPLORE
AI Models
Pricing
ENHANCEMENT SCENARIO
1. UPLOAD PHOTO

Drop a JPG, PNG, or WEBP photo here, or click to browse.

Refine this mode
OUTPUT FORMAT

Improve Photo Quality with AI

Move your cursor over the preview to compare AI enhancement in action, or pick a preset below.
Expanded After previewEnhanced After
Original Before previewOriginal Before
↔
Enhancement Prompt Starters
No photo enhancer records
Home/AI Tools/AI Photo Enhancer

AI Photo Enhancer: Improve Photo Quality Online

Sharpen blurry photos, reduce noise, improve colors and lighting, and create a cleaner, more detailed image in a few clicks.

Upload the best source you have, describe the visible quality issue, and guide the enhancement toward a natural result.

Keep the original image available when faces, text, product details, or factual accuracy matter.
Enhance My PhotoSee Enhancement Examples
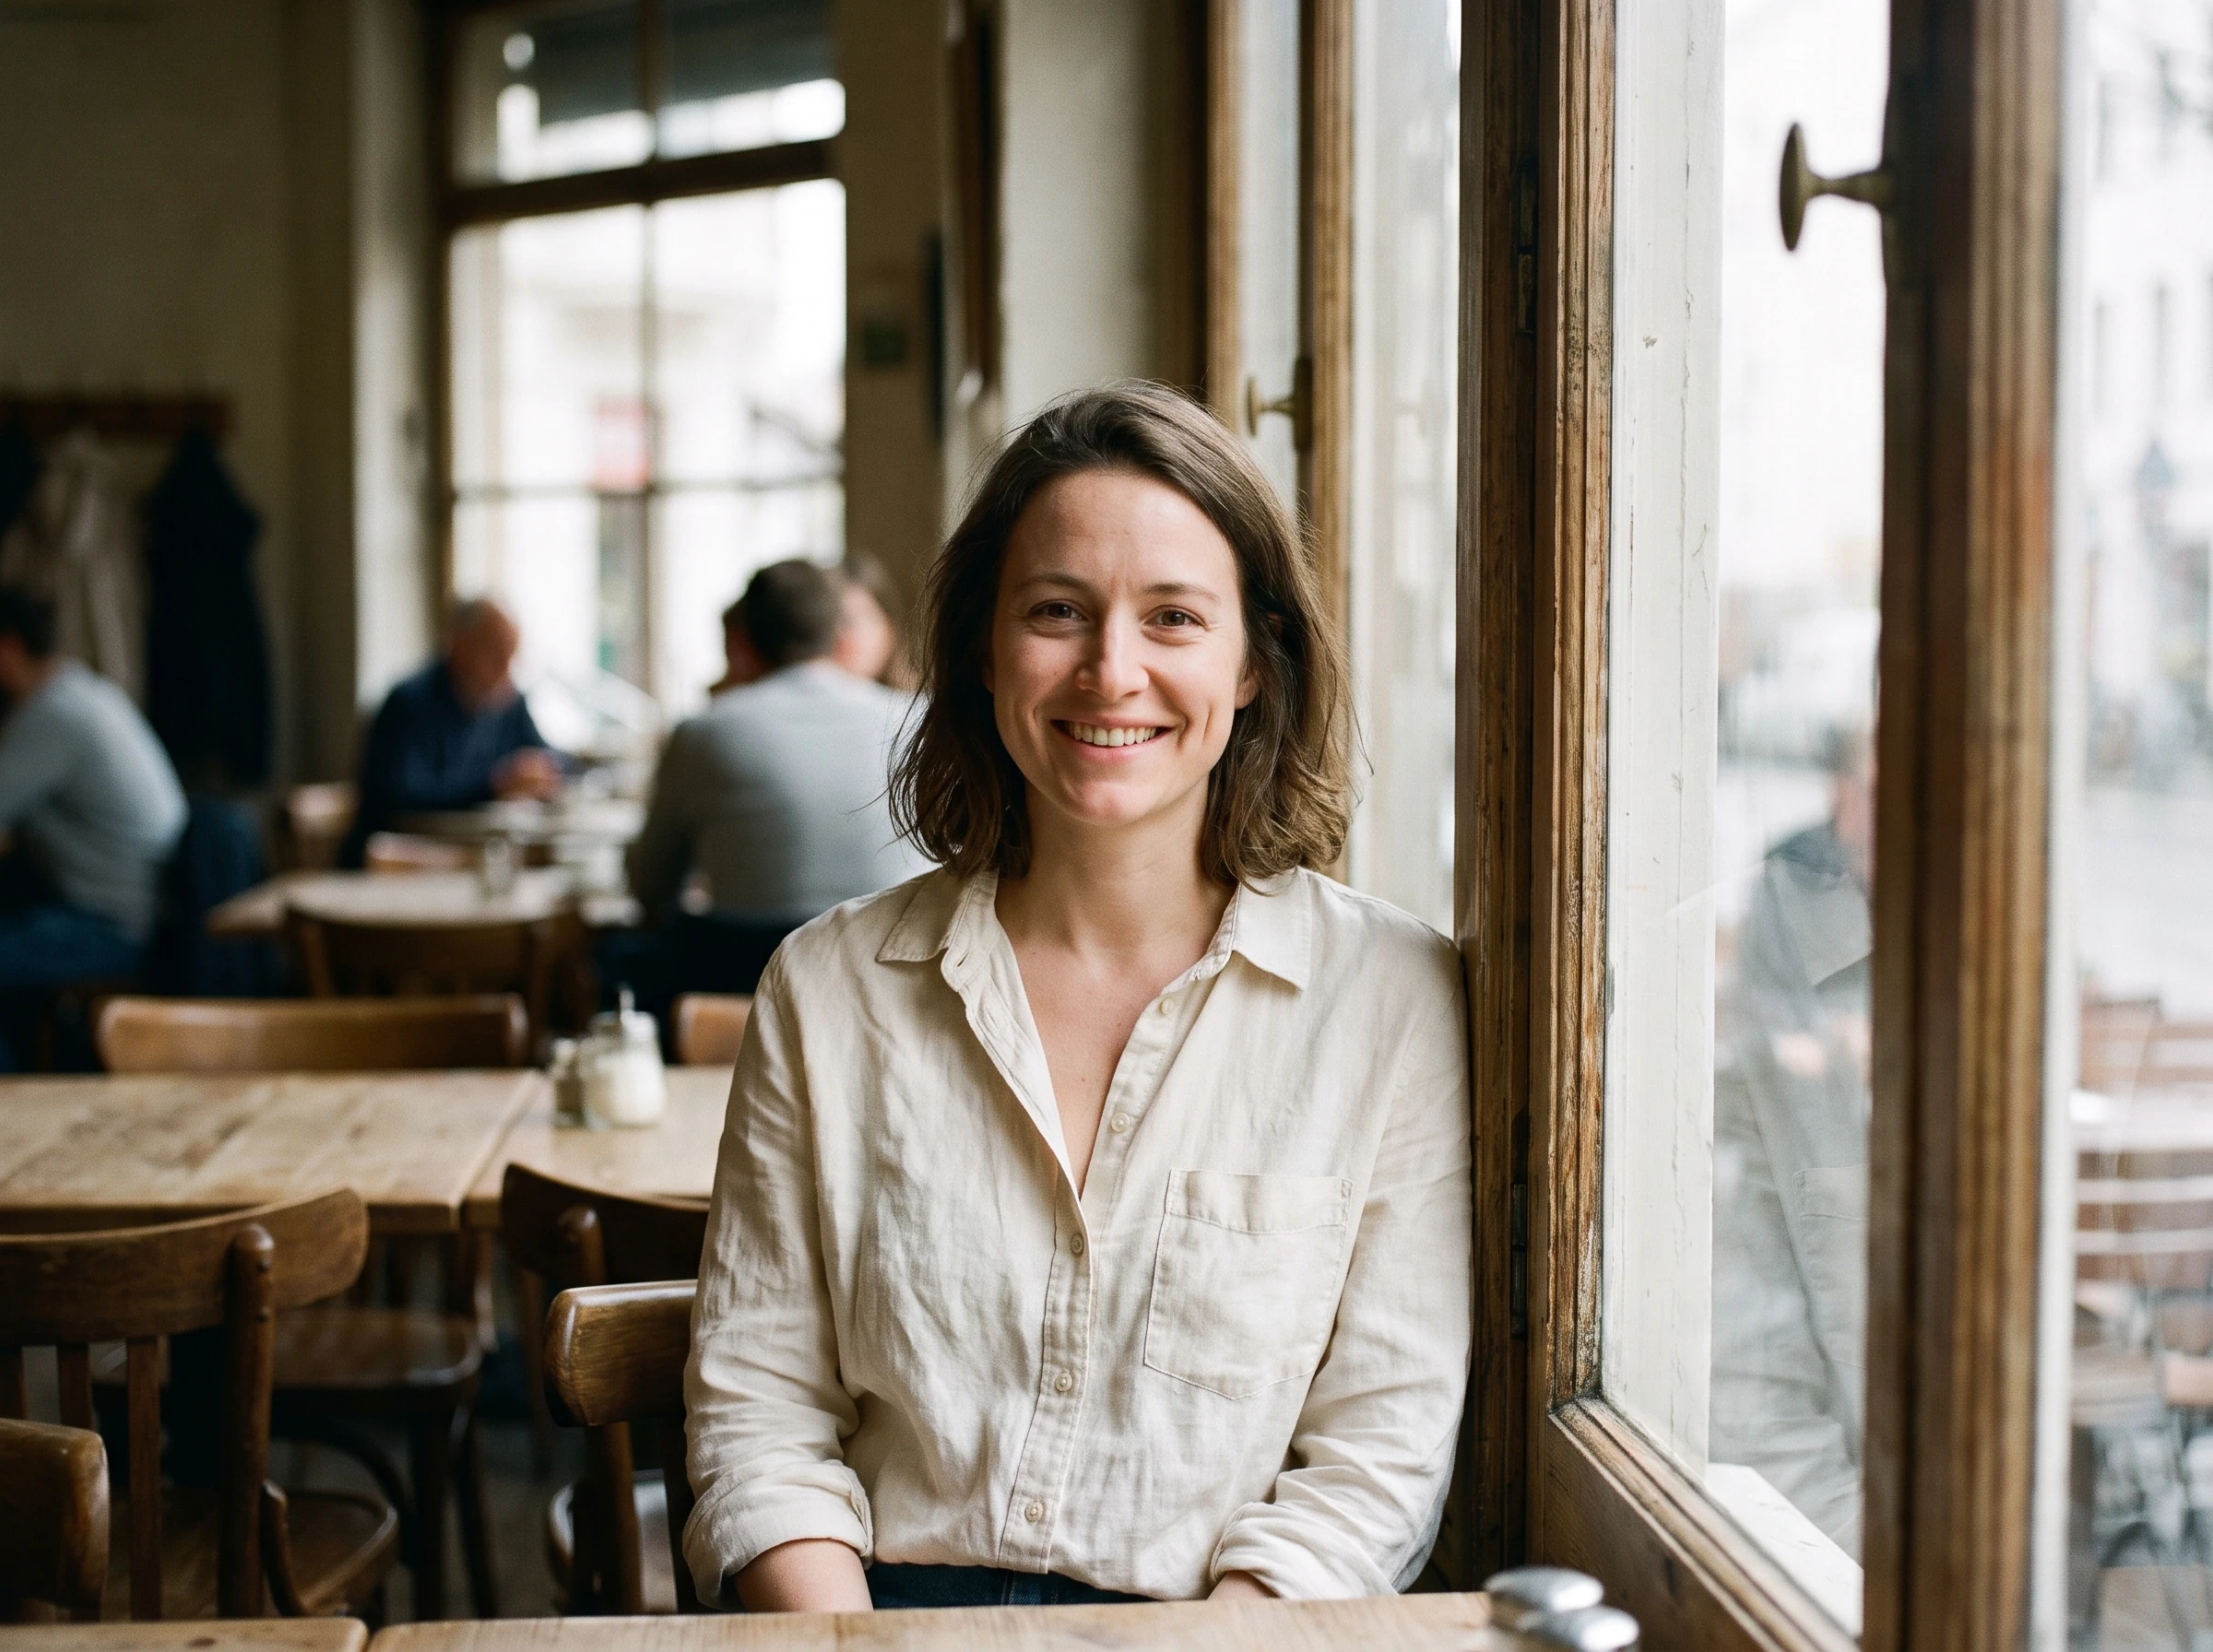
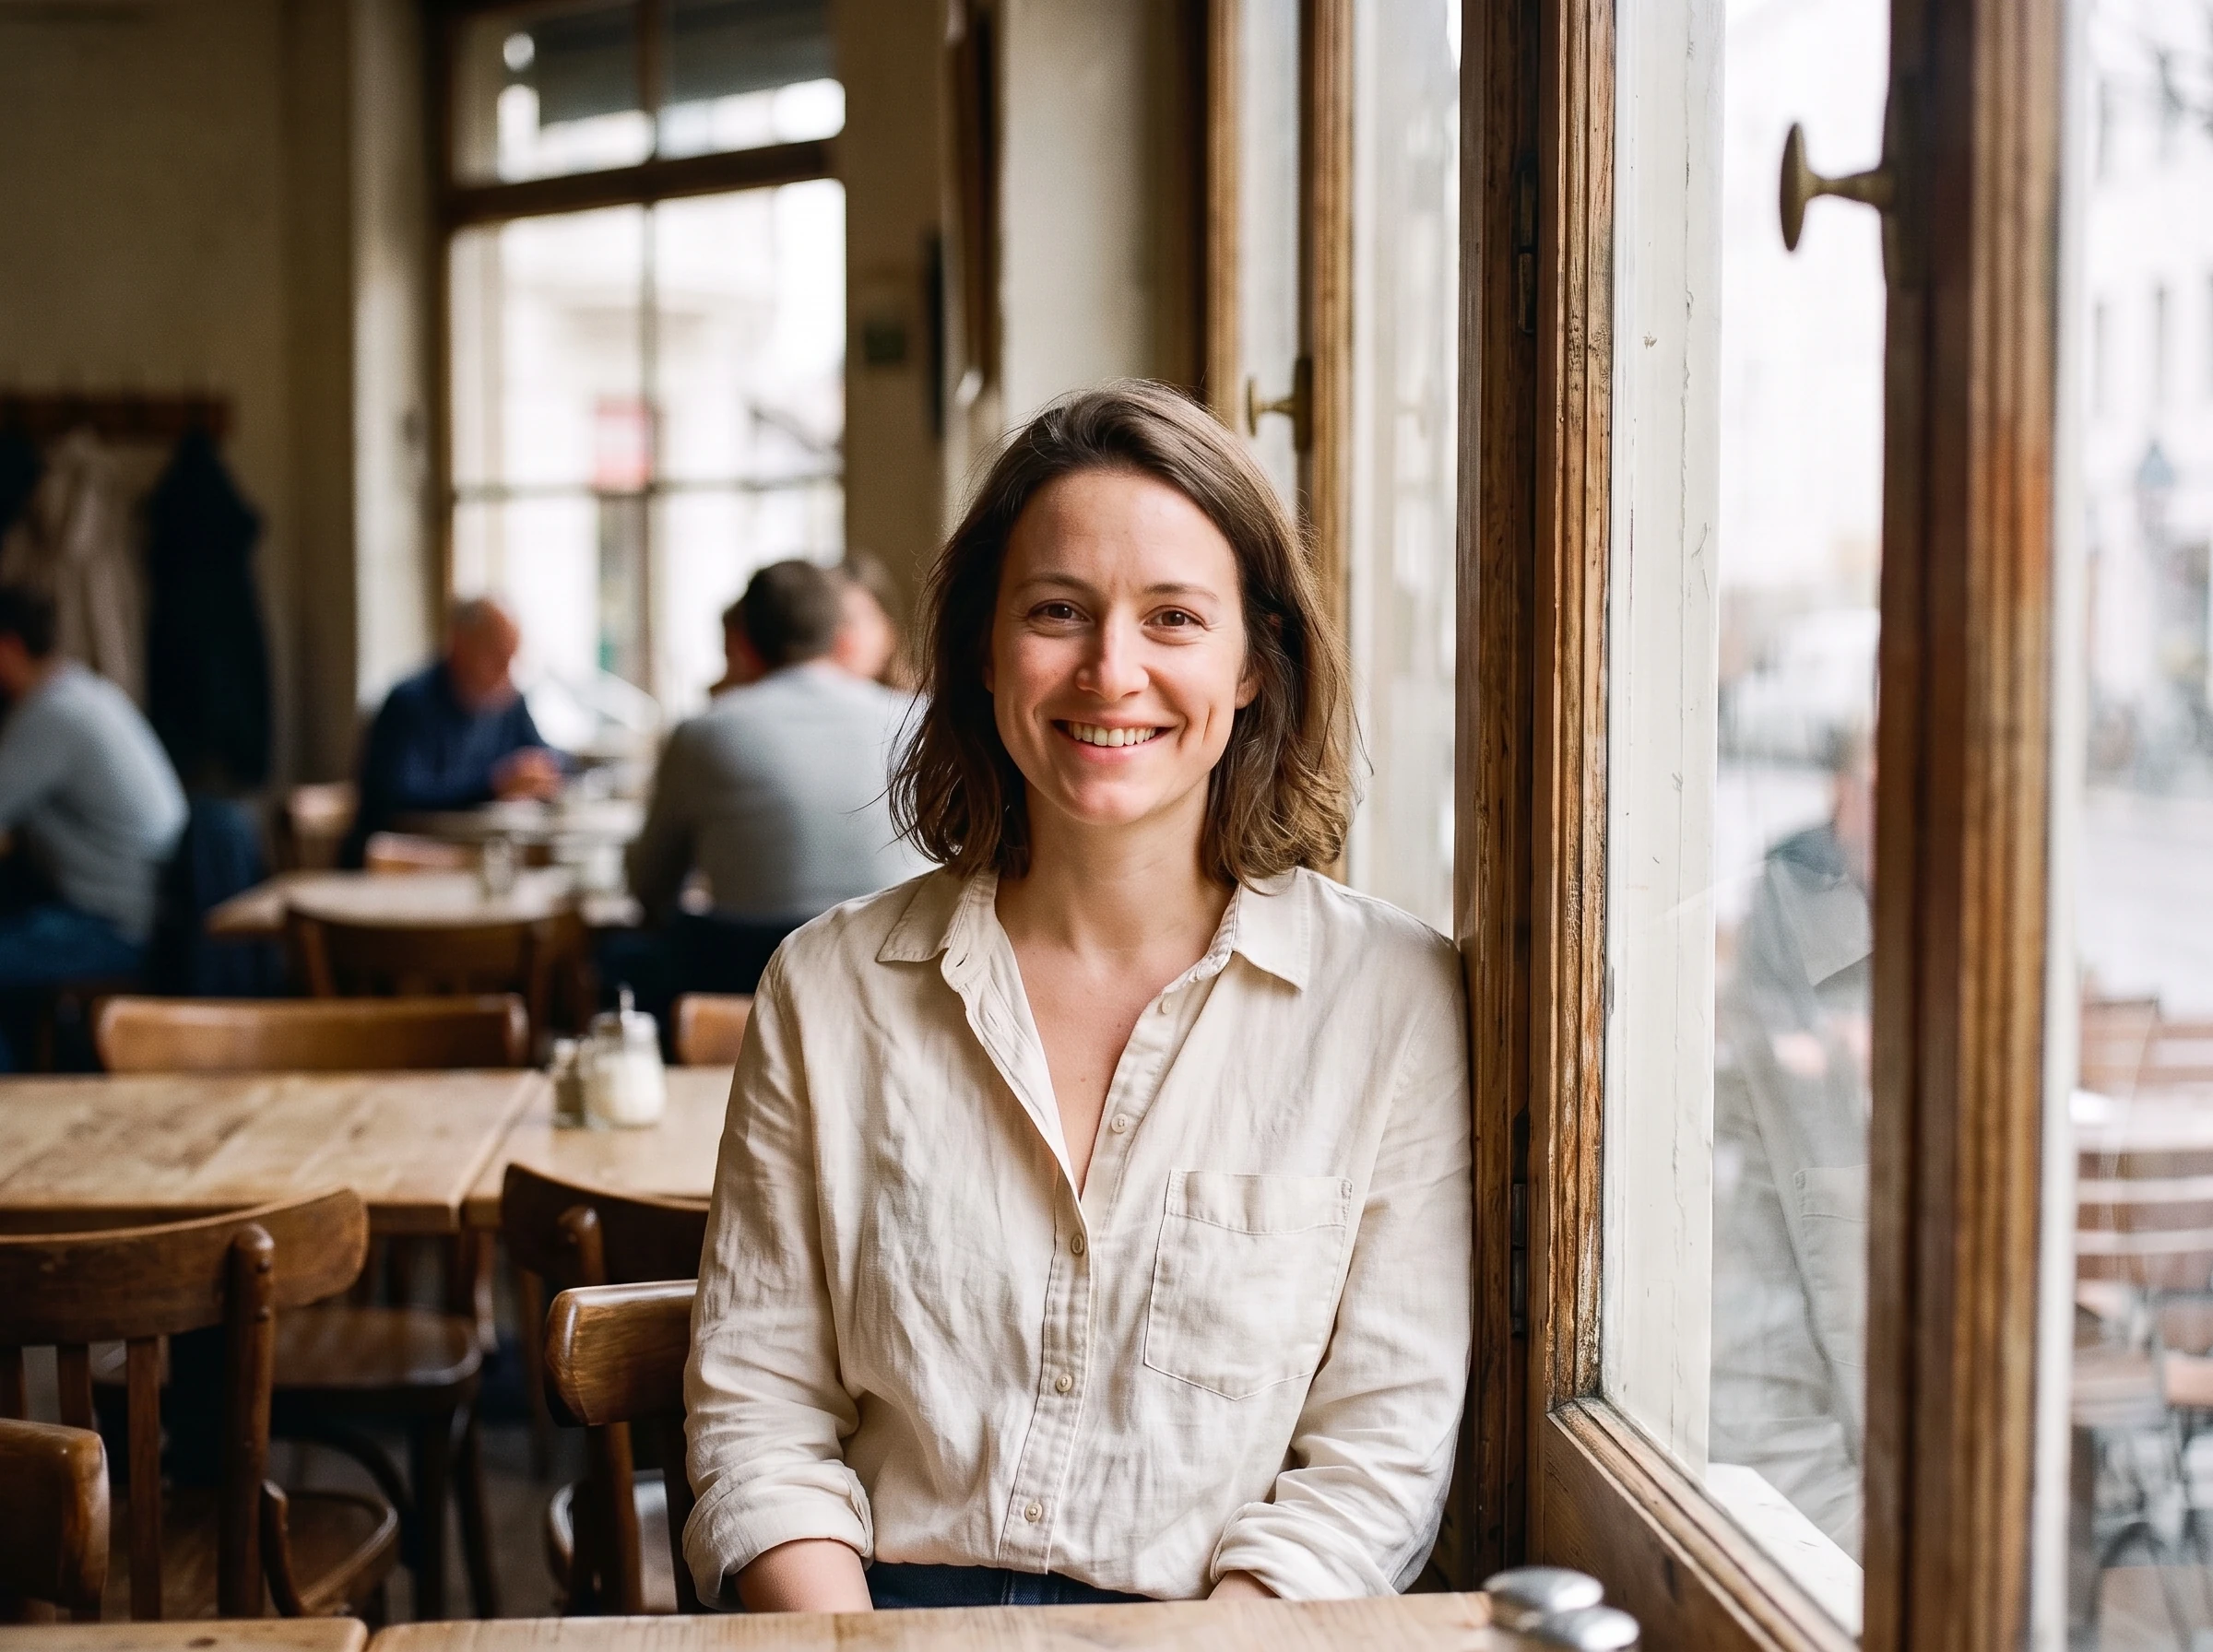
Cafe-window portrait after AI photo enhancement
Cafe-window portrait before AI photo enhancement
🛑 Before✨ After

Before and After AI Photo Enhancement Examples

Drag the slider to compare each original with its enhanced result. Each example uses the same source scene before and after enhancement.

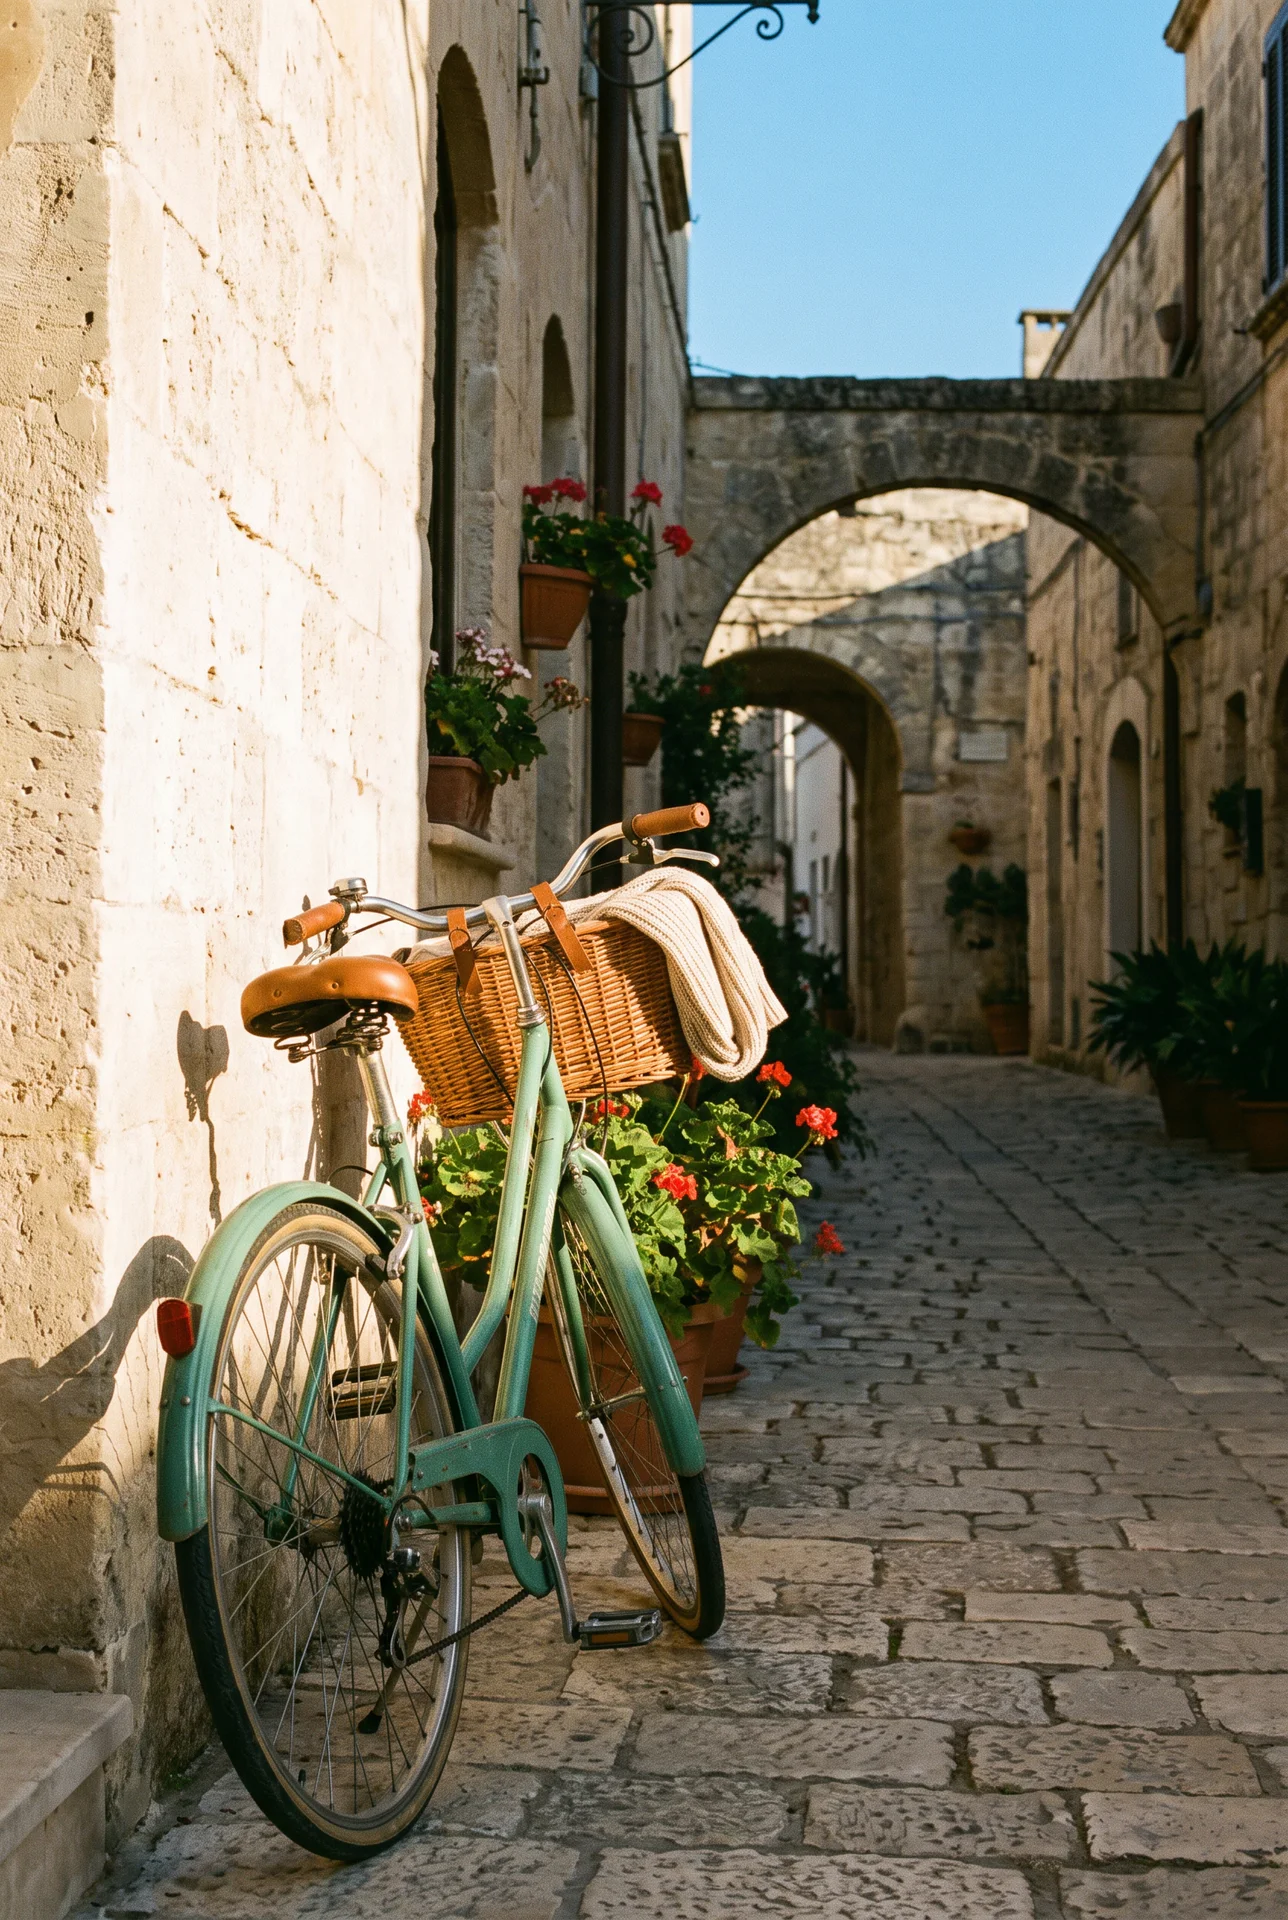
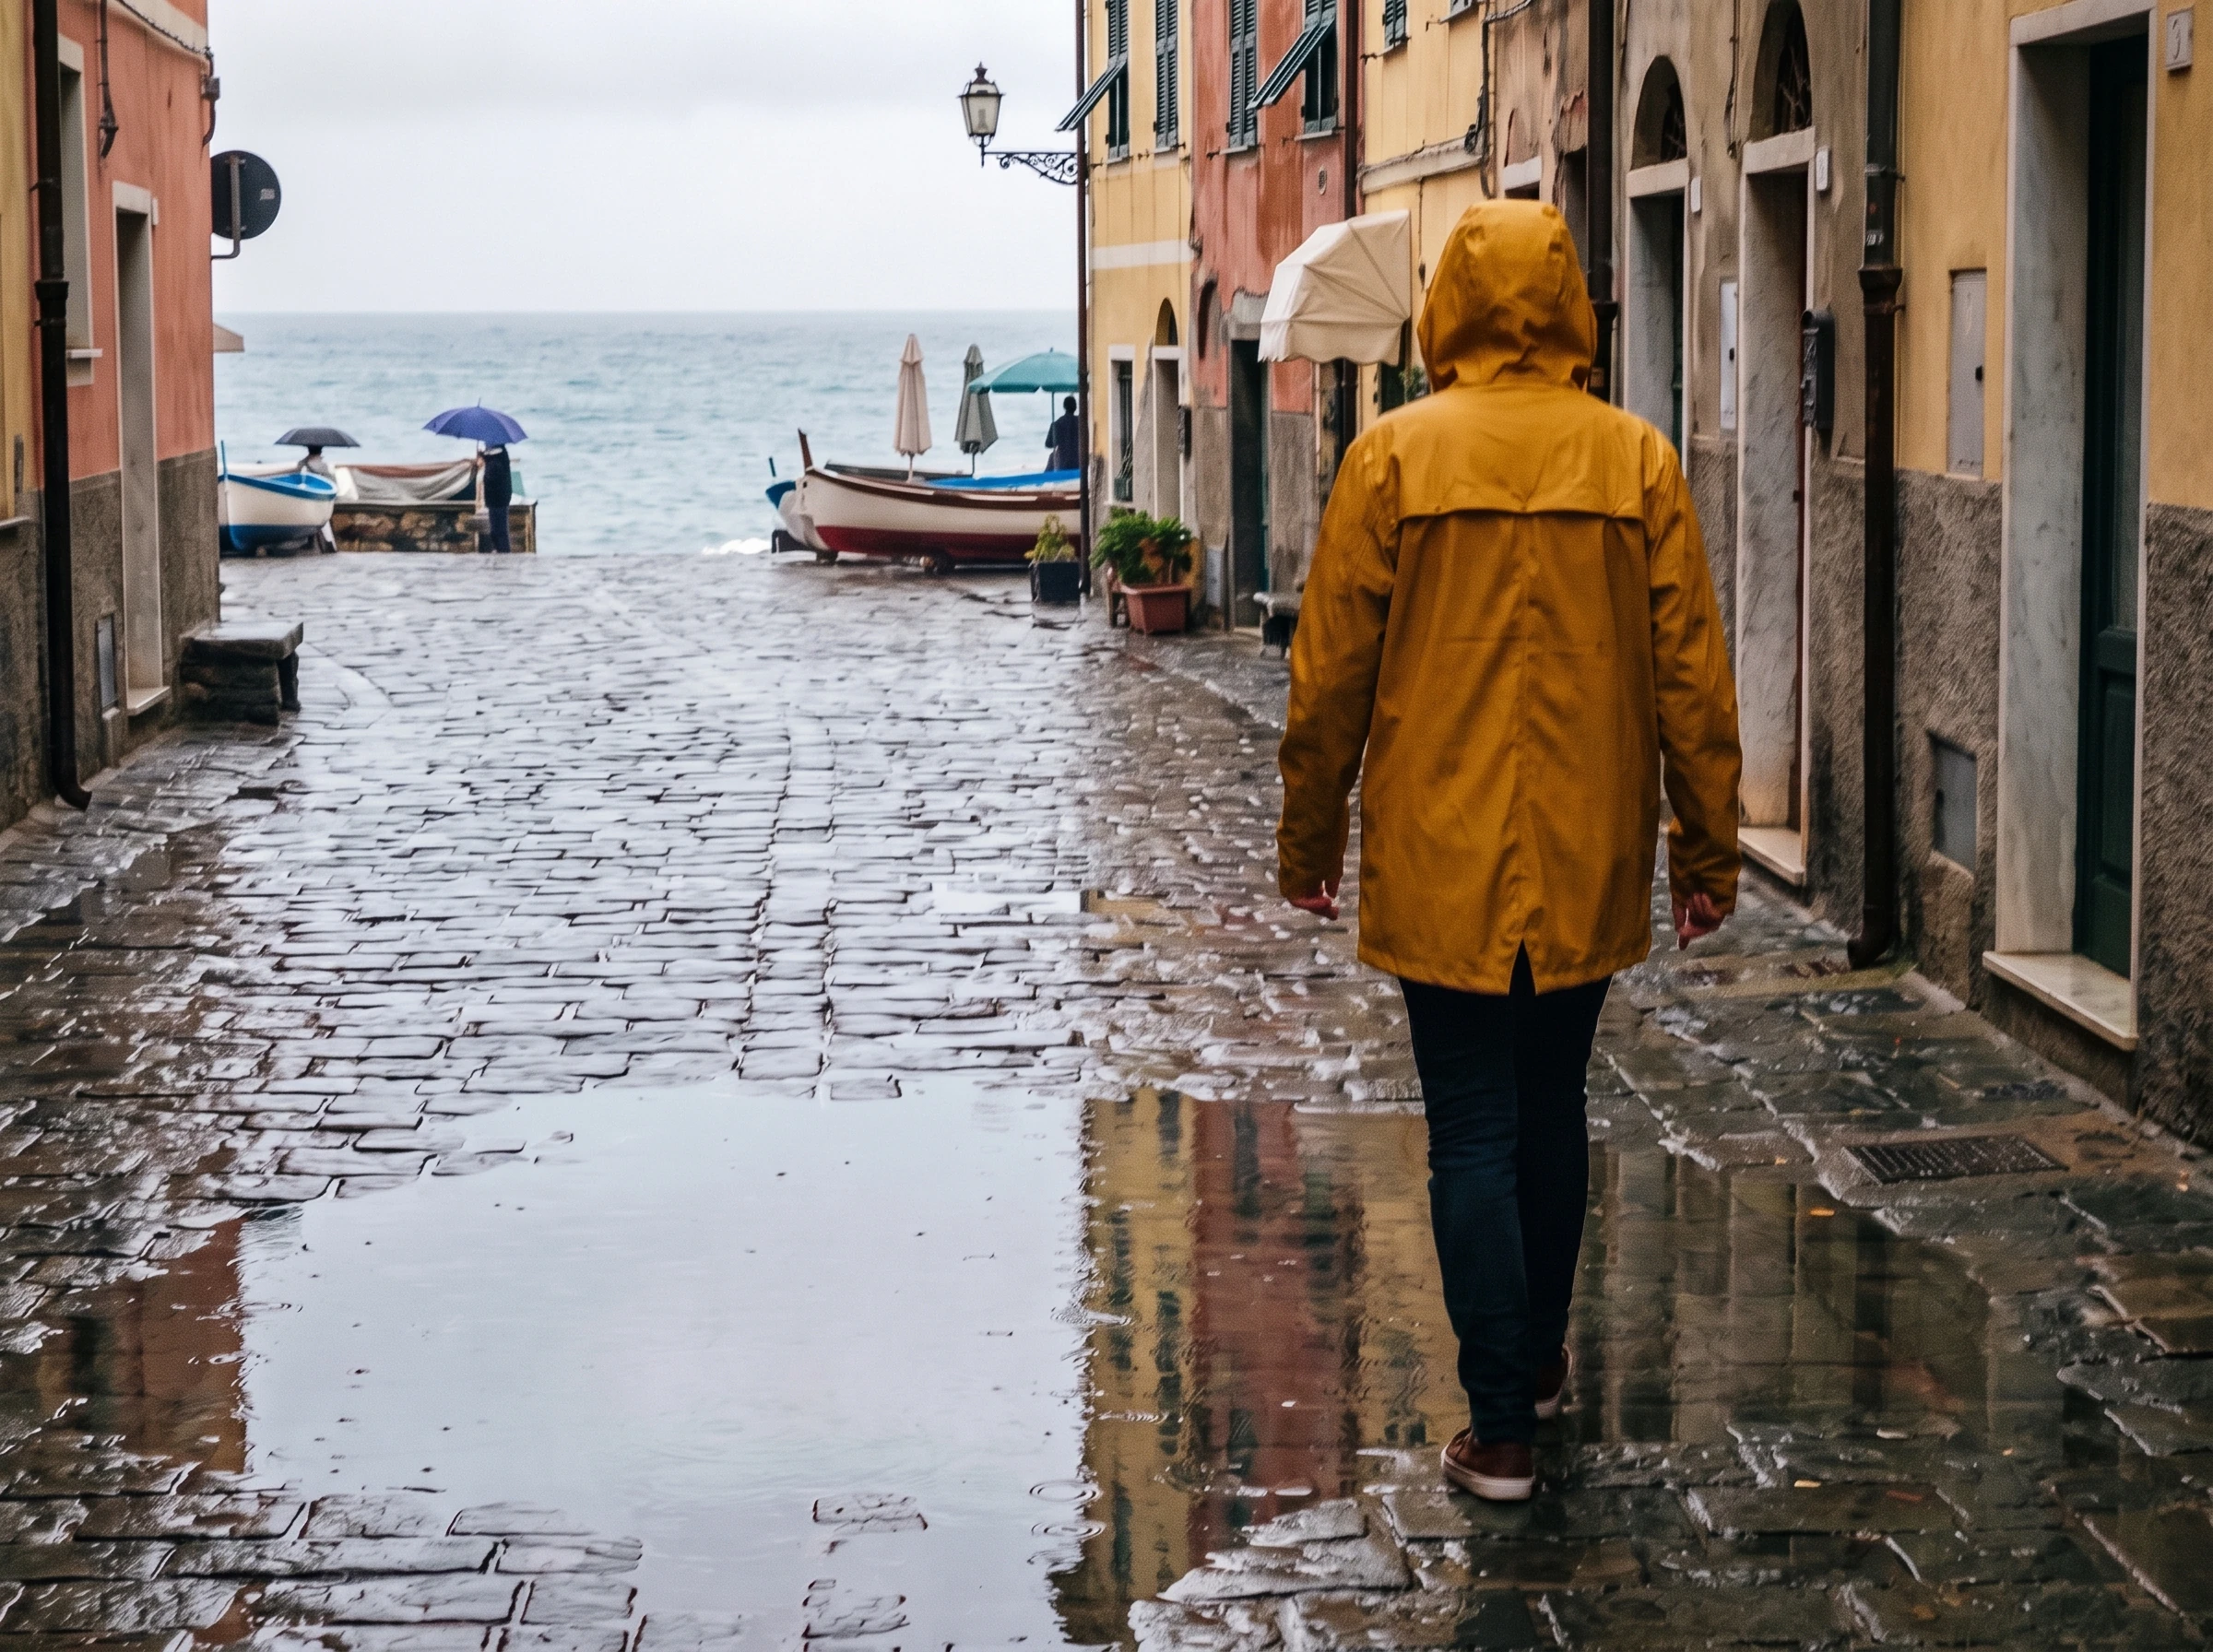
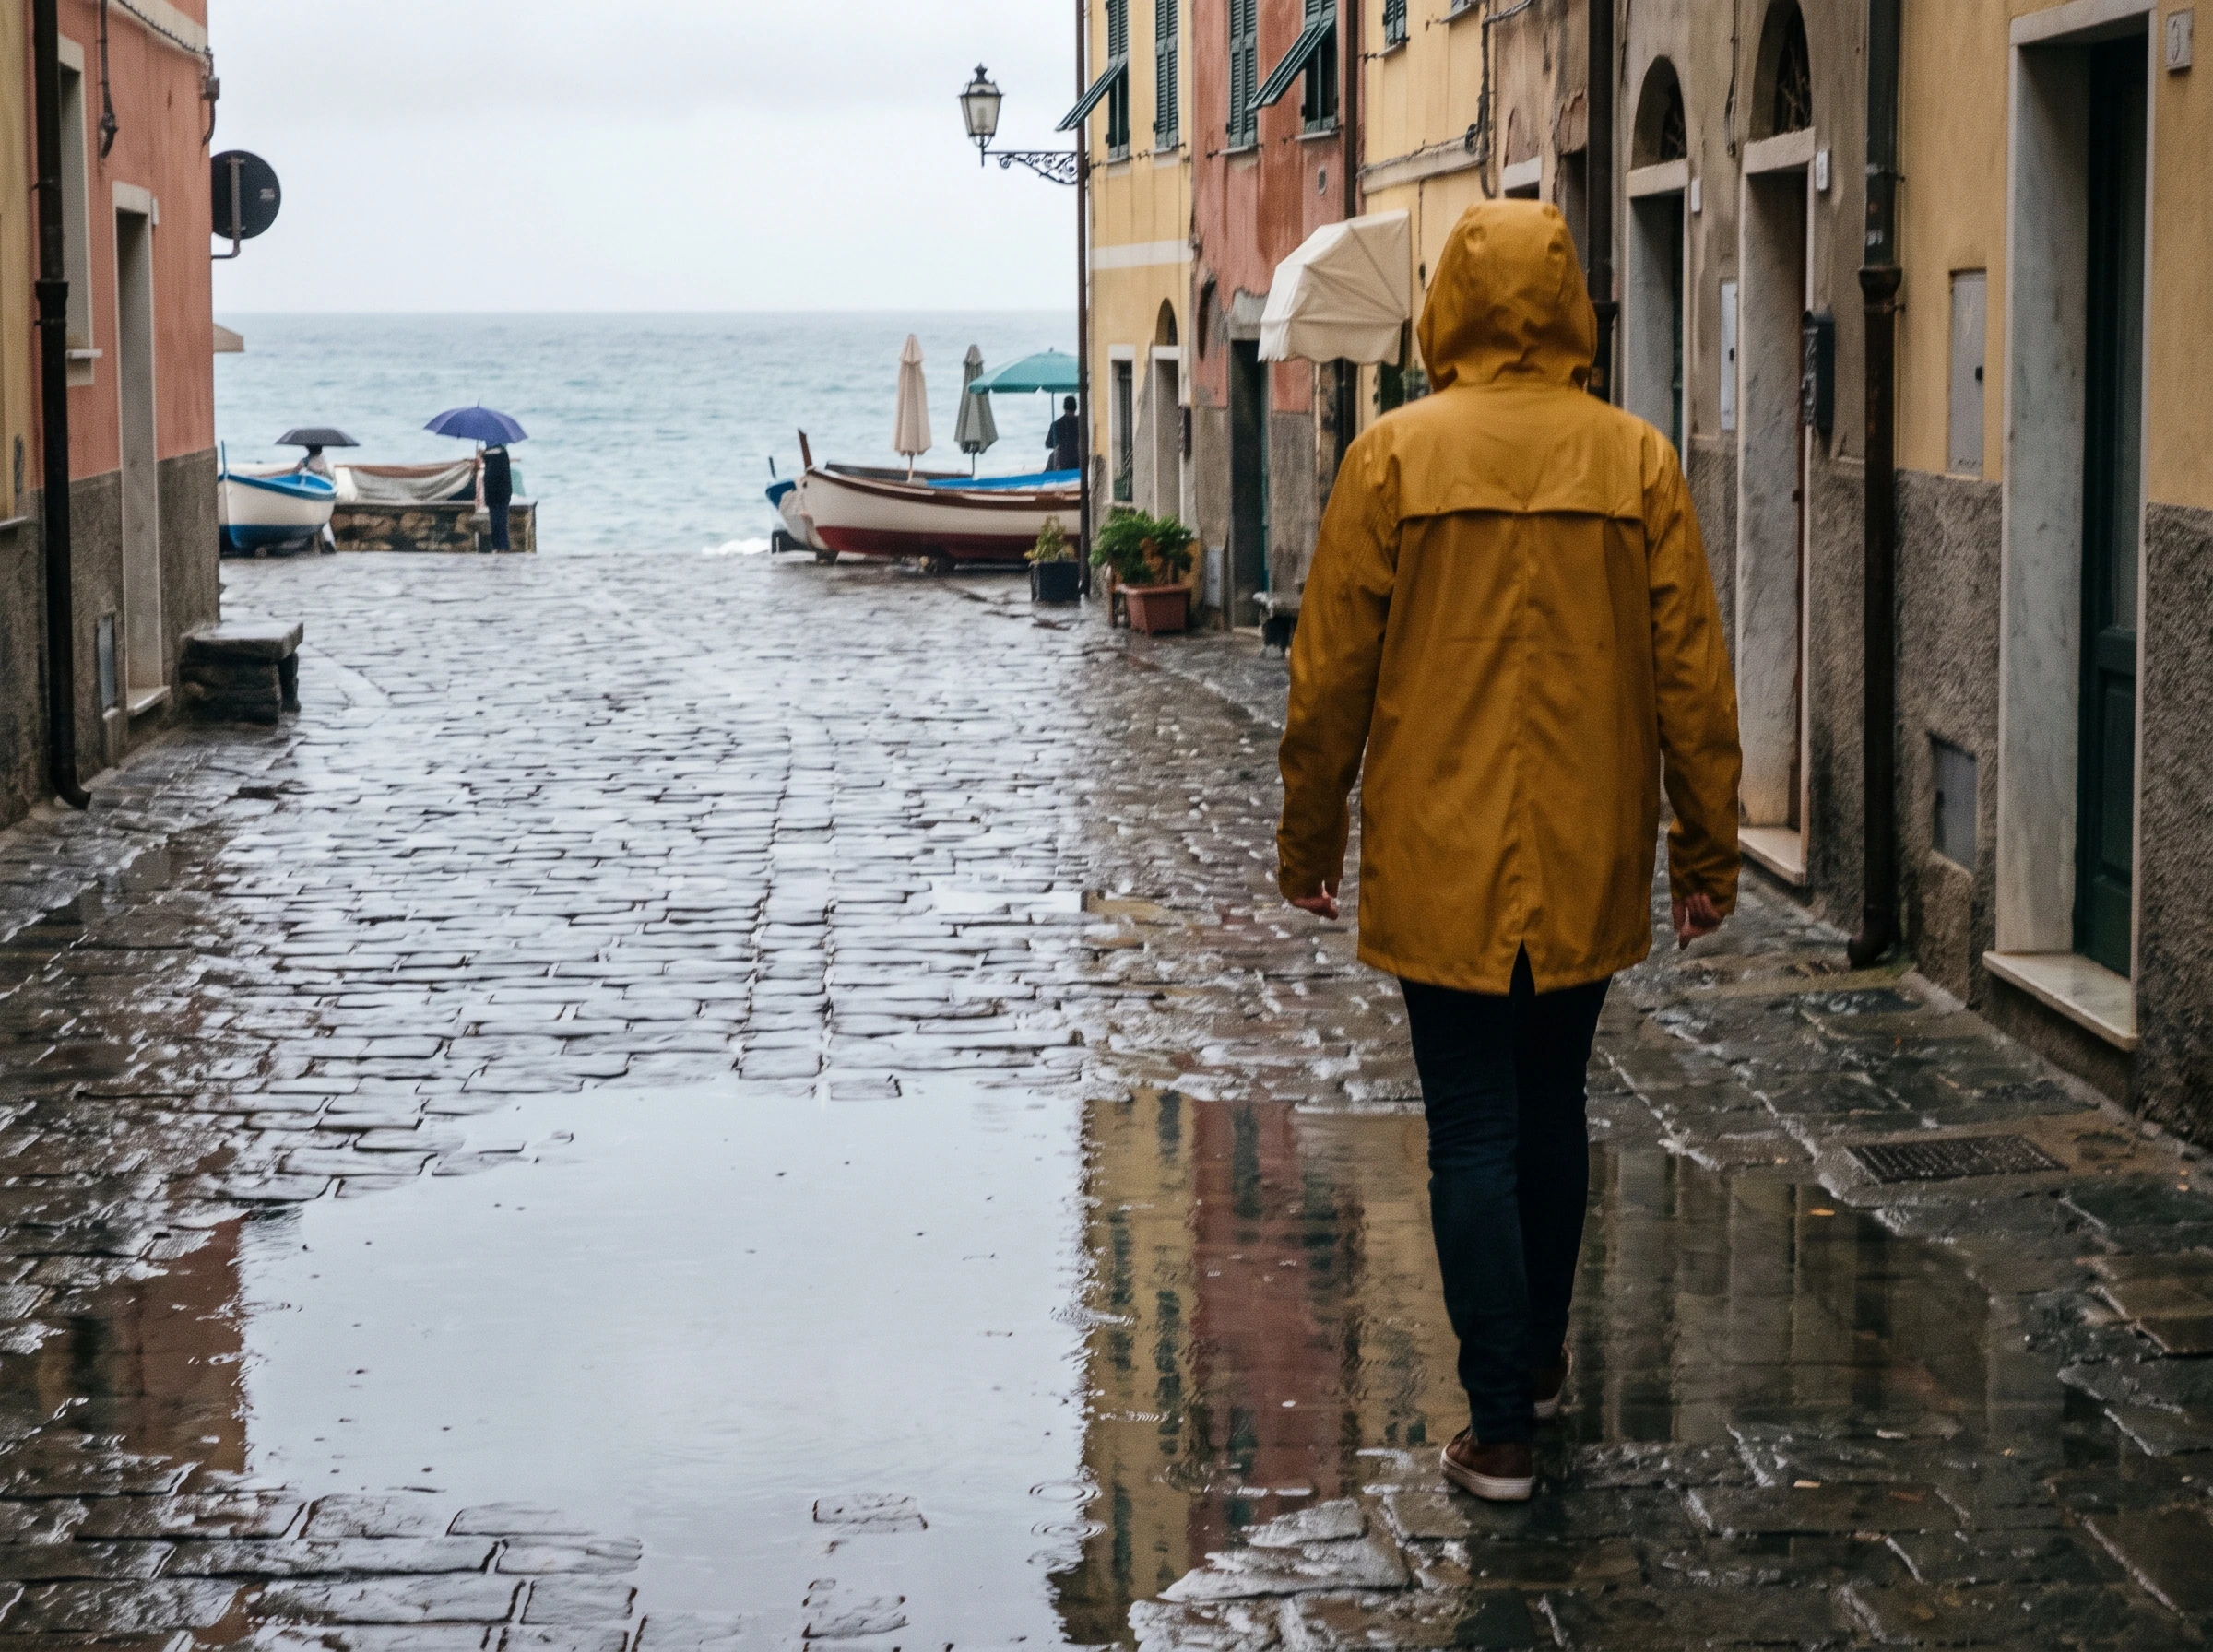
Seaside street photo after AI enhancement
Seaside street photo before AI enhancement
🛑 Before✨ After

General Photo Enhancement

Improve clarity, exposure, and color in an everyday travel photo while keeping the scene natural.
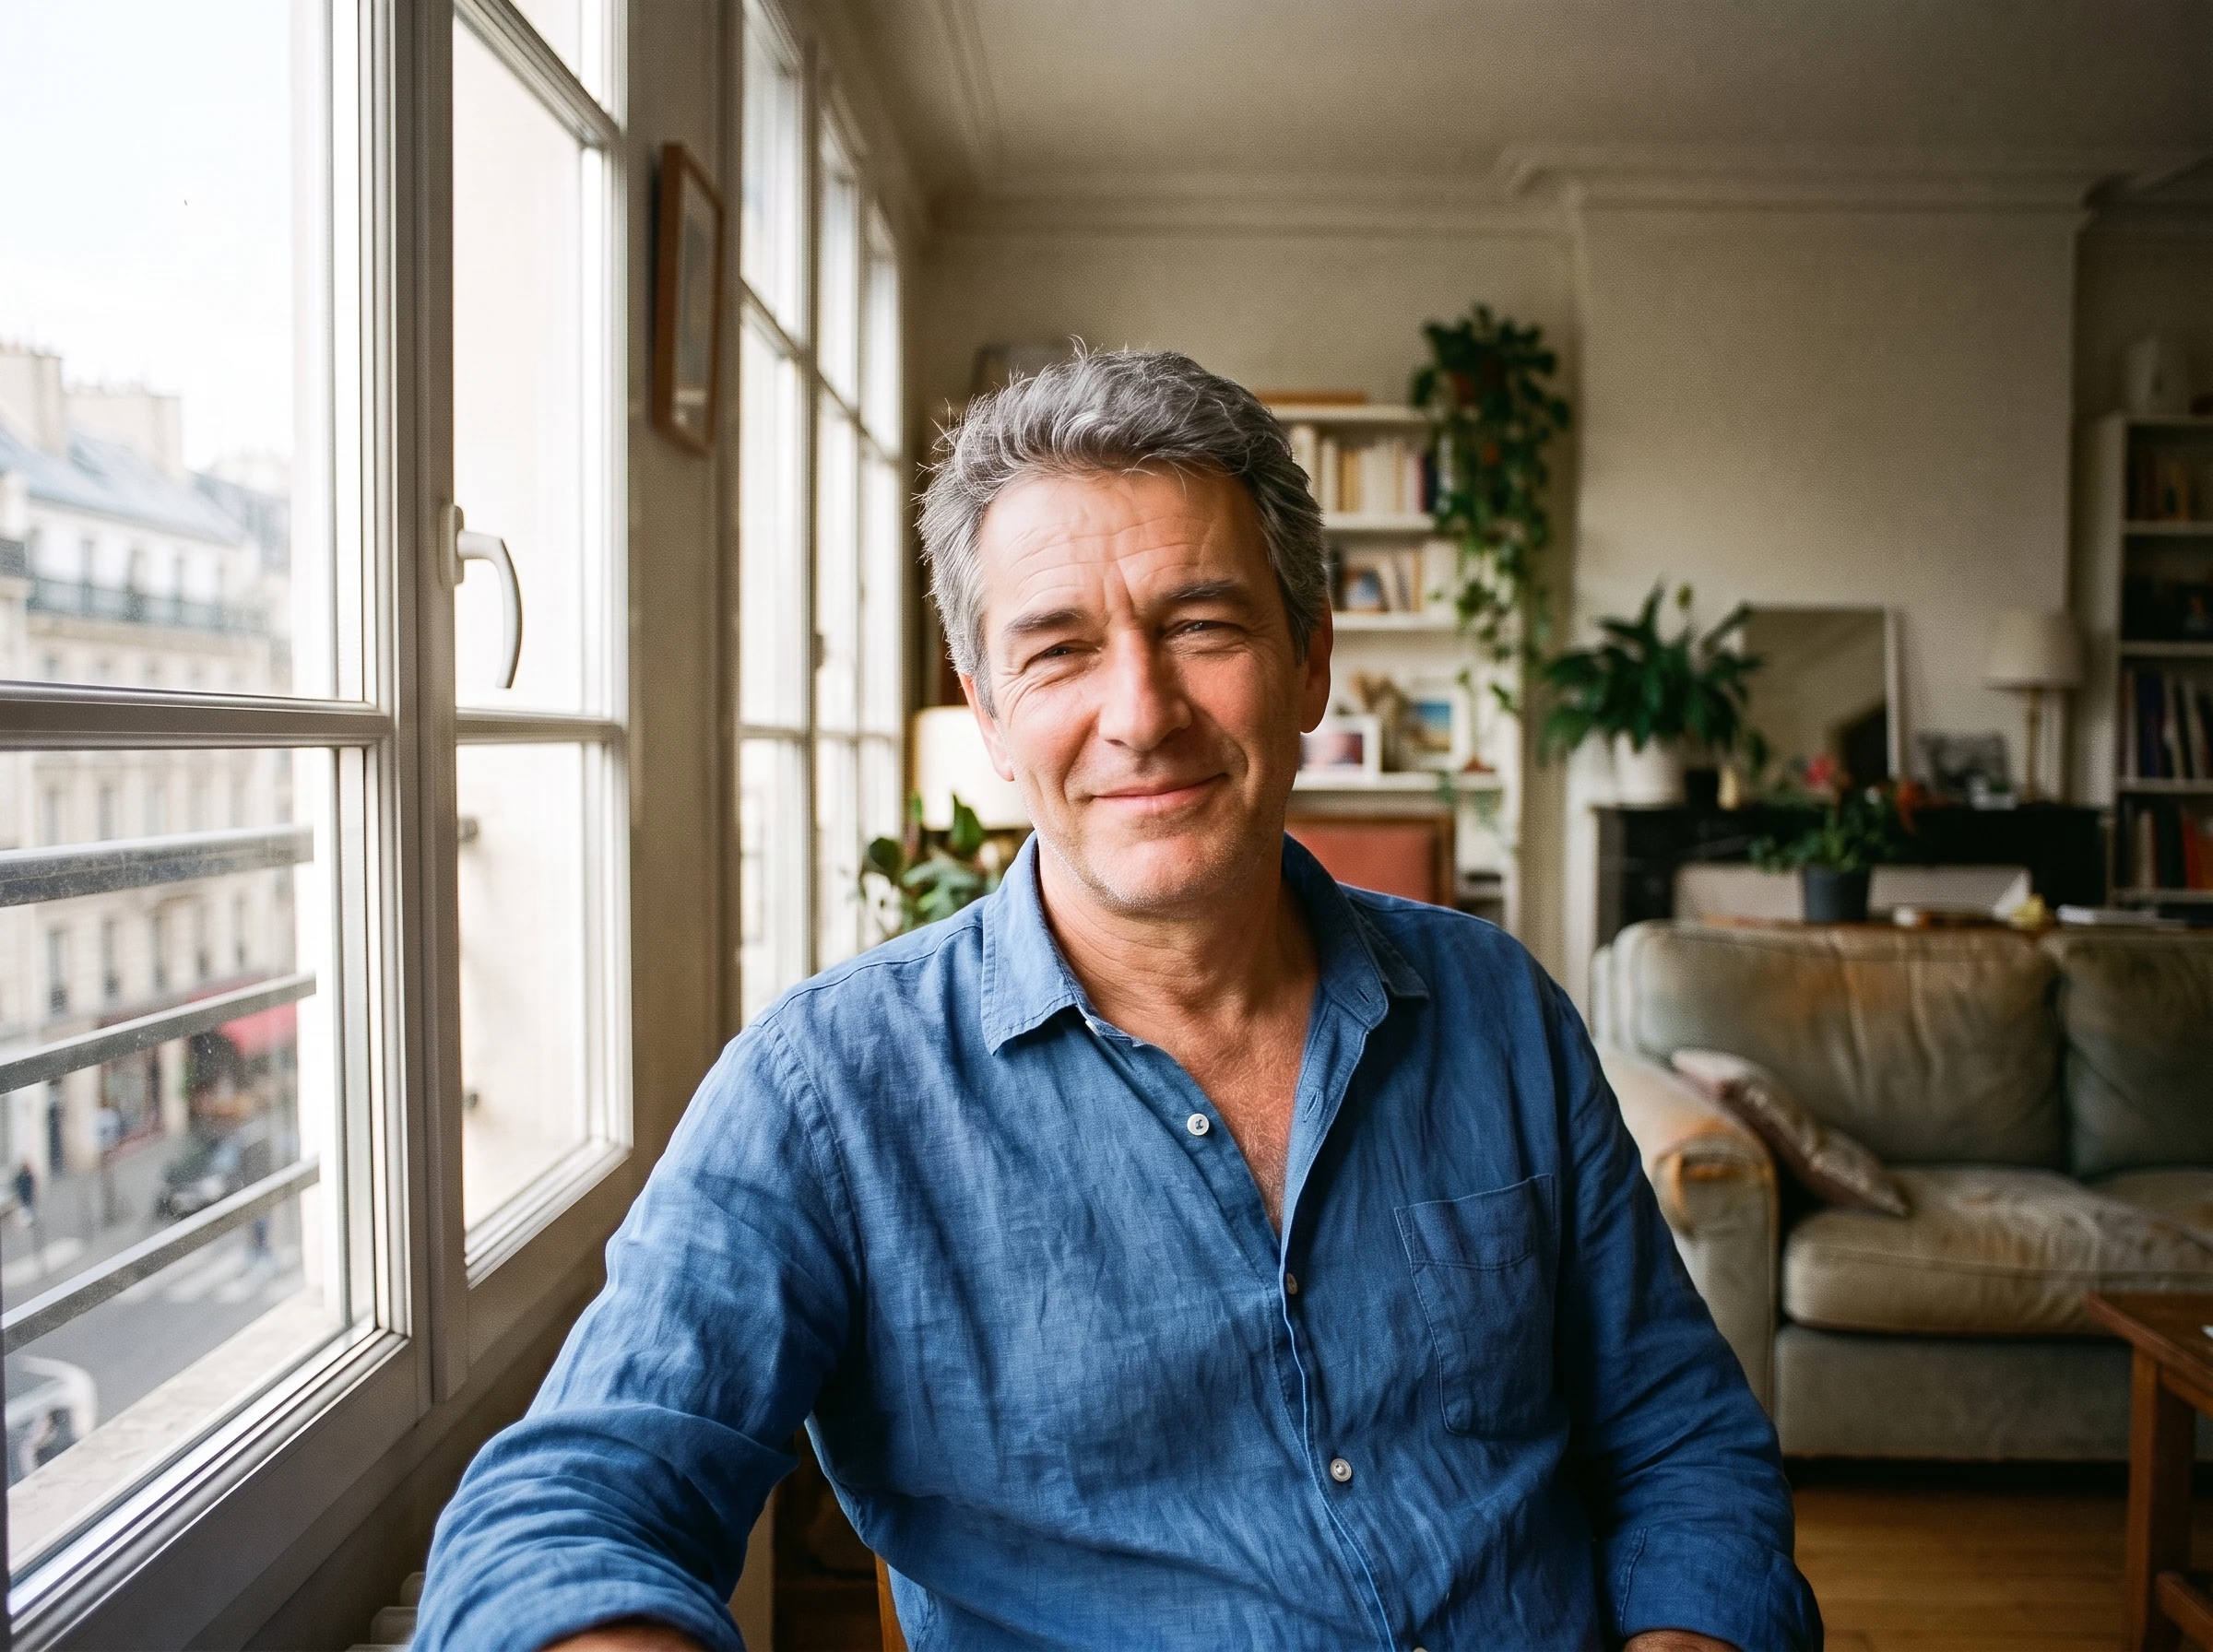
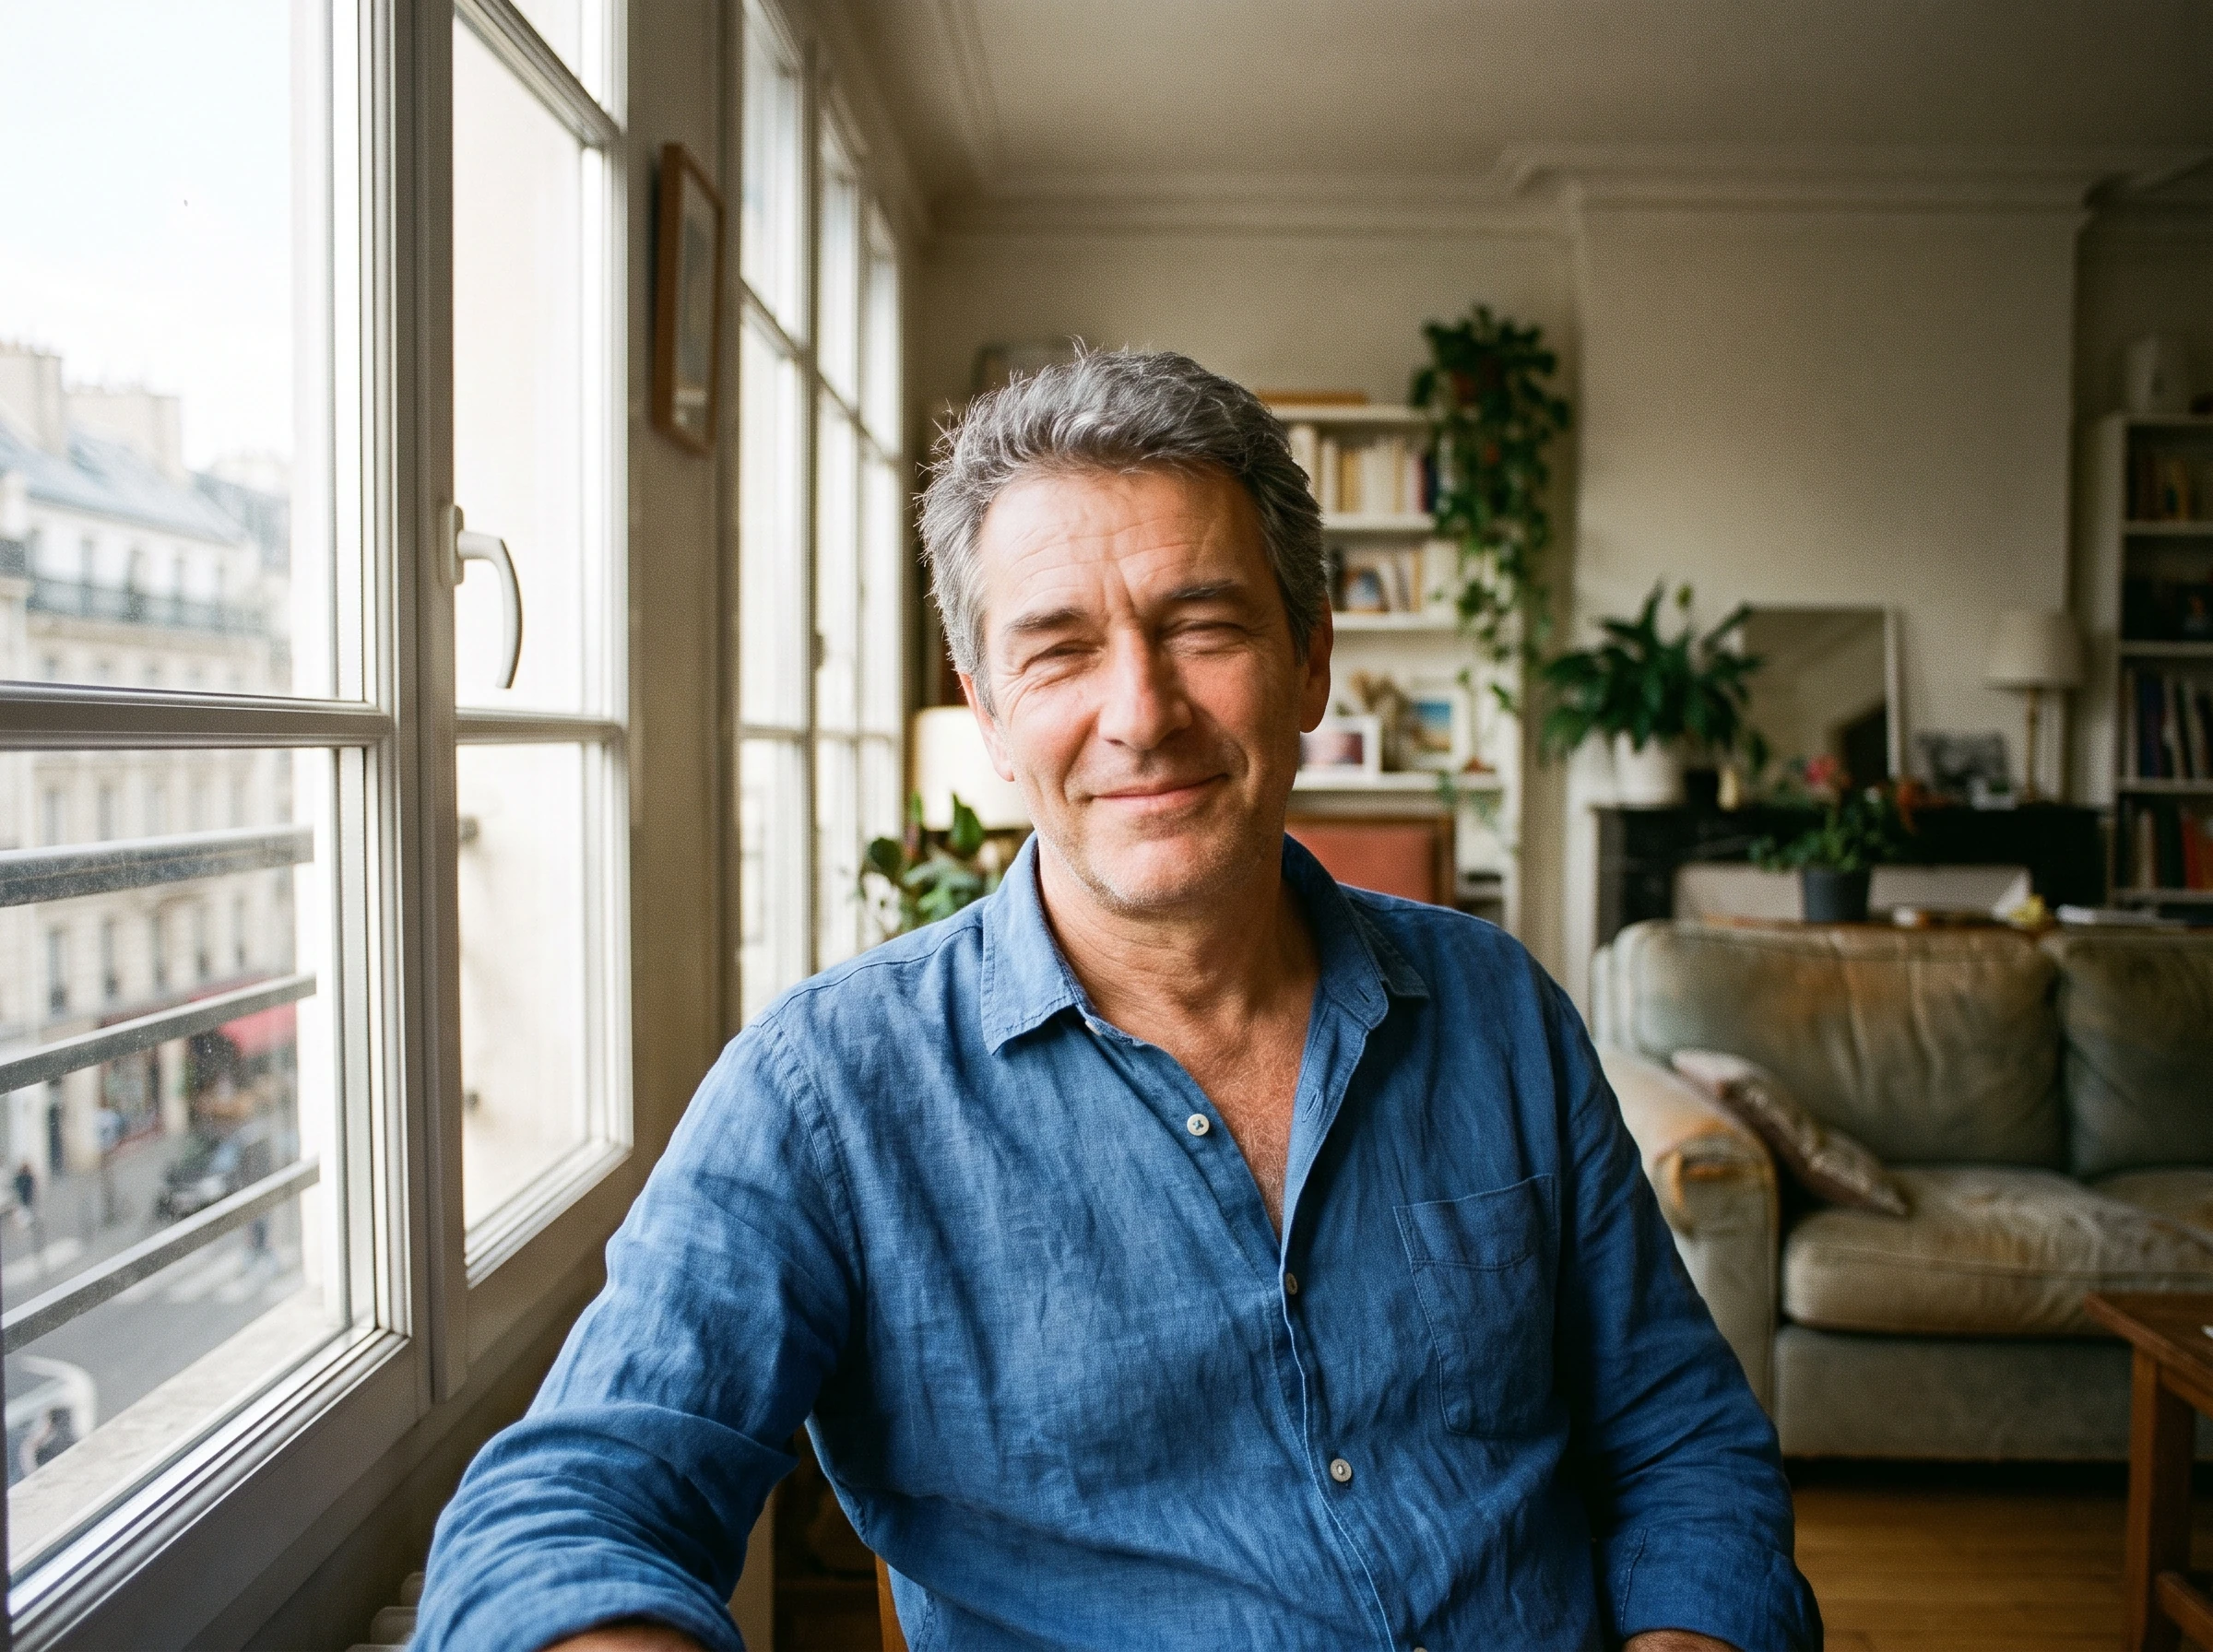
Blue-shirt portrait after AI enhancement
Blue-shirt portrait before AI enhancement
🛑 Before✨ After

Portrait Enhancement

Improve facial clarity, skin tone, and soft lighting while keeping the original person natural.
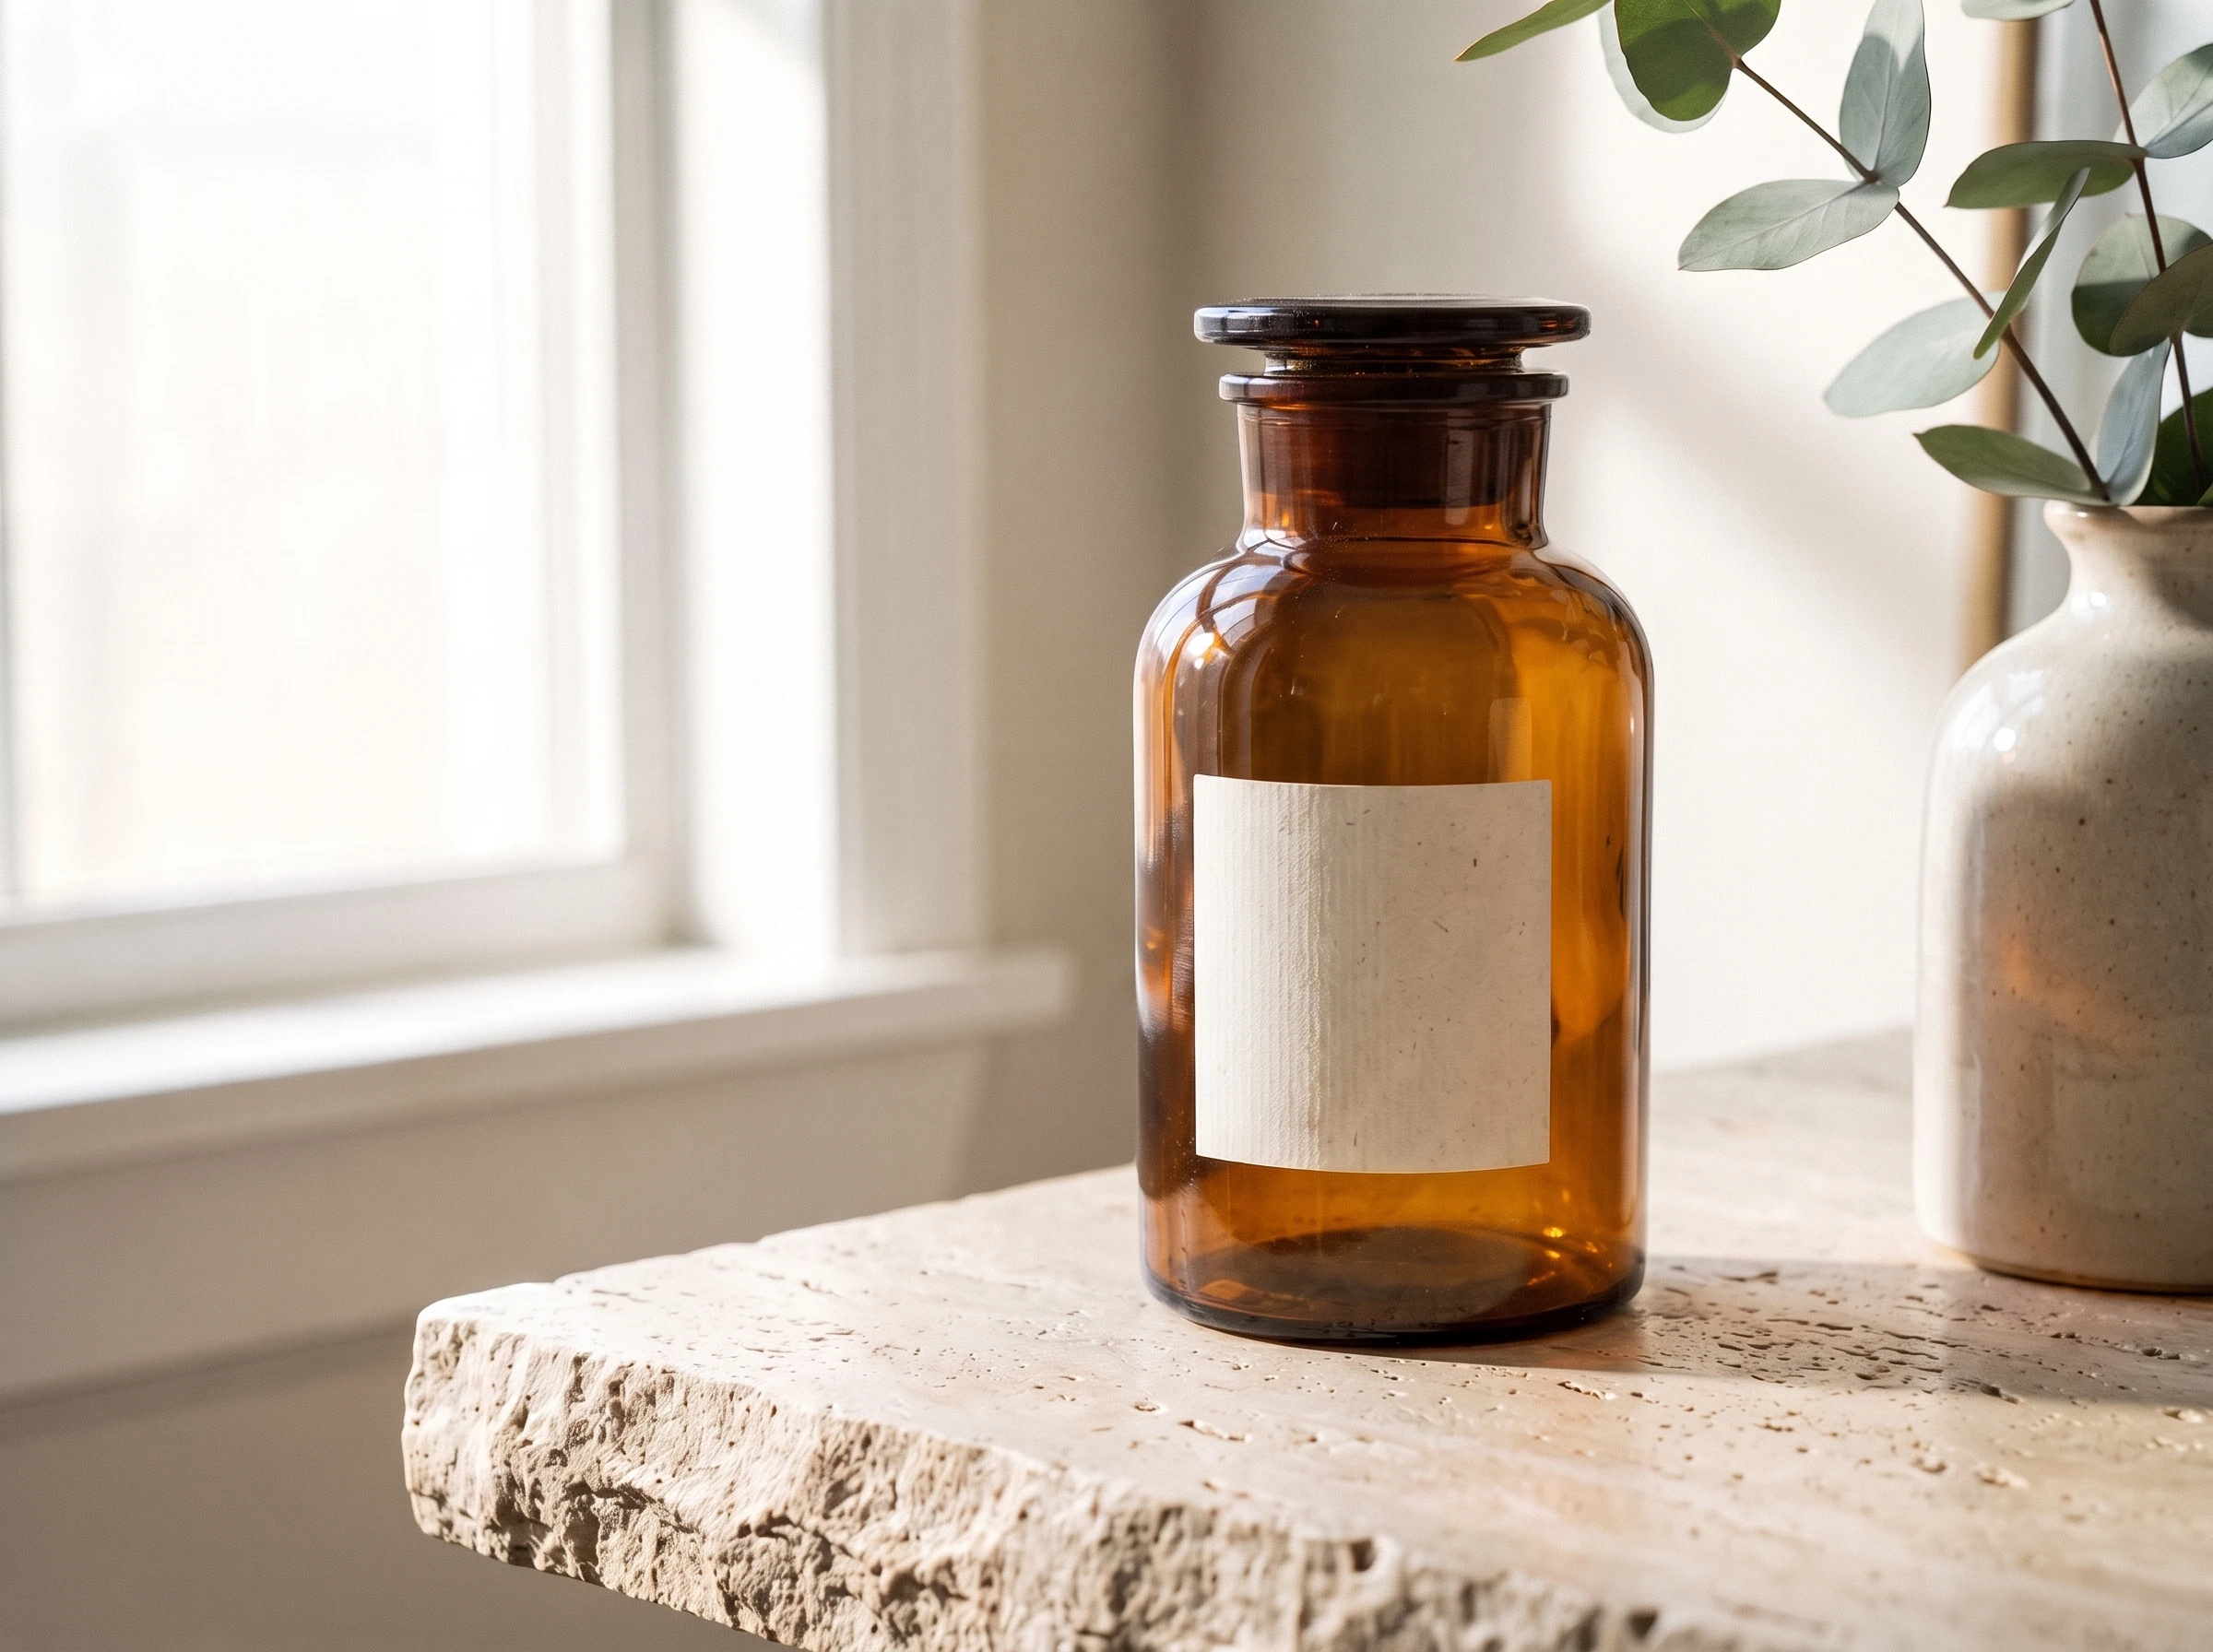
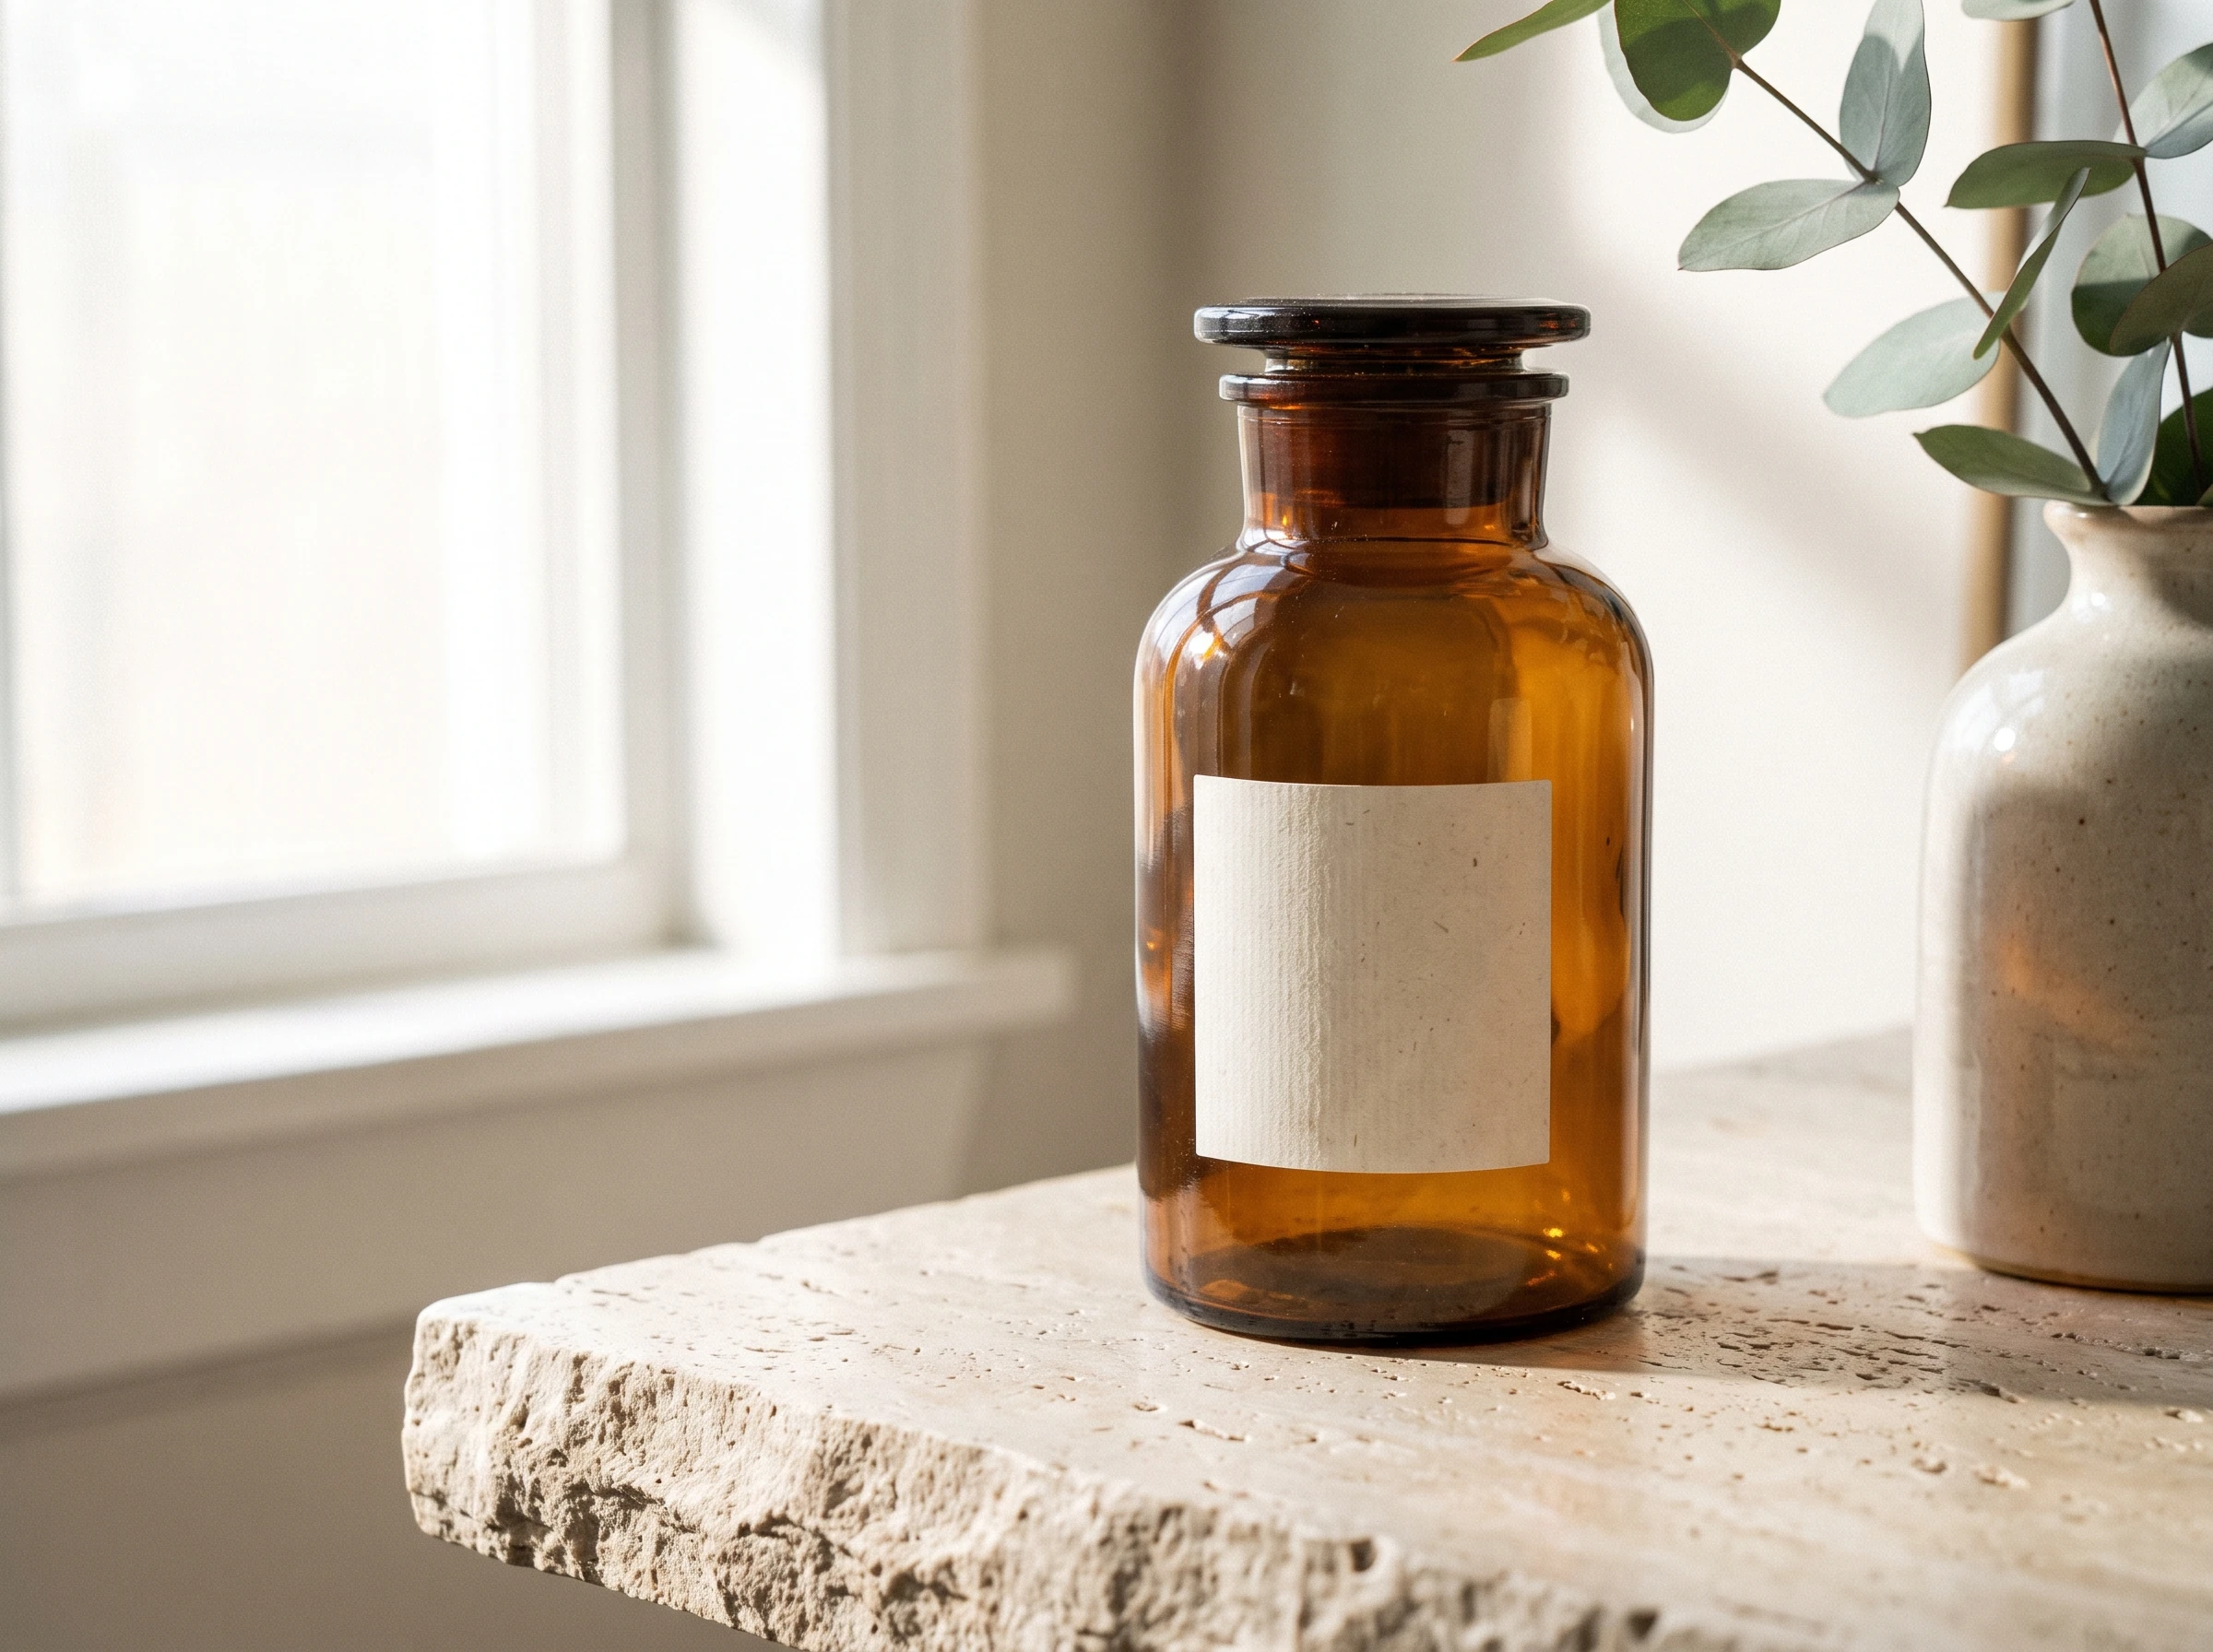
Amber bottle product photo after AI enhancement
Amber bottle product photo before AI enhancement
🛑 Before✨ After

Product Photo Quality

Clean edges and improve material detail for a more polished product listing photo.
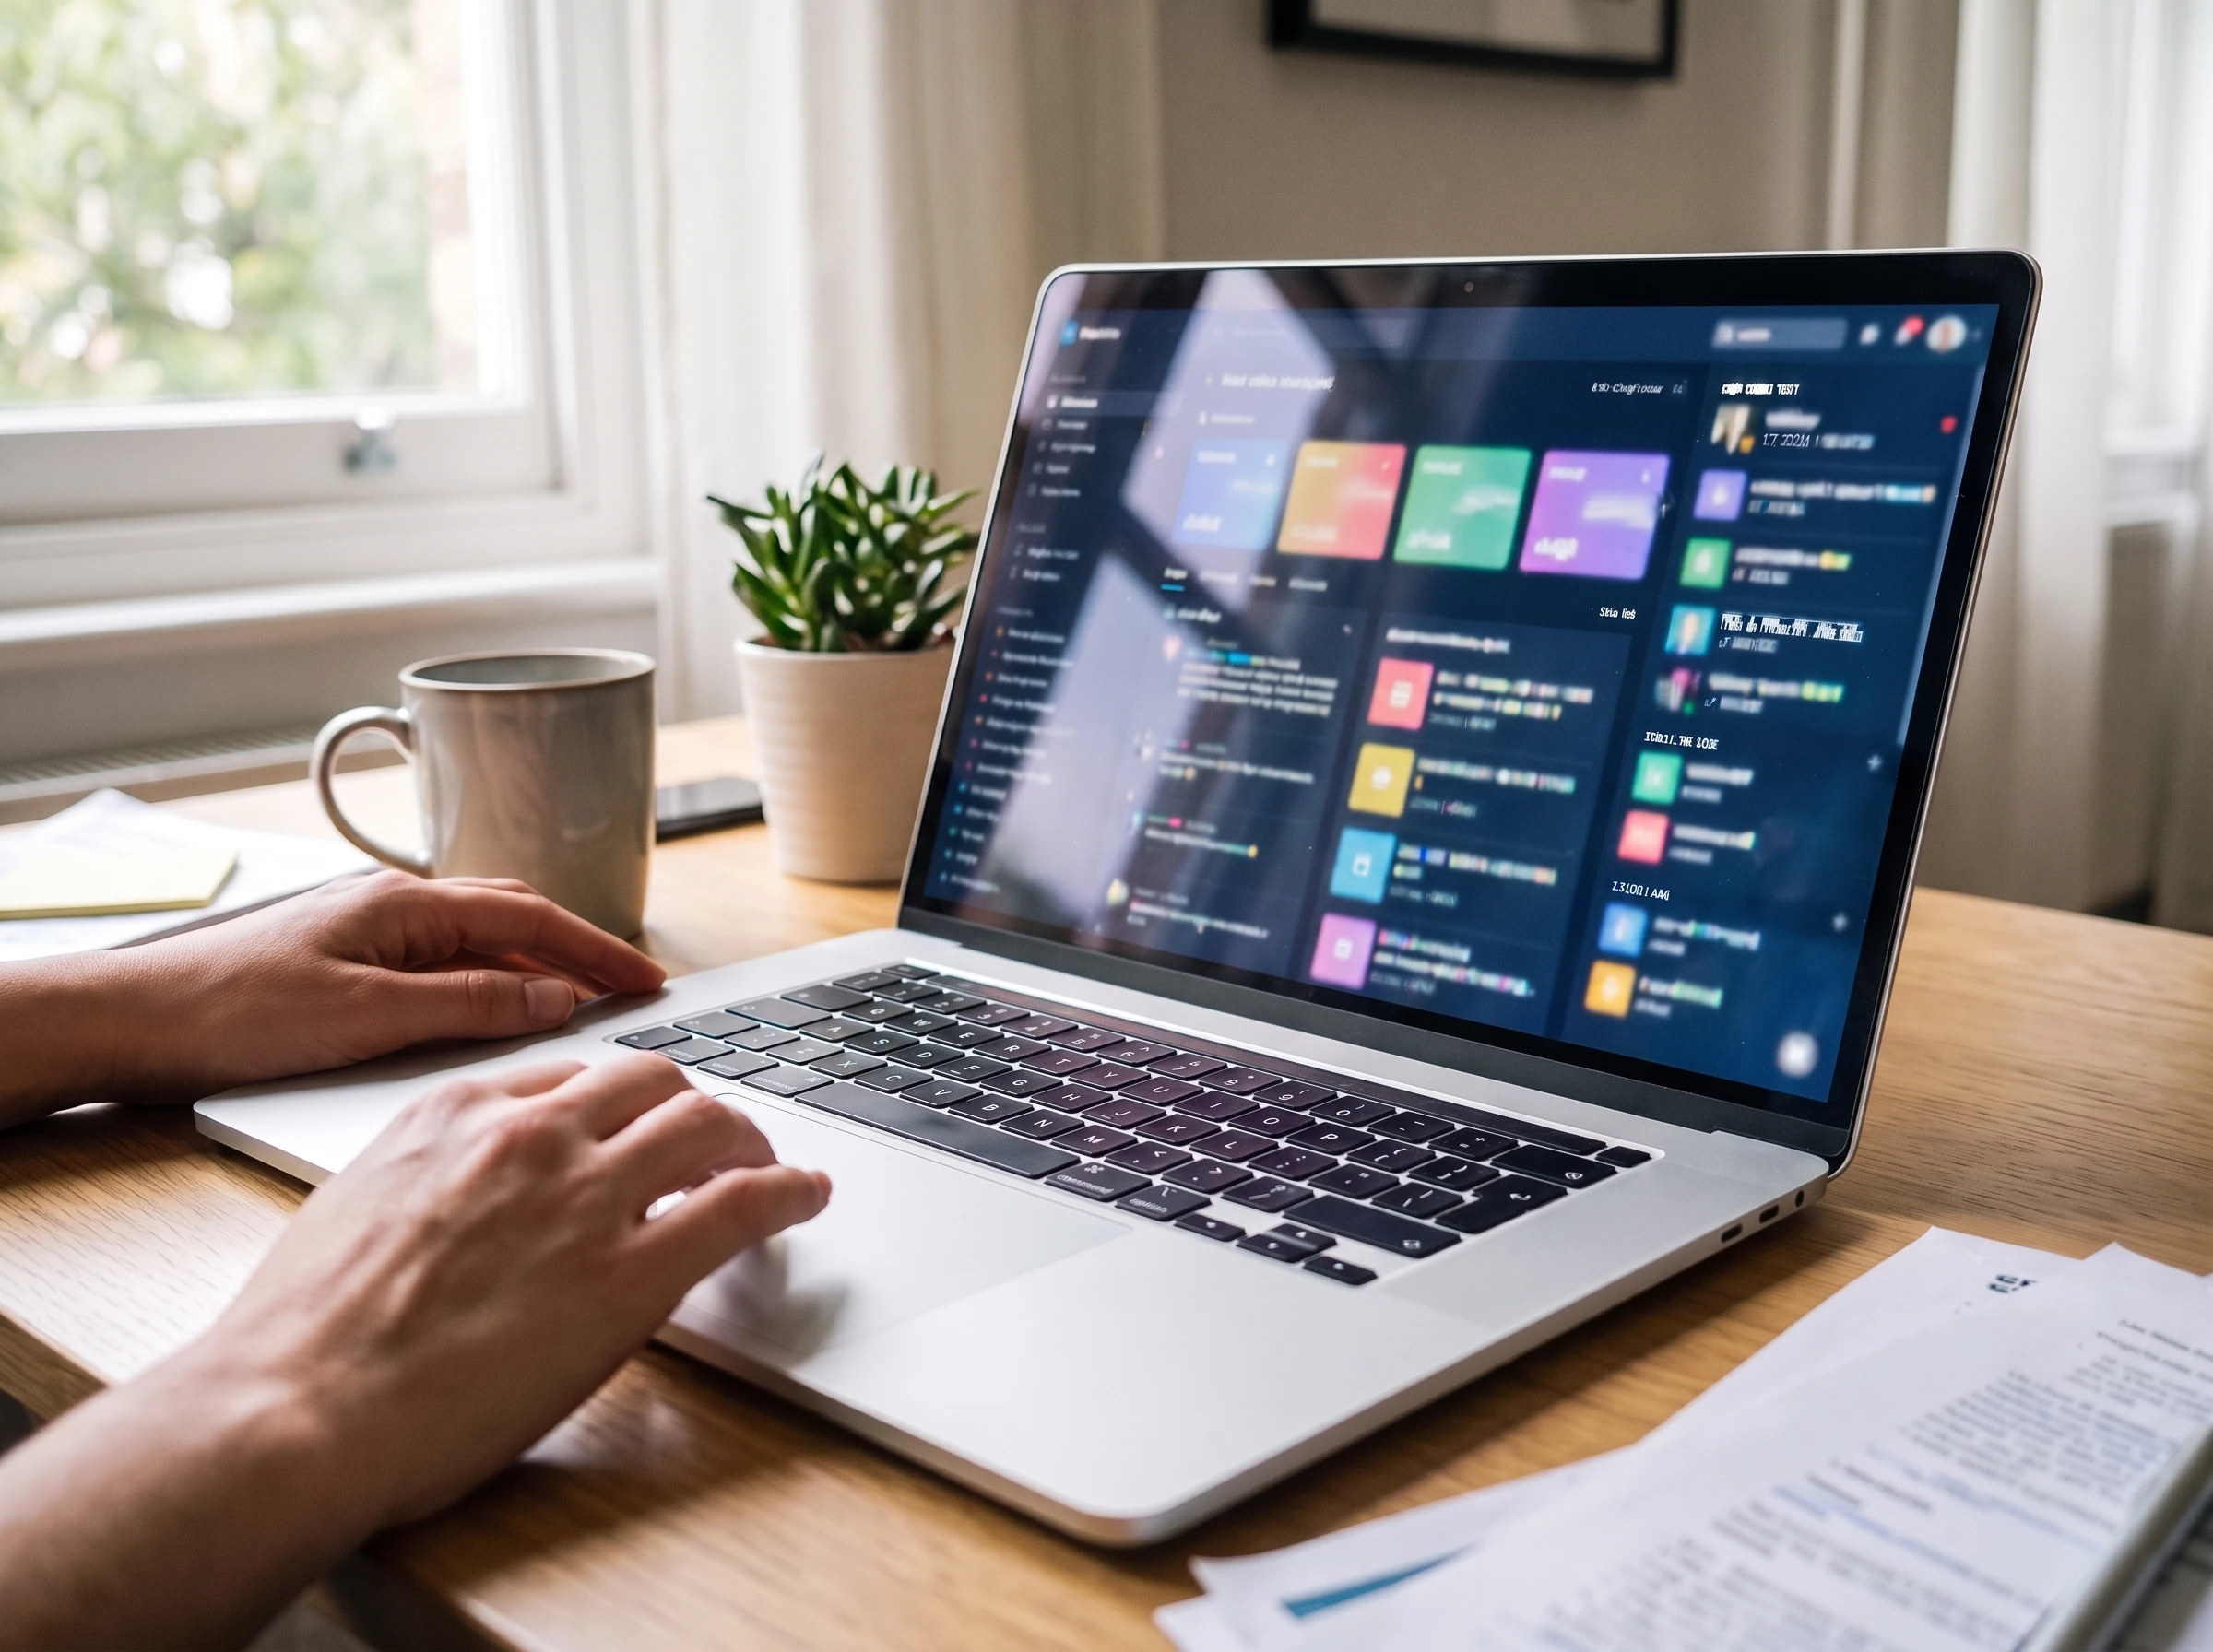
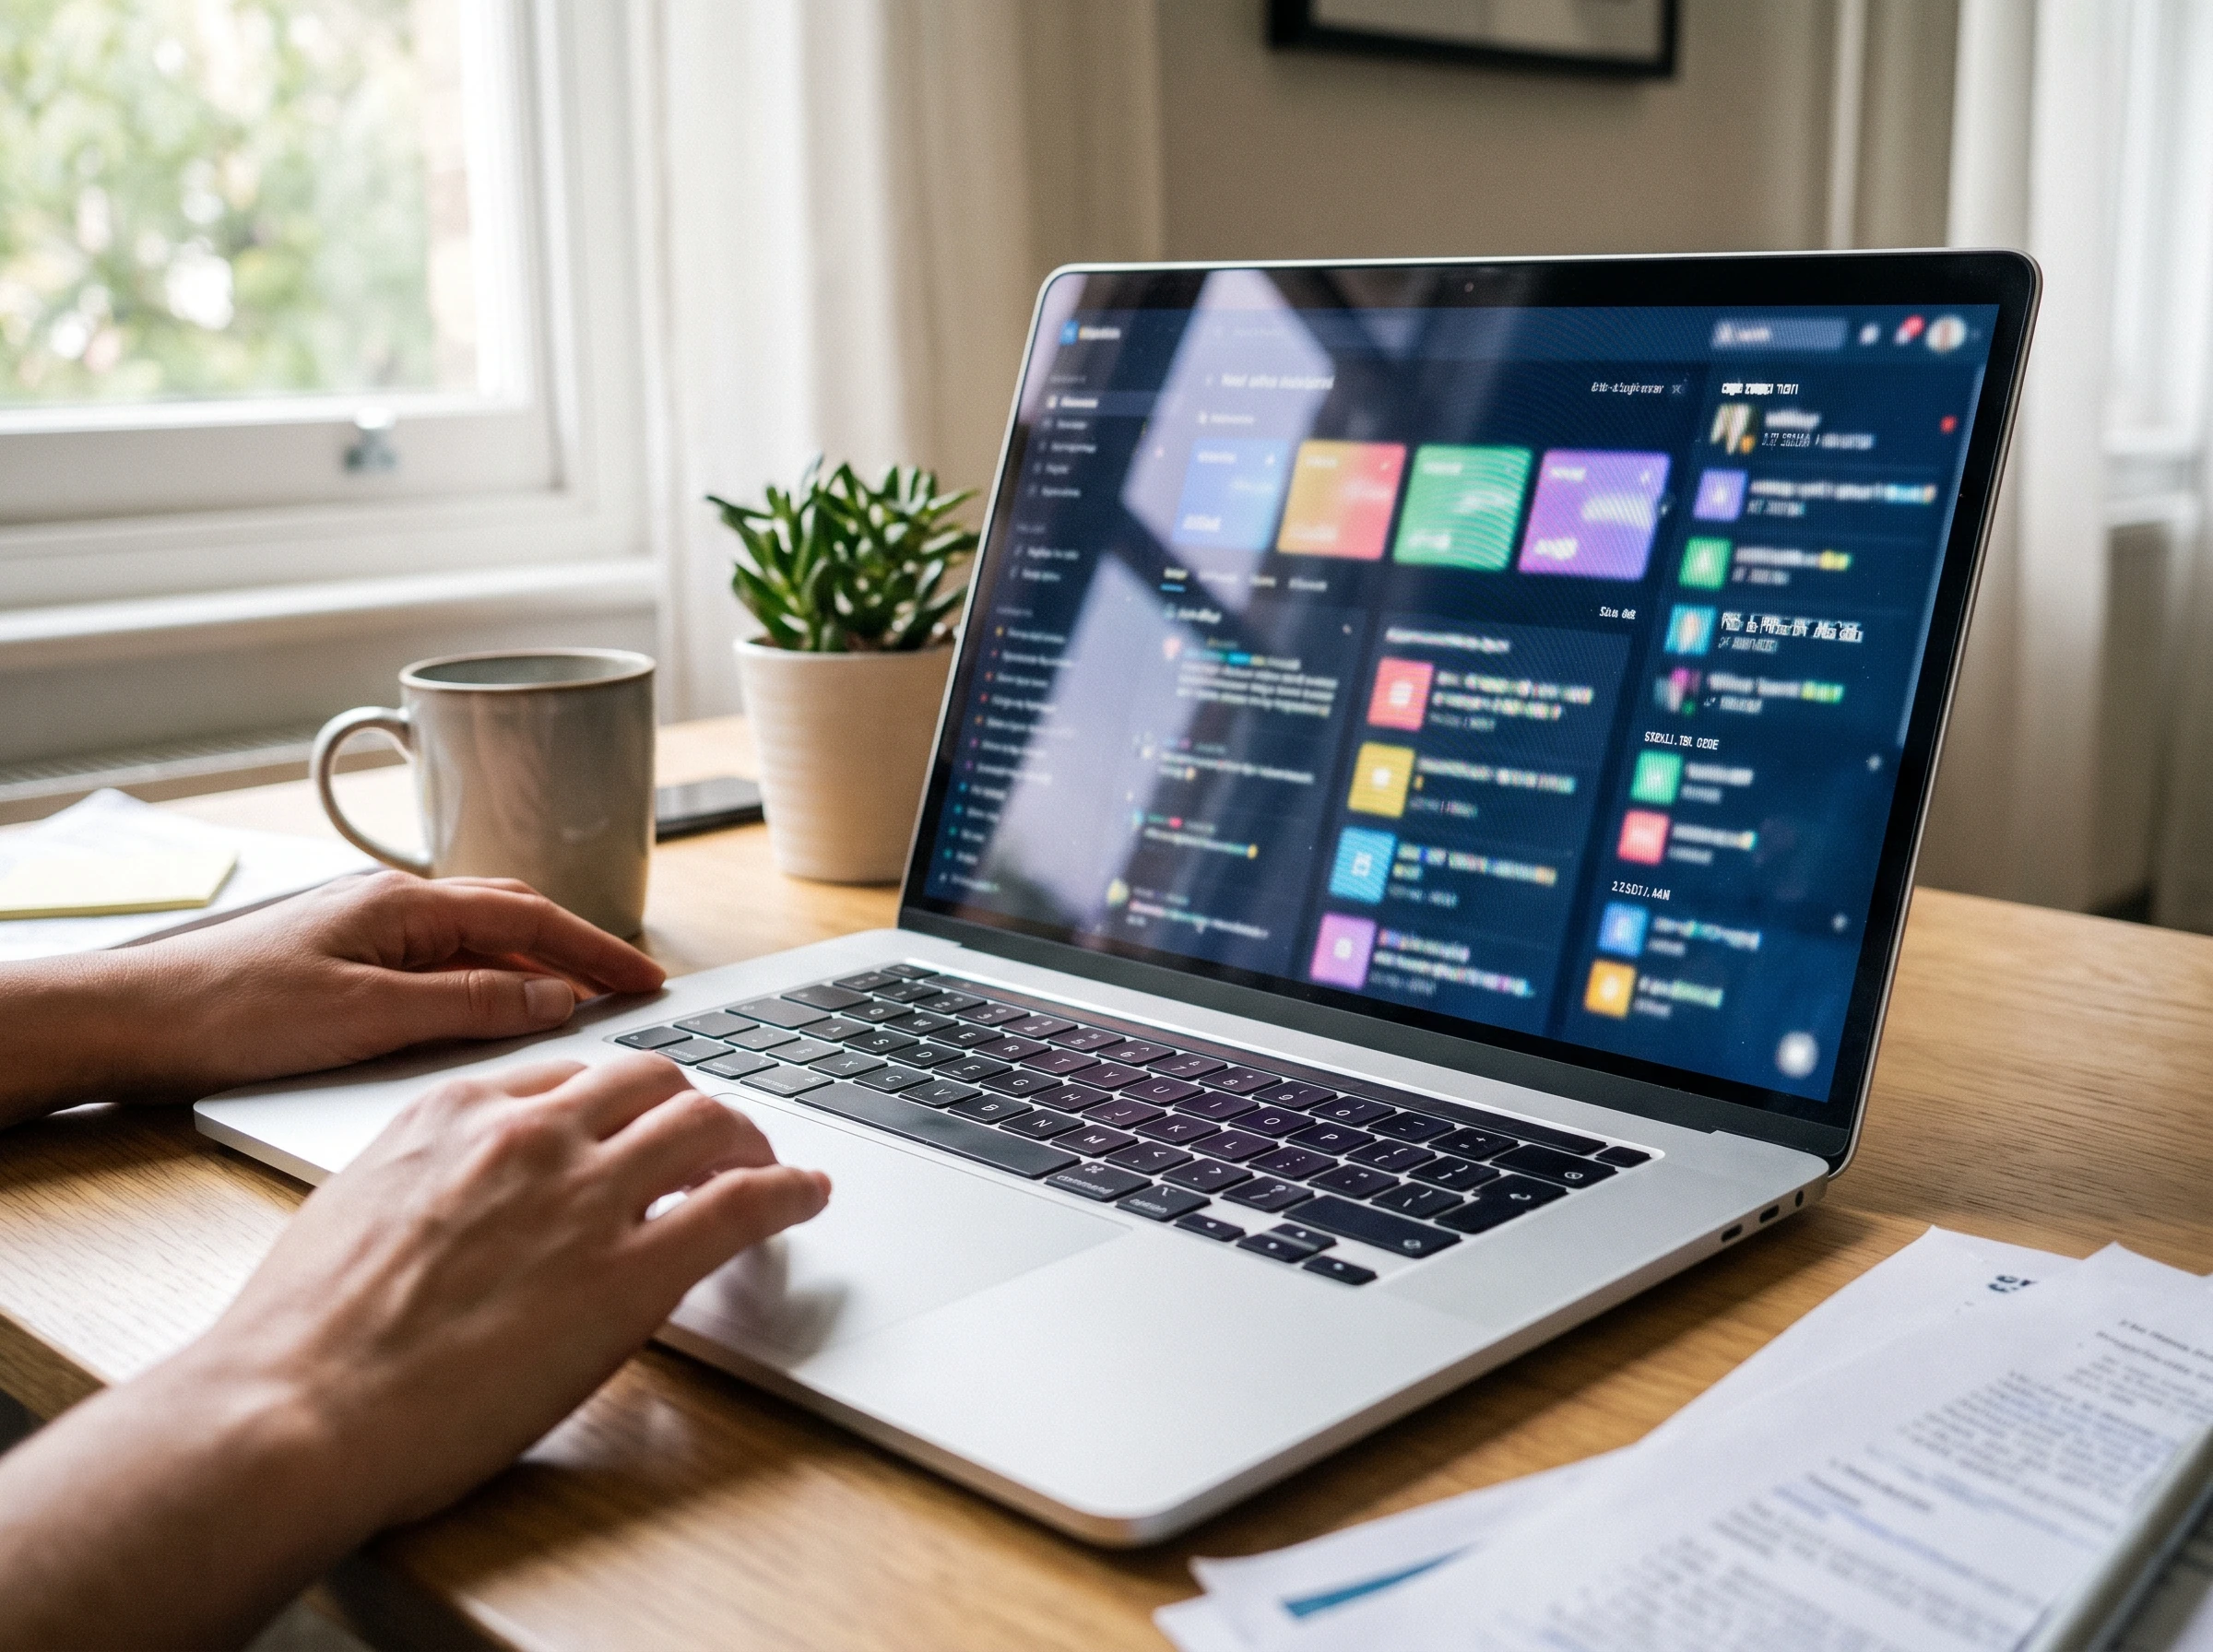
Laptop dashboard photo after AI enhancement
Laptop dashboard photo before AI enhancement
🛑 Before✨ After

Screenshot Text Clarity

Improve visible screen and interface clarity without presenting the result as forensic recovery.
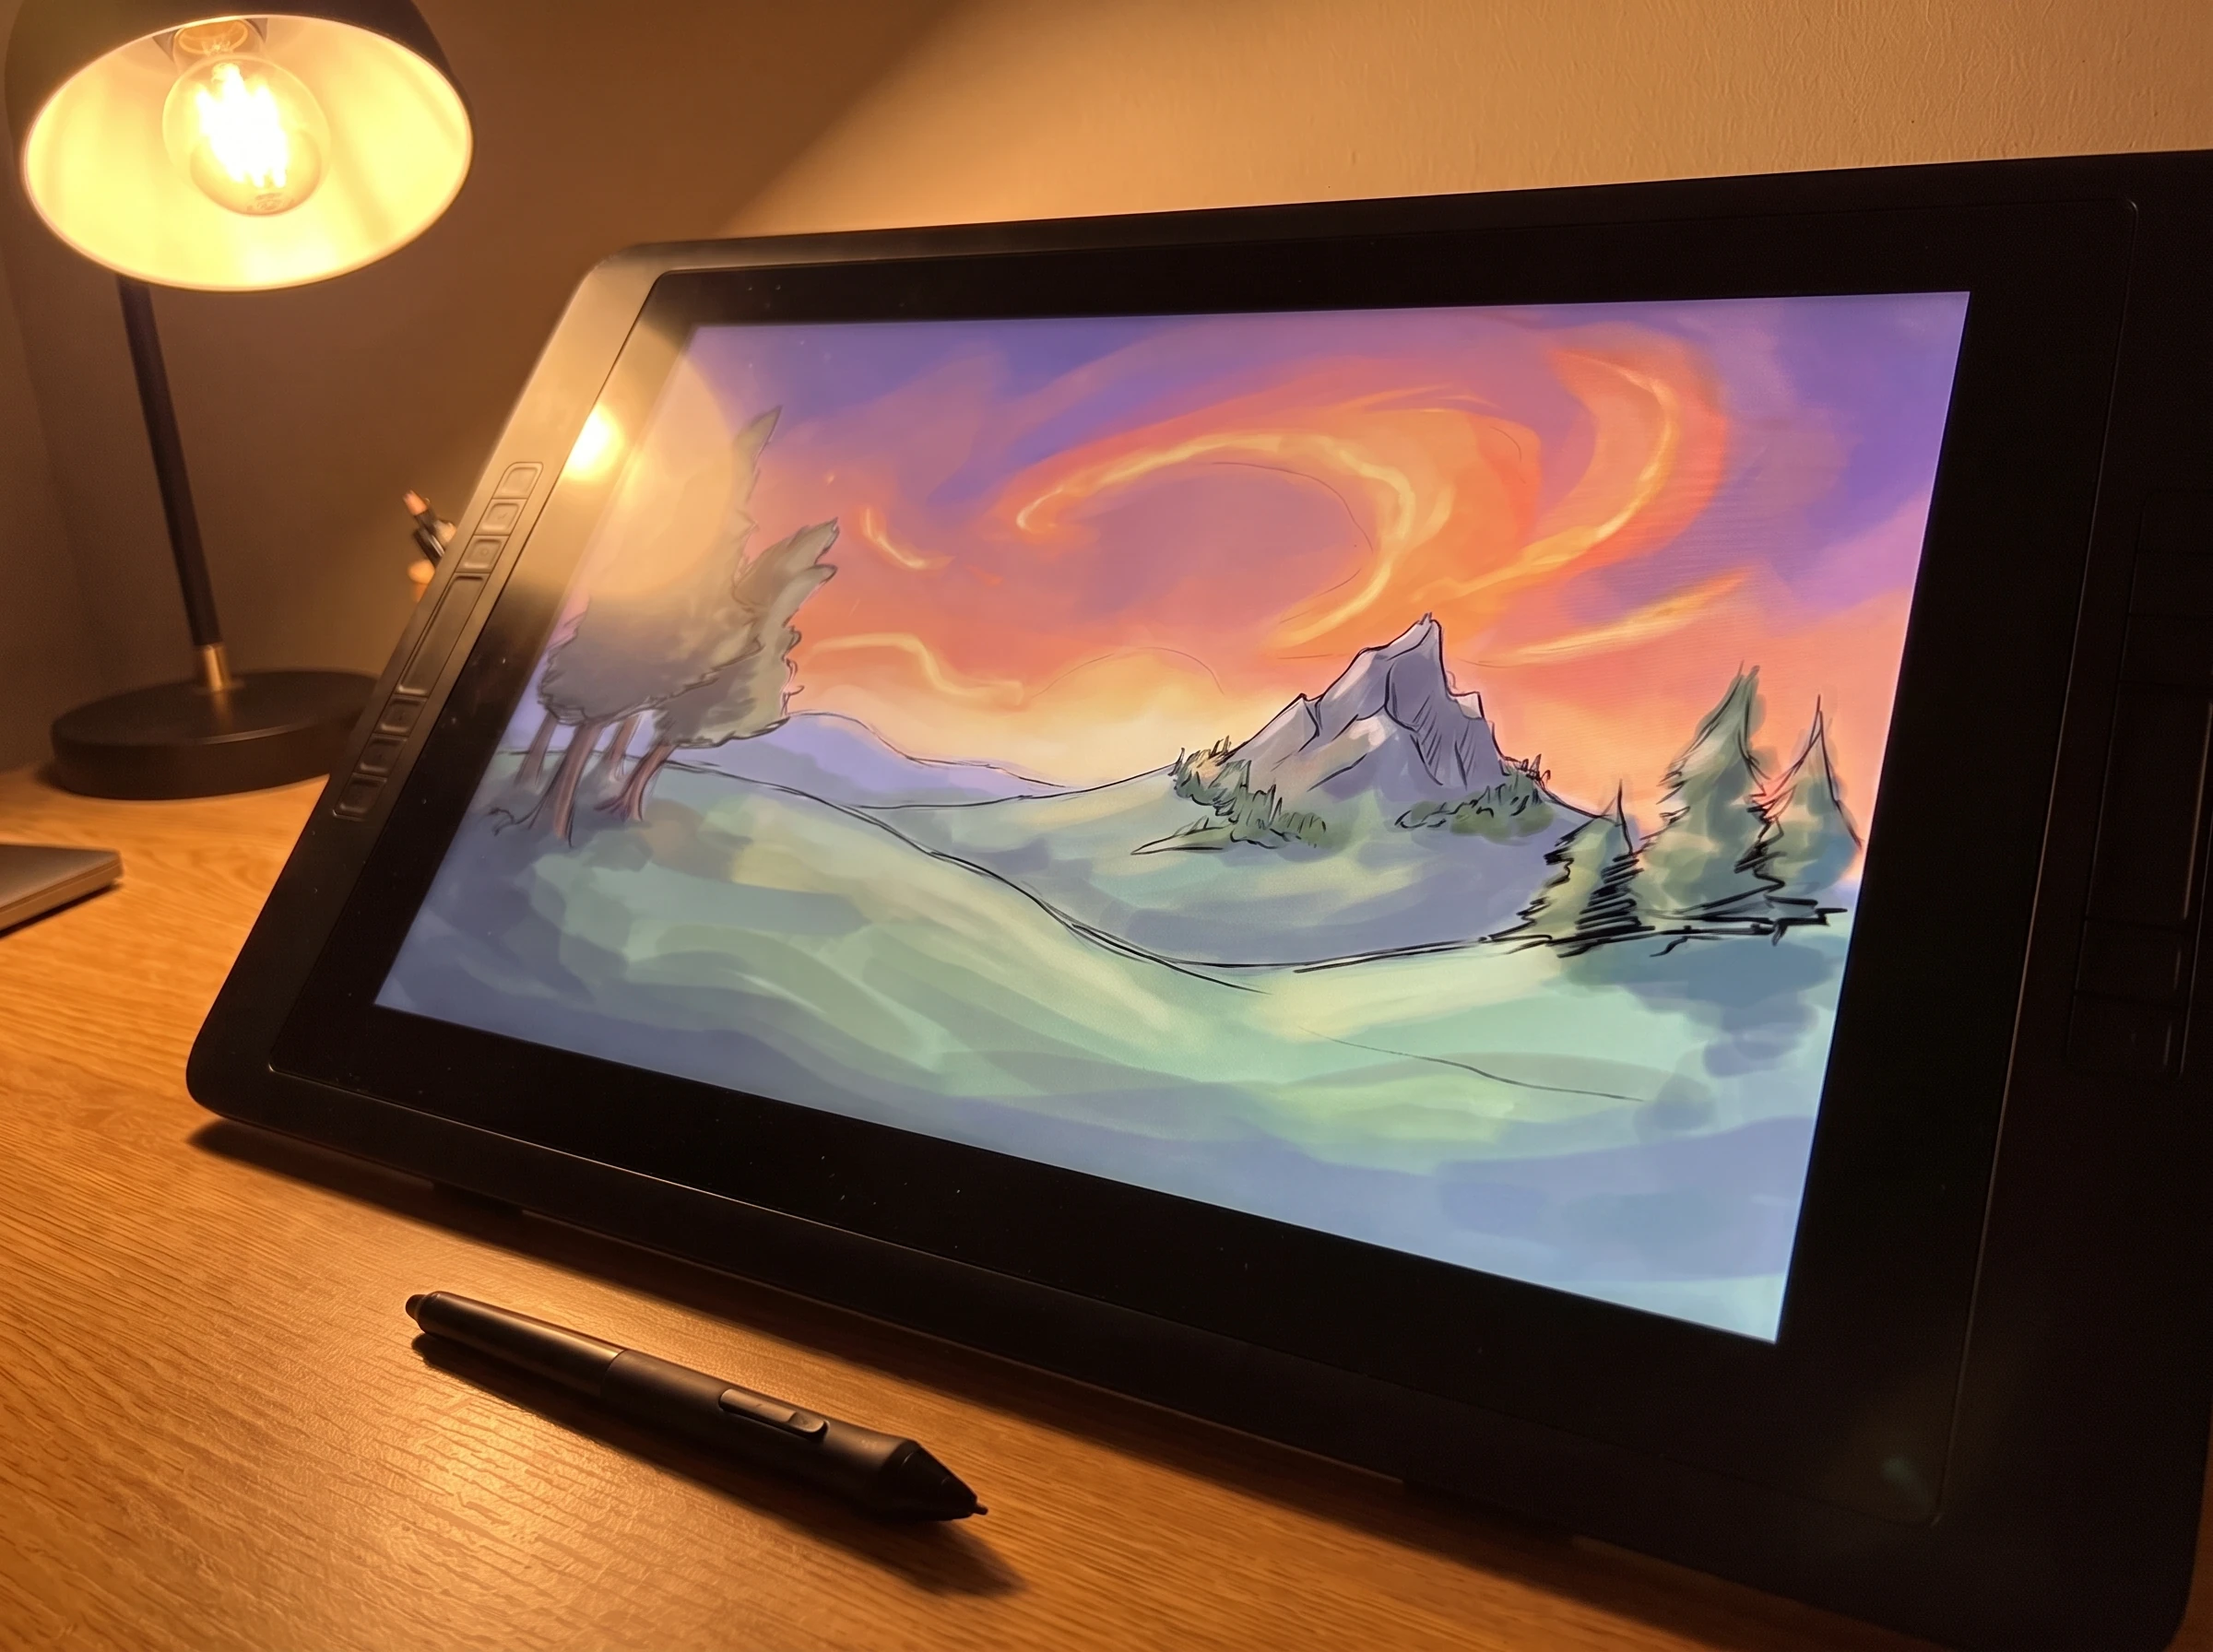
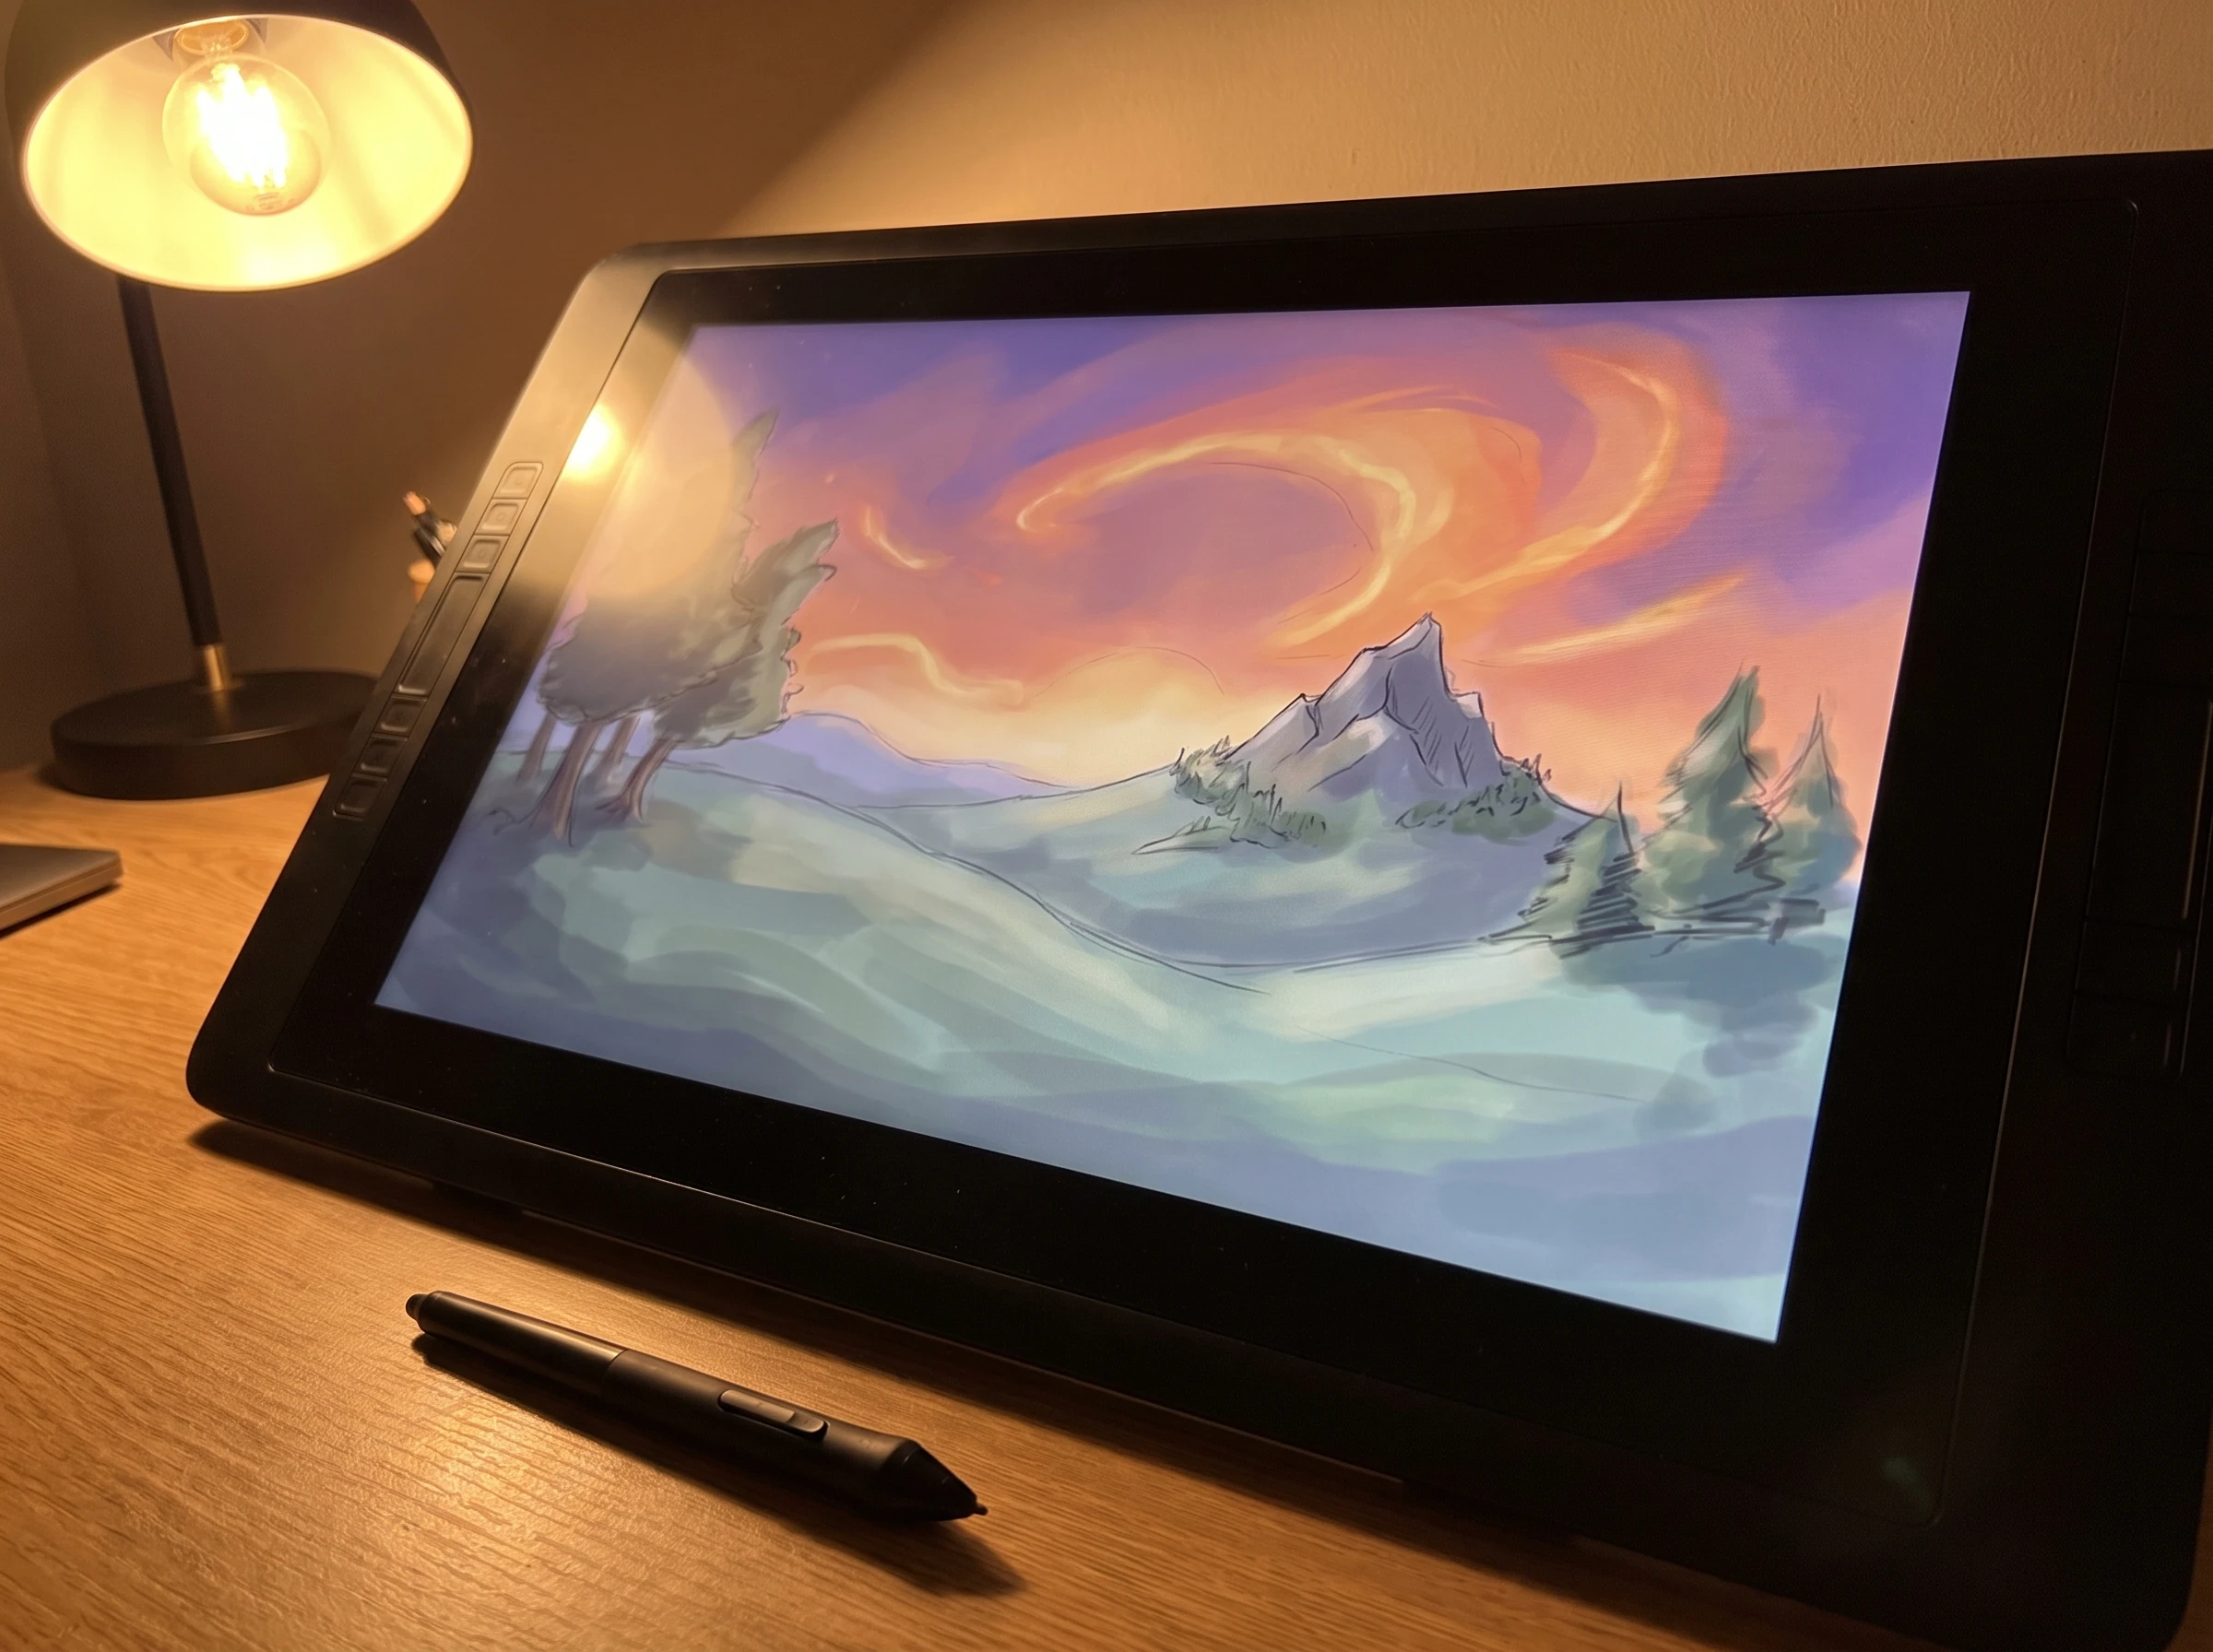
Digital art tablet photo after AI enhancement
Digital art tablet photo before AI enhancement
🛑 Before✨ After

Digital Art Detail

Refine line work, color separation, and screen detail while preserving the artist’s original style.

What Is an AI Photo Enhancer?

An AI photo enhancer analyzes a photo and improves visible qualities such as sharpness, noise, contrast, color, lighting, and detail. Upload an image, describe the result you want, and use a focused enhancement workflow instead of switching between several manual editing tools.

AI enhancement can reconstruct plausible visible detail when the source is soft, noisy, compressed, or low quality. It cannot guarantee the recovery of information that was never captured, so inspect faces, text, products, and other important areas before using the result.
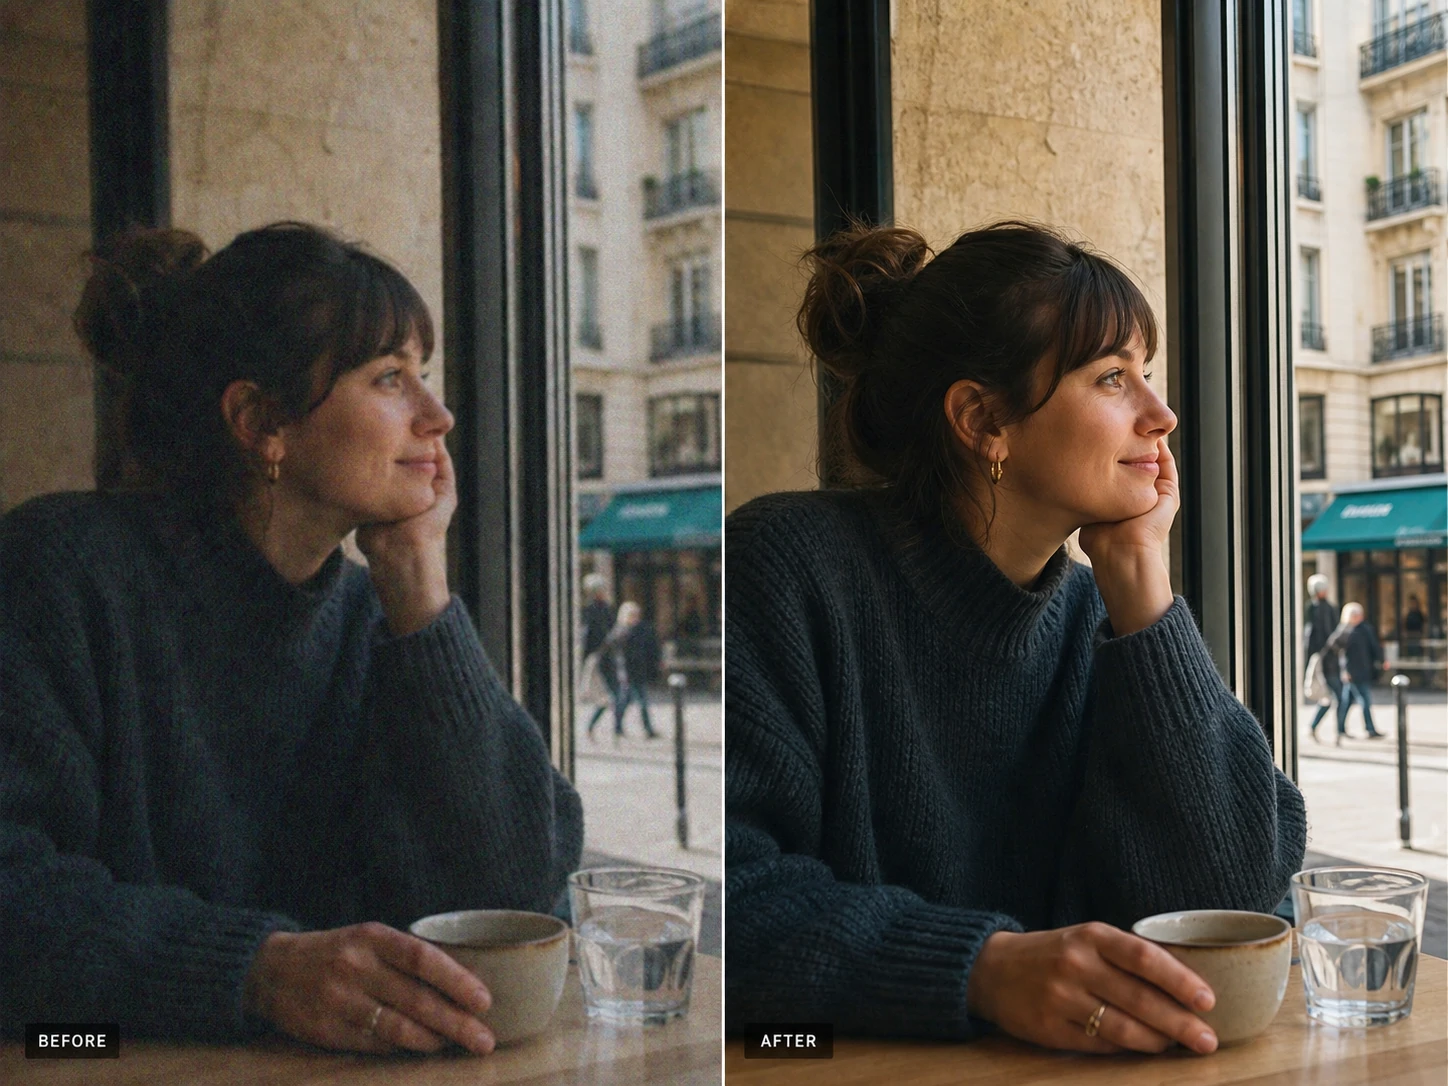
Before and after visual showing what an AI photo enhancer improves
AI enhancement can improve visible clarity, color, and detail while preserving the original scene.
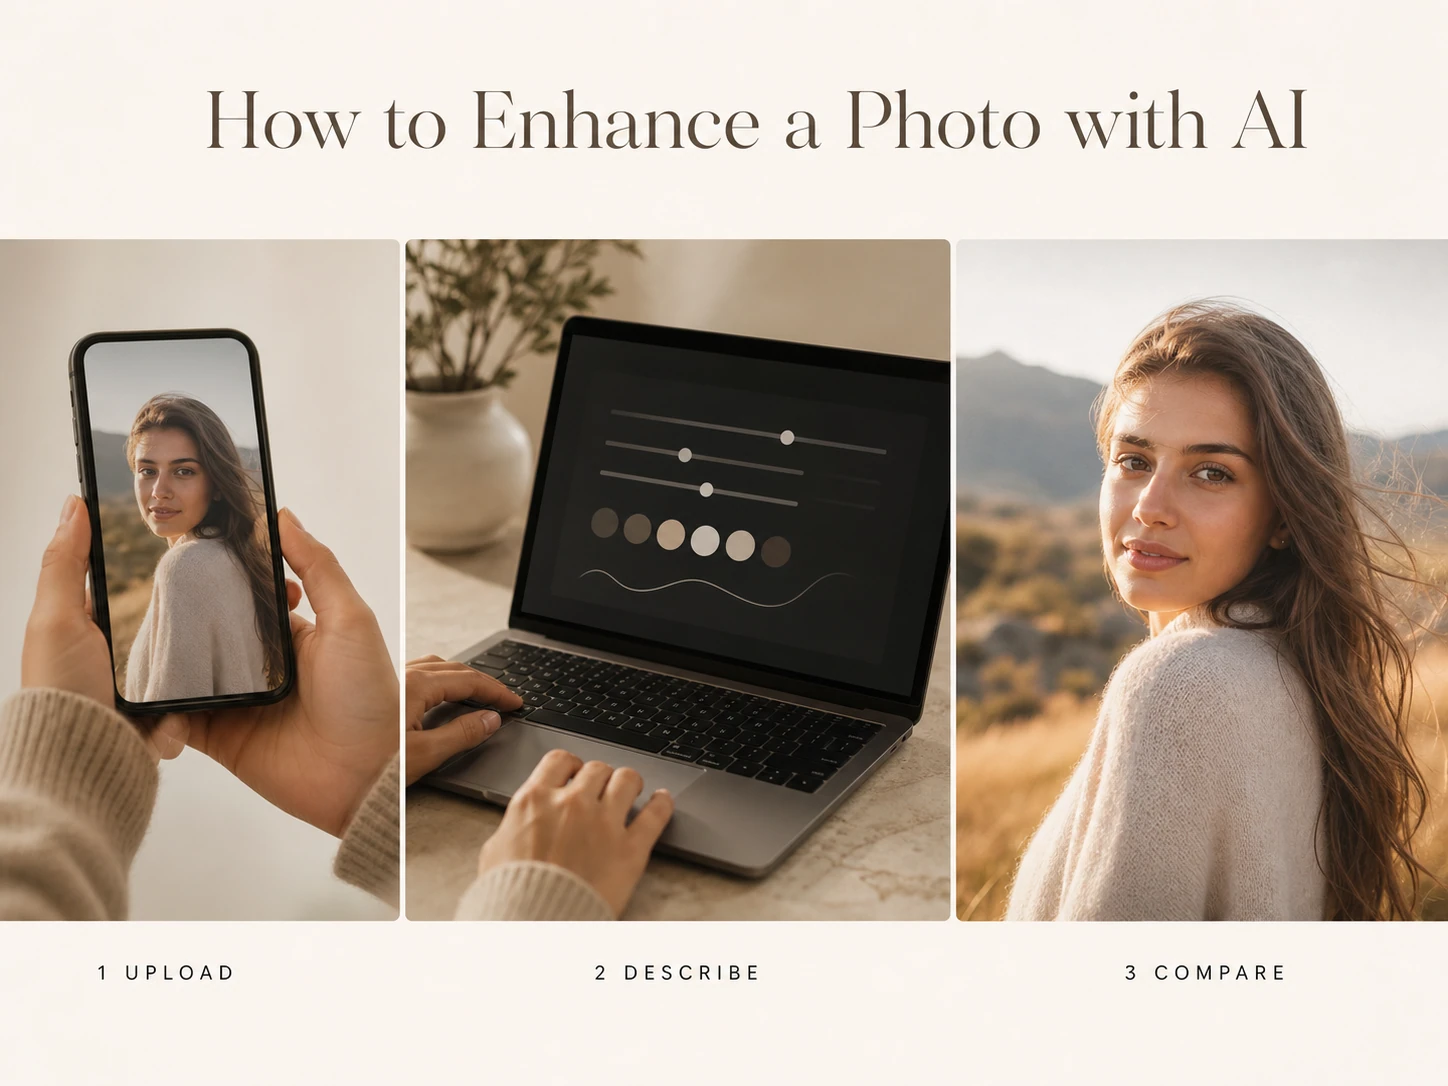
Three-step visual for enhancing a photo with AI
Upload a photo, describe the improvement, then compare the result.

How to Enhance a Photo with AI

01

Upload Your Image

Choose a clear JPG, PNG, WEBP, or another supported image. Starting with the highest-quality source available usually produces a more natural result.

02

Choose an Enhancement Mode

Select a prompt starter for general photos, portraits, products, text, screenshots, or digital art, then adjust the wording to match the image.

03

Describe the Improvement

Mention clarity, noise, color, lighting, texture, or visible detail. Keep the requested change focused so the original composition stays natural.

04

Generate and Compare

Inspect the result beside the original. Zoom in on edges, faces, text, repeated patterns, and product details before choosing a version.

05

Download the Result

Save the enhanced photo in the available format and keep the original when accuracy or future editing matters.

What Can the AI Photo Enhancer Improve?

Use focused prompts to improve presentation while preserving the visual meaning of the original image.

Blurry and Soft Photos

Make visible edges and textures clearer in mildly blurry, soft-focus, or repeatedly compressed photos. Severe blur may not contain enough reliable information for accurate reconstruction.

Image Noise and Artifacts

Reduce low-light grain, color noise, ringing, and block-shaped compression artifacts while attempting to preserve important texture.

Color, Contrast, and Lighting

Improve washed-out colors, weak contrast, dull lighting, and unwanted color casts without turning the image into an exaggerated filter.

Faces and Portraits

Improve facial clarity, hair detail, skin tone, and portrait lighting with controlled prompts that keep the result natural.

Product Photos

Clean product edges, improve material texture, and prepare more polished listing or campaign imagery while checking labels and proportions.

Screenshots and Digital Art

Improve visible text, interface elements, line work, shapes, and color separation in screenshots, illustrations, and rendered art.

AI Photo Enhancement Modes

Start with the image type that best matches your goal, then refine the prompt before generating.

General Photo

A balanced option for travel photos, pets, landscapes, family pictures, social posts, and everyday images.

Portrait

Prioritize faces, hair, eyes, natural skin tones, and soft realistic lighting for profile pictures and headshots.

Product

Focus on object edges, surfaces, packaging, material detail, and controlled color for stores and catalogs.

Text and Screenshot

Improve the visibility of text, interface elements, diagrams, and screenshots for readability, not forensic recovery.

Digital Art and Illustration

Enhance line work, shapes, color separation, and rendered detail in illustrations, game assets, and AI-generated images.

Tips for Better Enhancement Results

Start with the best source available, keep the requested improvement specific, and inspect the result at 100 percent before publishing.

  1. 01

    Improve Clarity

    Name the visible quality problem and ask for a natural result.

    • “Improve photo clarity and edge definition while preserving the original colors, texture, and composition.”
  2. 02

    Reduce Low-Light Noise

    Mention the lighting condition and the texture that should remain.

    • “Reduce low-light grain and color noise, keep skin texture natural, and preserve the warm evening lighting.”
  3. 03

    Enhance a Product Photo

    Protect labels, shape, material, and proportions in the prompt.

    • “Improve product photo quality with clean edges and balanced color. Preserve the bottle shape, label wording, and material highlights exactly.”
  4. 04

    Avoid Repeated Passes

    Return to the original when a result becomes oversharpened or unnatural.

    • “Use a moderate enhancement on the original photo instead of enhancing an already processed result a second time.”

AI Photo Enhancer vs AI Image Upscaler

The two workflows can overlap, but they solve different problems. Choose the enhancer when overall visual quality is the goal; choose an upscaler when pixel dimensions and output size are the priority.
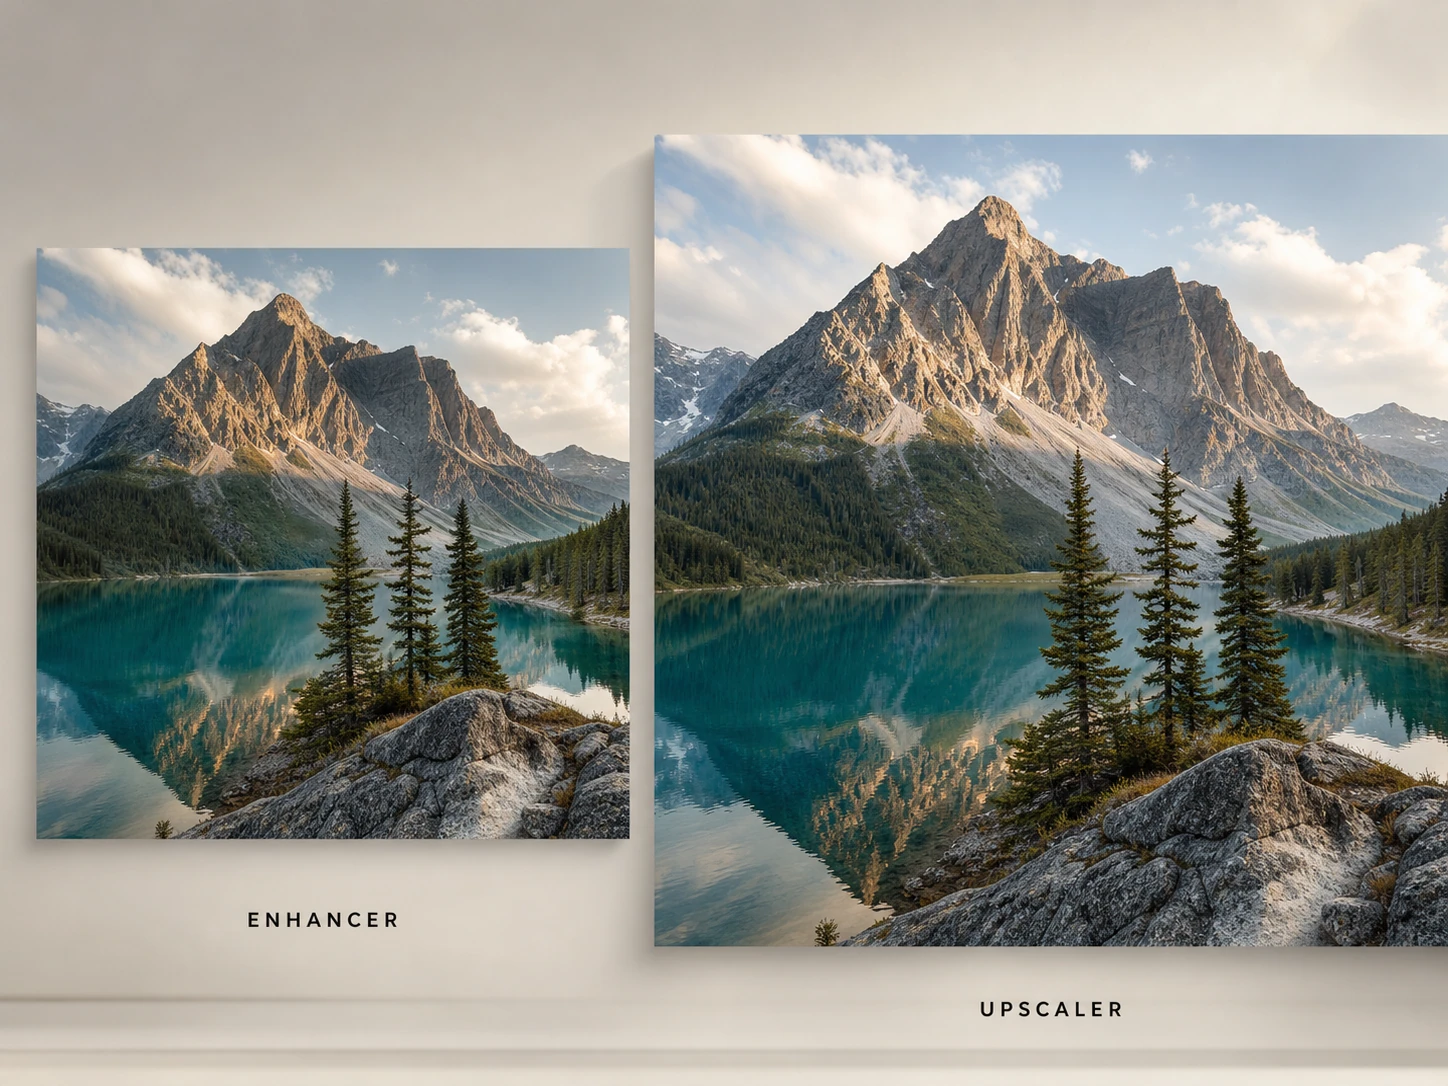
  • Use AI Photo Enhancer for sharpness, noise reduction, color, contrast, lighting, and visible detail.
  • Use AI Image Upscaler when you primarily need a larger canvas for print, layout, or high-resolution delivery.
  • Review faces, text, edges, and product markings after either workflow because generated detail is not a guarantee of original fact.
Visual comparison of an AI photo enhancer and an AI image upscaler
An enhancer improves overall visual quality; an upscaler prioritizes larger dimensions.

Common Uses for AI Photo Enhancement

Create cleaner working assets for everyday creative, commerce, design, and personal projects.

Social Media and Thumbnails

Improve clarity and contrast in images prepared for posts, profile pictures, thumbnails, and campaign variations.

E-commerce Listings

Polish product edges, surfaces, packaging, and color while keeping product features accurate for a listing.

Portraits and Memories

Make compressed, scanned, or softly captured portraits easier to view while keeping the original person recognizable.

Design and Presentations

Prepare low-resolution references, screenshots, and concept visuals for layouts, decks, and mockups.

Real-estate and Marketing Assets

Create more consistent imagery from photos captured in different lighting conditions or on different devices.

AI Photo Enhancer Limitations

AI enhancement is a presentation aid, not a guarantee of pixel-perfect restoration or factual recovery.
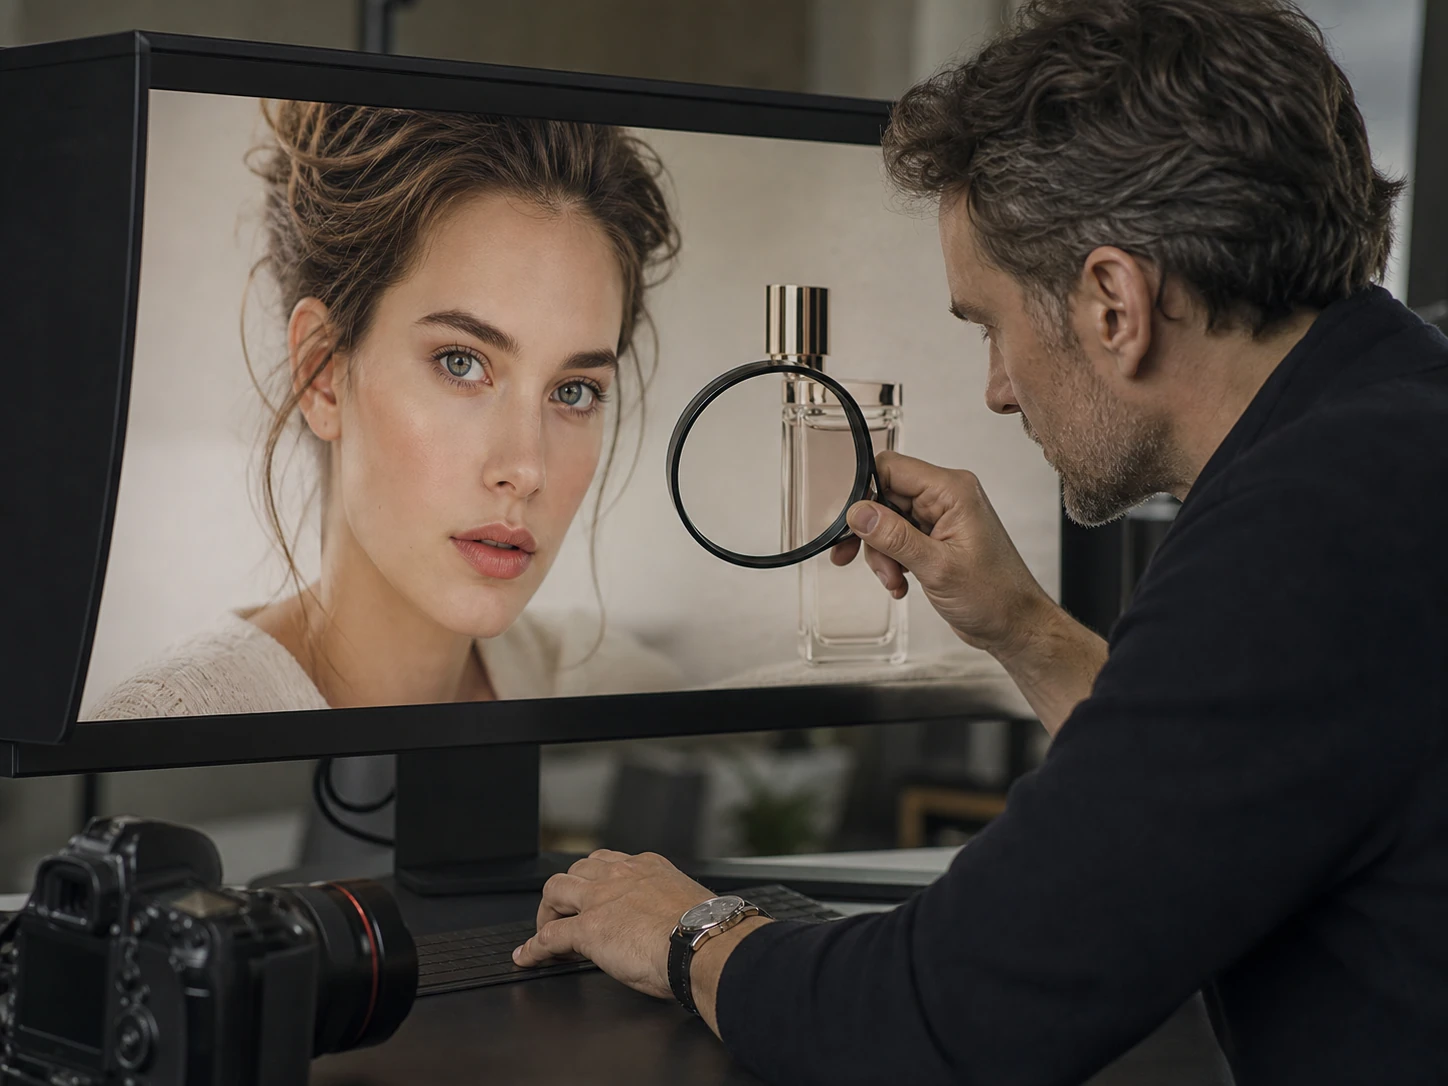
  • Extreme motion blur, missed focus, tiny sources, and heavy compression may not contain enough reliable information.
  • Strong enhancement can create halos, false texture, unnatural skin, or altered facial details.
  • Small text, labels, logos, reflections, and repeated patterns require close inspection after generation.
  • Do not treat reconstructed detail as proof of an identity, event, medical condition, document, or product feature.
Retoucher inspecting image details to show AI photo enhancer limitations
Inspect faces, text, edges, and product details before publishing an enhanced image.

Use AI Photo Enhancement Responsibly

Improve presentation without changing the factual meaning of an image or removing the context people need to interpret it.
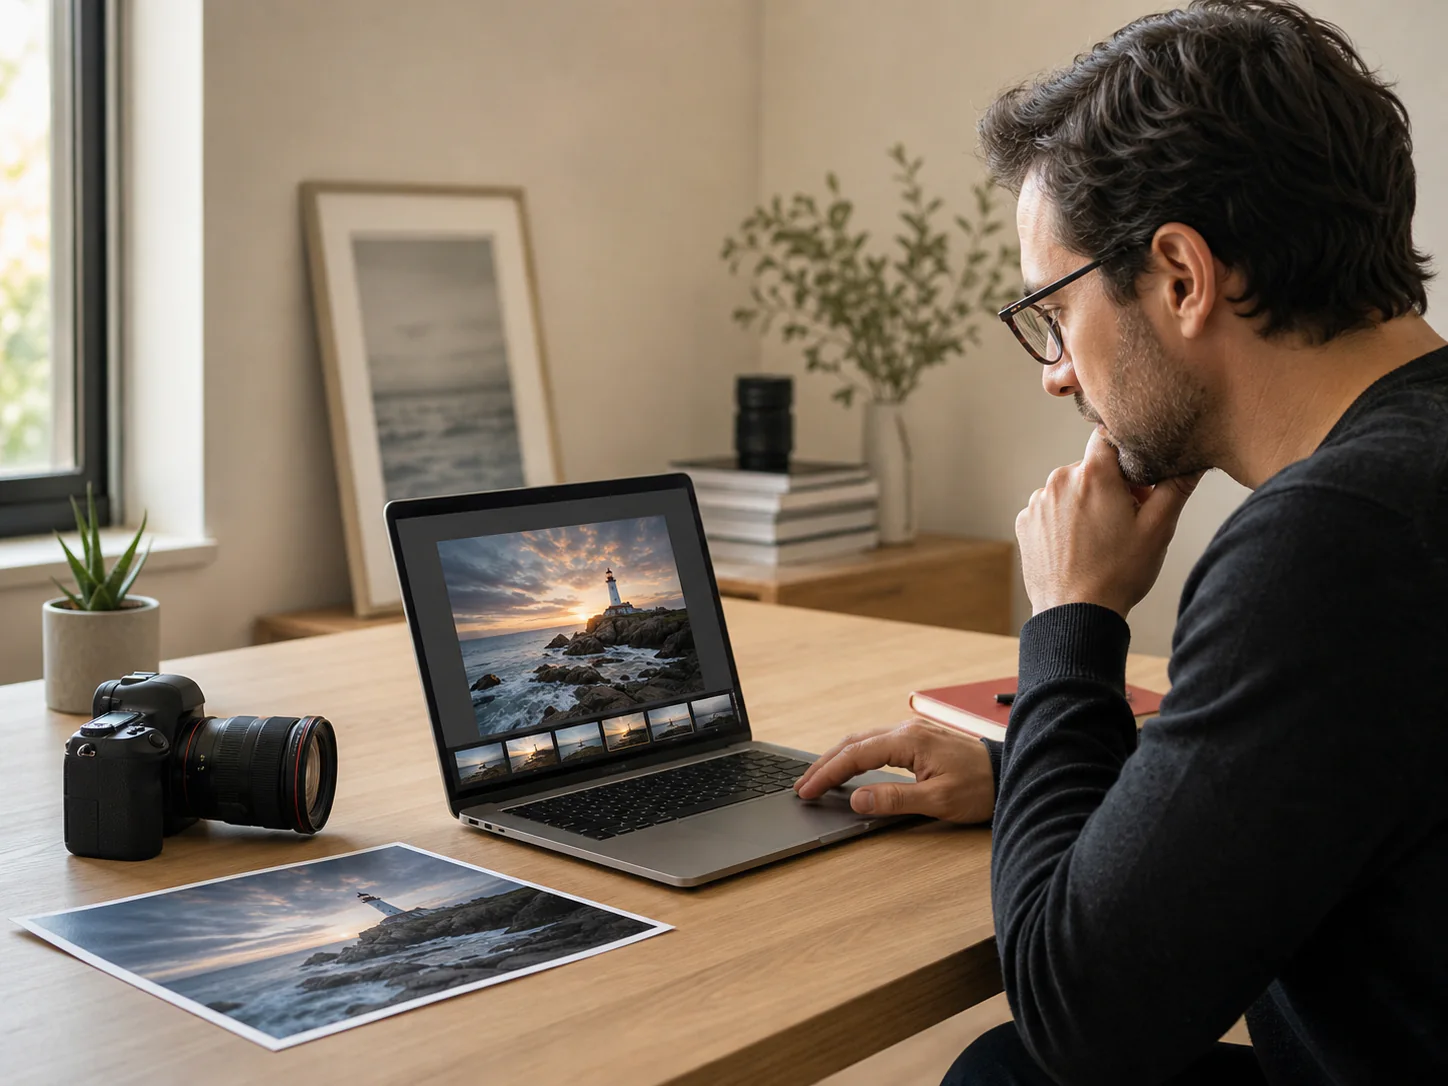
  • Only enhance images you own or have permission to process, and keep the original source when accuracy matters.
  • Review faces, text, products, trademarks, and other protected details before commercial publication.
  • Do not use generated detail to falsify evidence, misrepresent a product, or create misleading identity edits.
  • Disclose substantial AI enhancement when your audience, client, platform, or professional context requires it.
Photographer reviewing an AI-enhanced photo before publishing
Review the original source and important details before sharing an AI-enhanced image.

Frequently Asked Questions

An AI photo enhancer analyzes a photo and improves qualities such as sharpness, noise, contrast, color, lighting, and visible detail. Some workflows can also increase image resolution.

Continue Your Image Workflow

Choose the tool that matches the next change you want to make.

AI Photo EditorEdit a photo with broader natural-language instructions.AI Image ReplacerReplace one object while keeping the surrounding scene.AI Object RemoverRemove unwanted people, objects, and clutter.AI Background ChangerChange the complete background to a color, image, or scene.AI Image ExtenderExpand beyond the image borders and create more layout space.

Improve Your Photo with Vizmuse

Upload a photo, describe the quality improvements you want, and compare a cleaner, sharper, more balanced version with the original.

Try AI Photo Enhancer
VizMuse LogoVizMuse wordmark in graphite with coral and mint accents.VizMuse
Edit & Enhance
  • AI Photo Editor
  • AI Background Changer
  • AI Image Replacer
  • AI Object Remover
  • AI Photo Enhancer
  • AI Image Extender
  • Image Aspect Ratio Changer
Create & Generate
  • AI Image Generator
  • AI Comic Generator
  • AI Thumbnail Maker
  • AI Christmas Photo Generator
  • Image to Prompt
AI Models
  • Nano Banana 2 Lite
  • Nano Banana 2
  • GPT Image 2
  • Nano Banana Pro
Company
  • About
  • Contact
  • Pricing
  • Privacy Policy
  • Terms of Service
  • Cookie Policy

© 2026 VizMuse. All rights reserved.

support@vizmuse.com