VizMuse LogoVizMuse wordmark in graphite with coral and mint accents.VizMuse
CREATE
AI Photo Editor
AI Background Changer
AI Object Remover
AI Photo Enhancer
AI Image Extender
AI Photo Relight
AI Tools
EXPLORE
AI Models
Pricing
Reference Images
Light Direction
Light Strength
Color Temperature
Light recipeAuto · Balanced · Neutral
Fine-tune & output+
Optional

Please upload an image first.

Change Photo Lighting with AI

Drag the divider to inspect a real result, then choose a lighting look below.
Portrait after applying balanced natural daylightRelighted After
Portrait before AI photo relightingOriginal Before
↔
Try a Real Lighting Look
No relighted photo records
Home/AI Tools/AI Photo Relight

AI Photo Relight: Change Lighting on Any Photo

Fix flat or dark lighting, move the light direction, and add golden hour, studio, cinematic, or natural light without reshooting.

Upload a photo, choose a preset or write a precise lighting prompt, then compare the relighted result with the original composition.

Supports common image formats. Only upload images you own or have permission to edit, and review important details before publishing.
Relight a PhotoPreview Use Cases
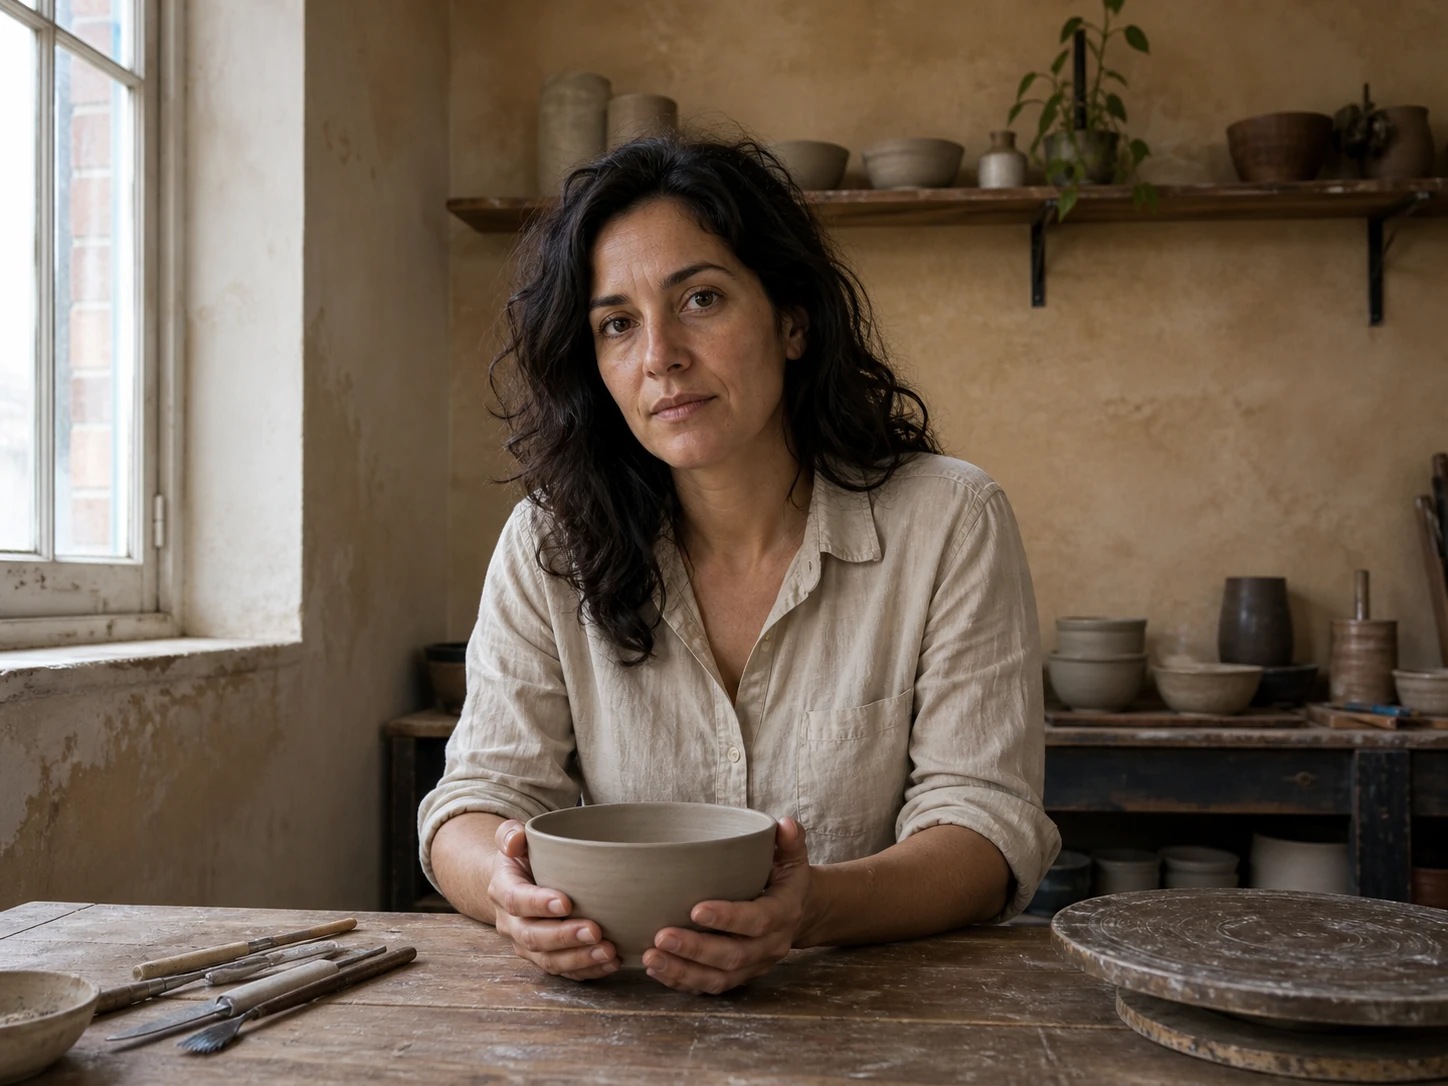
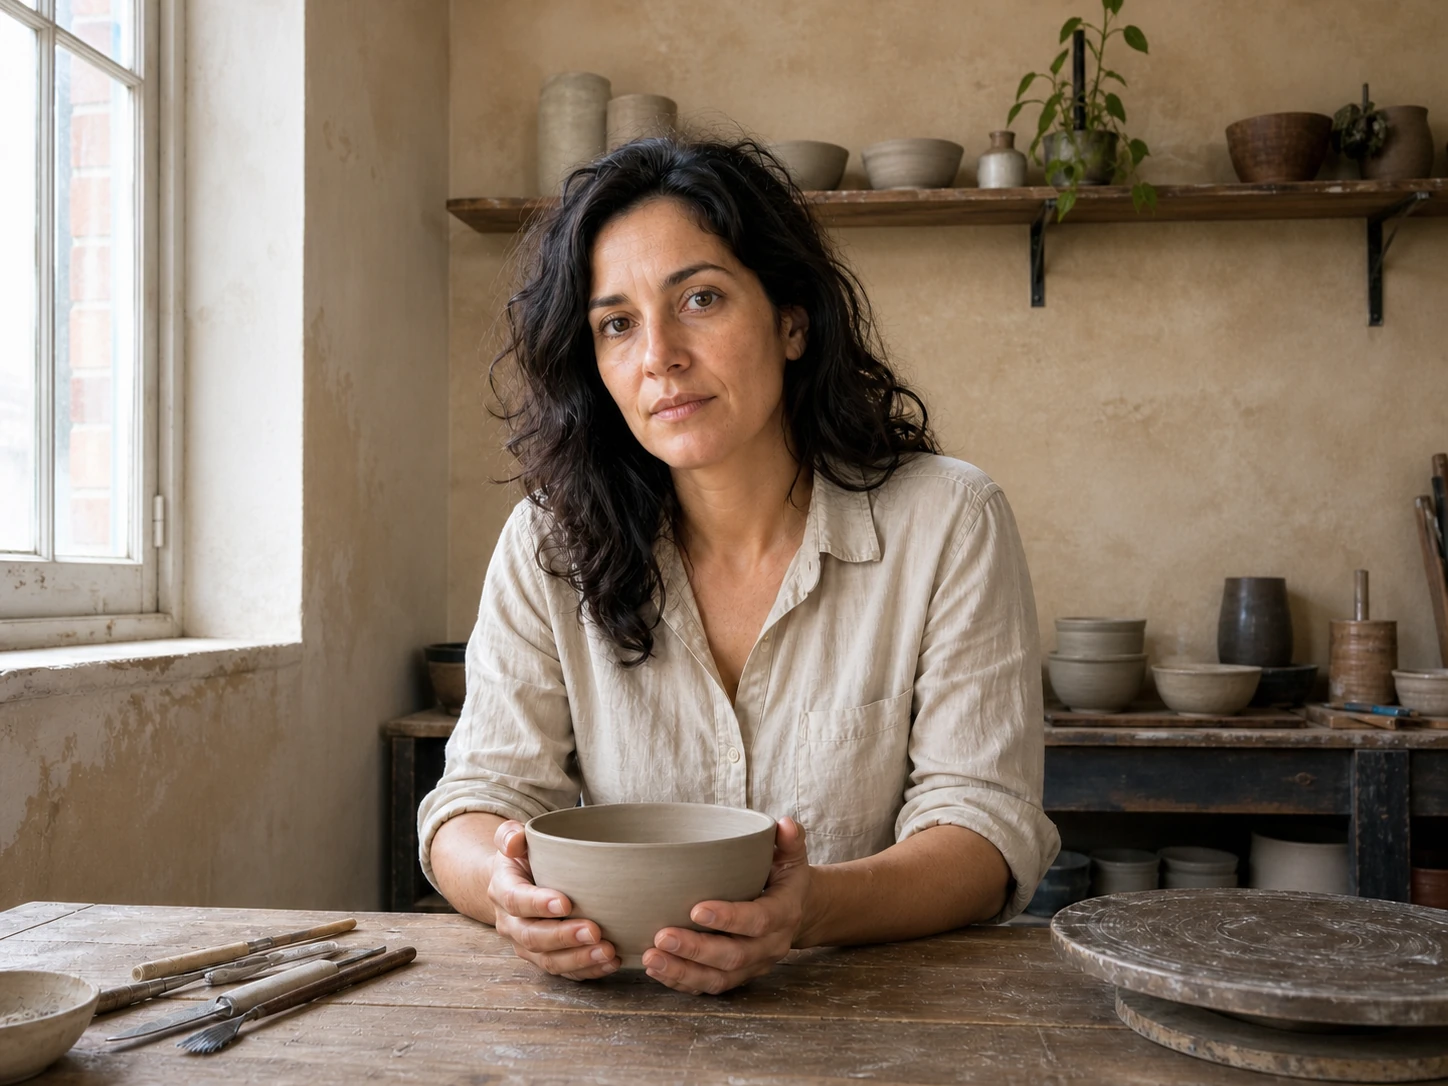
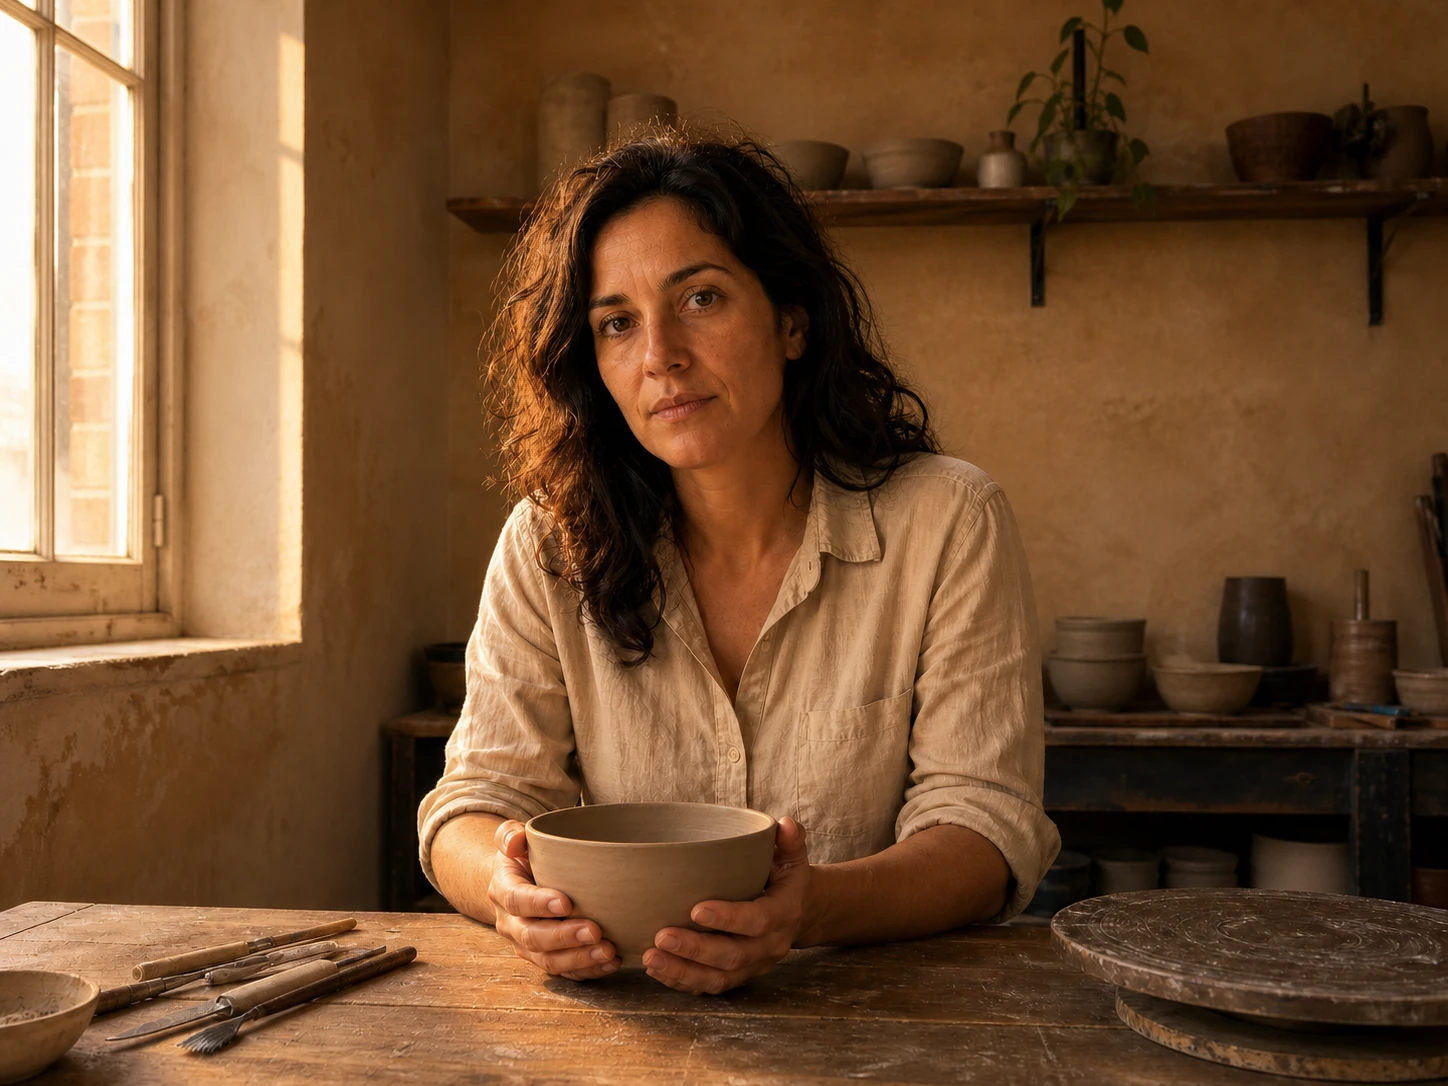
Same potter relit with realistic golden-hour window lightGolden Hour
Potter in a flat indoor portrait before AI photo relightingOriginal
↔

Change Photo Lighting with AI

Lighting can completely change how a photo feels. A portrait under flat ceiling light may look dull, while a strong product photo can still suffer from harsh shadows or an unbalanced color temperature.

Vizmuse AI Photo Relight analyzes the subject, background, visible surfaces, and existing light, then creates a new lighting interpretation from a preset or written instruction. It attempts to add matching highlights, shadows, warmth, depth, and atmosphere instead of applying one global filter.
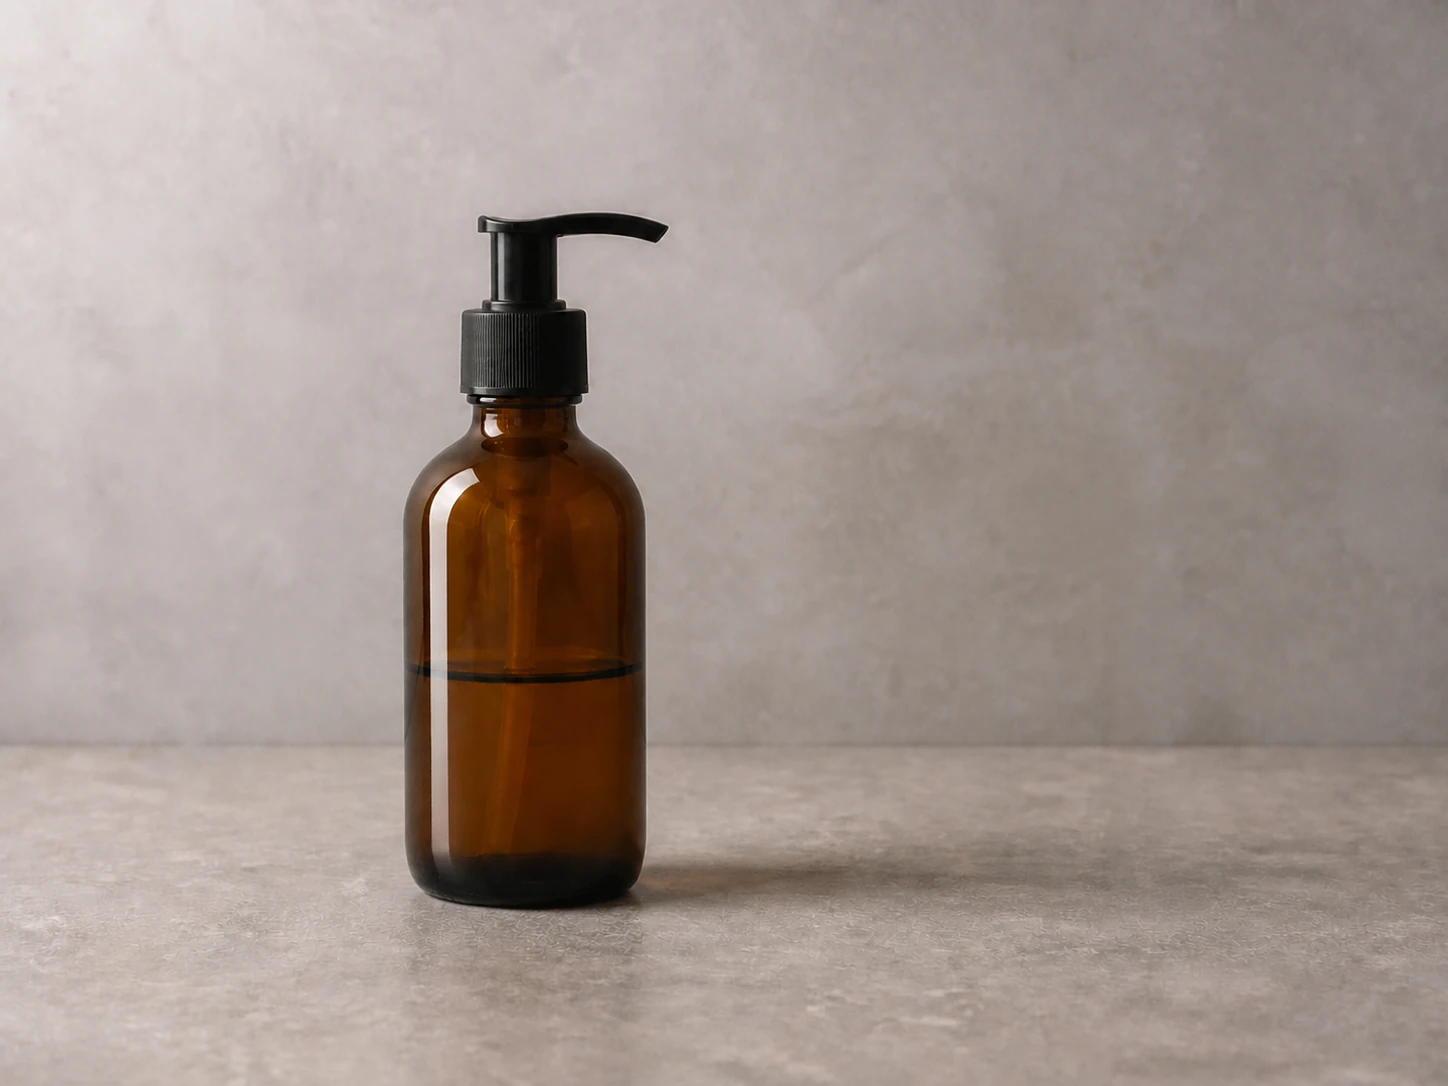
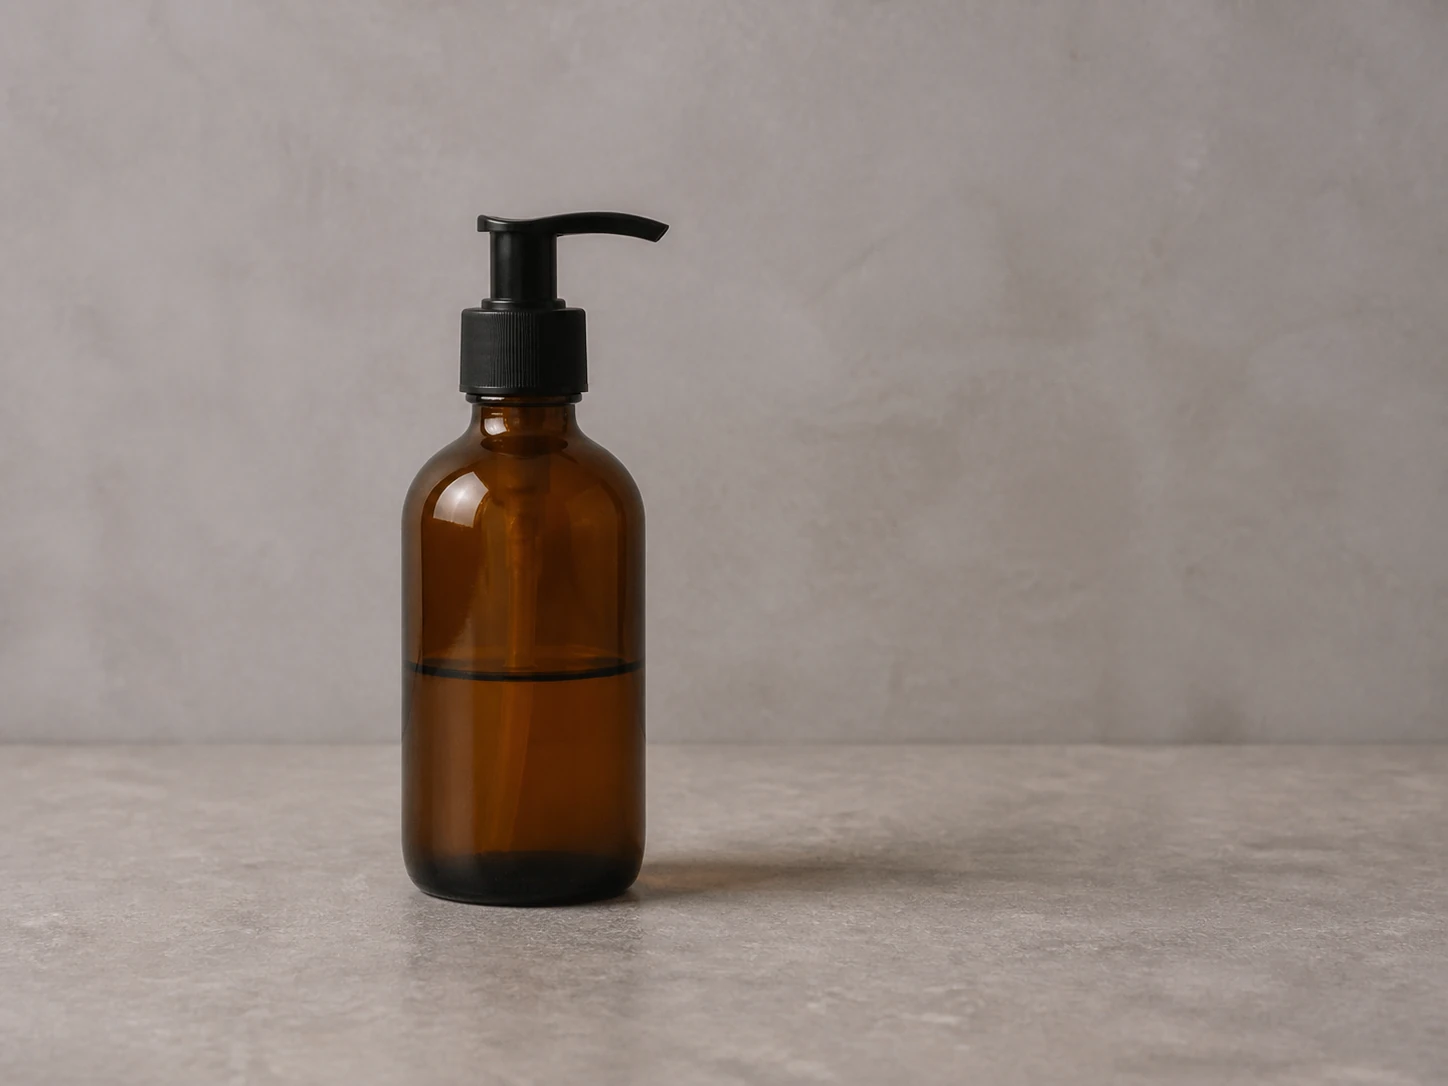
Same amber glass product with directional studio light after AI relightingStudio Light
Amber glass product photographed in flat light before AI relightingOriginal
↔

Popular AI Lighting Presets

Choose a clear starting mood, then refine the direction and color with a written instruction.

Natural Daylight

Clean, balanced light for portraits, property photos, products, and everyday scenes.

Golden Hour

Warm low-angle sunlight, gentle highlights, and longer natural-looking shadows.

Soft Window Light

Gradual directional light for indoor portraits, food, and calm editorial images.

Studio Portrait

A clear key light, softer fill, and subtle separation from the background.

Cinematic

Deeper shadows, stronger direction, and intentional color contrast for storytelling.

Dramatic Side Light

A sculpted directional look that emphasizes form, texture, and facial structure.

Neon Night

Blue, magenta, or cyan light for nightlife, cyberpunk, and creative portraits.

Warm Candlelight

A soft amber glow with natural falloff for intimate interiors and lifestyle scenes.

AI Photo Relight Before and After Examples

Drag each divider to inspect four matched, real-scene transformations across portraits, products, interiors, and travel photography.

Same potter portrait after realistic golden-hour relightingGolden Hour
Potter portrait in flat indoor light before relightingOriginal
↔

Portrait Relighting

Same amber glass product after directional studio relightingStudio Light
Amber glass product in flat light before relightingOriginal
↔

Product Relighting

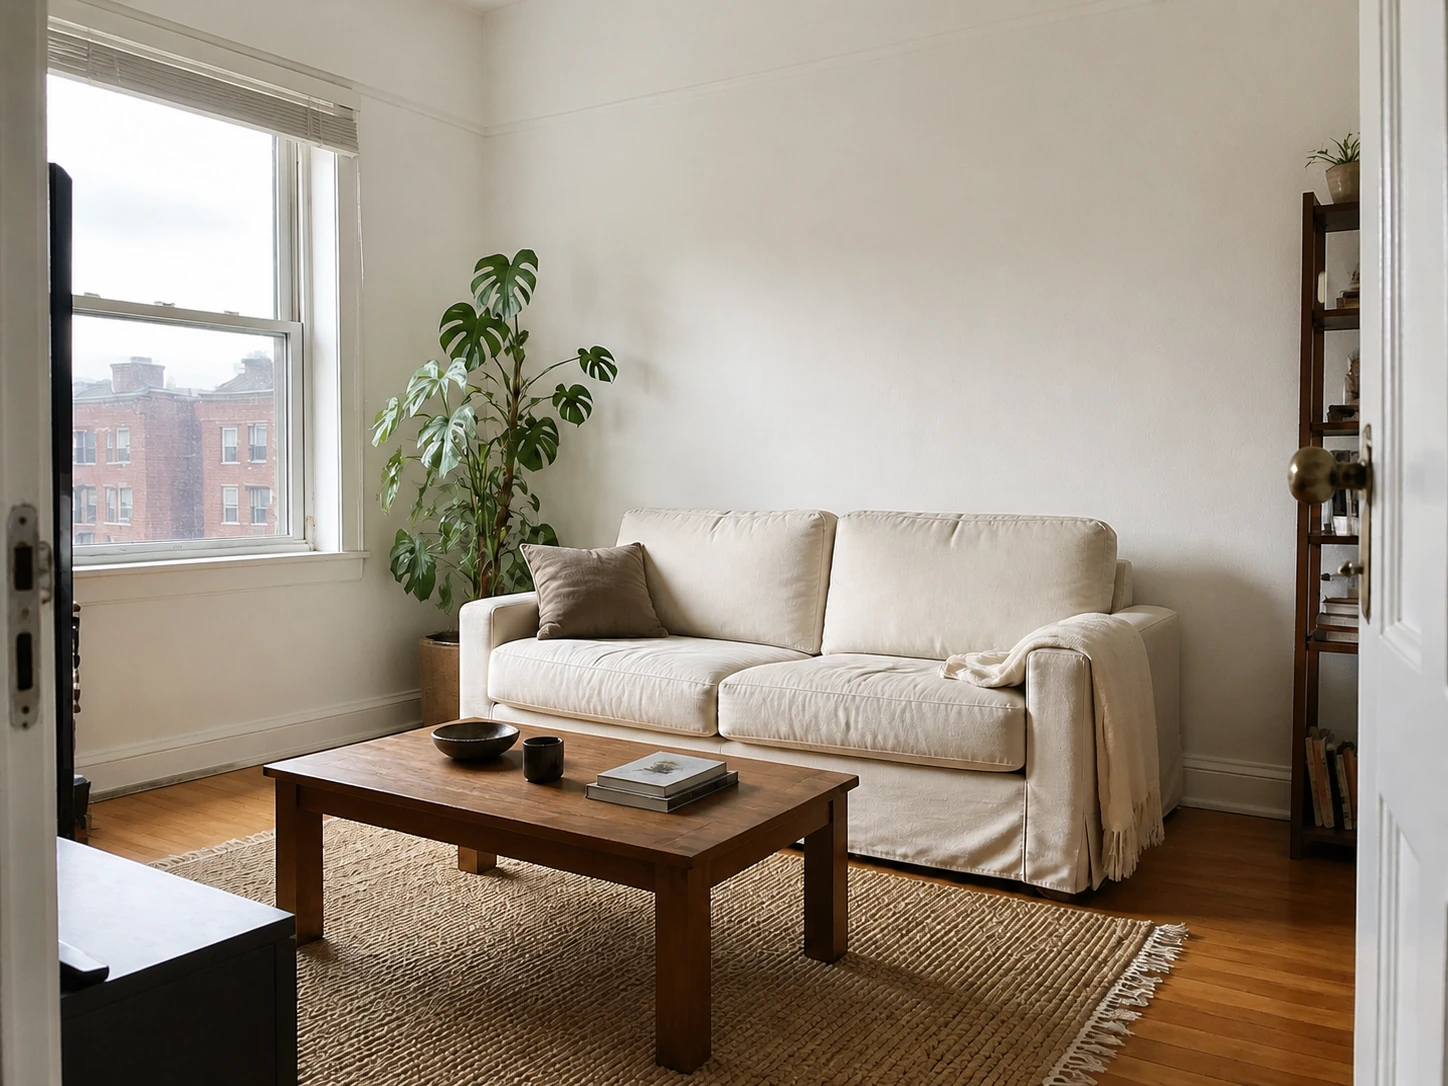
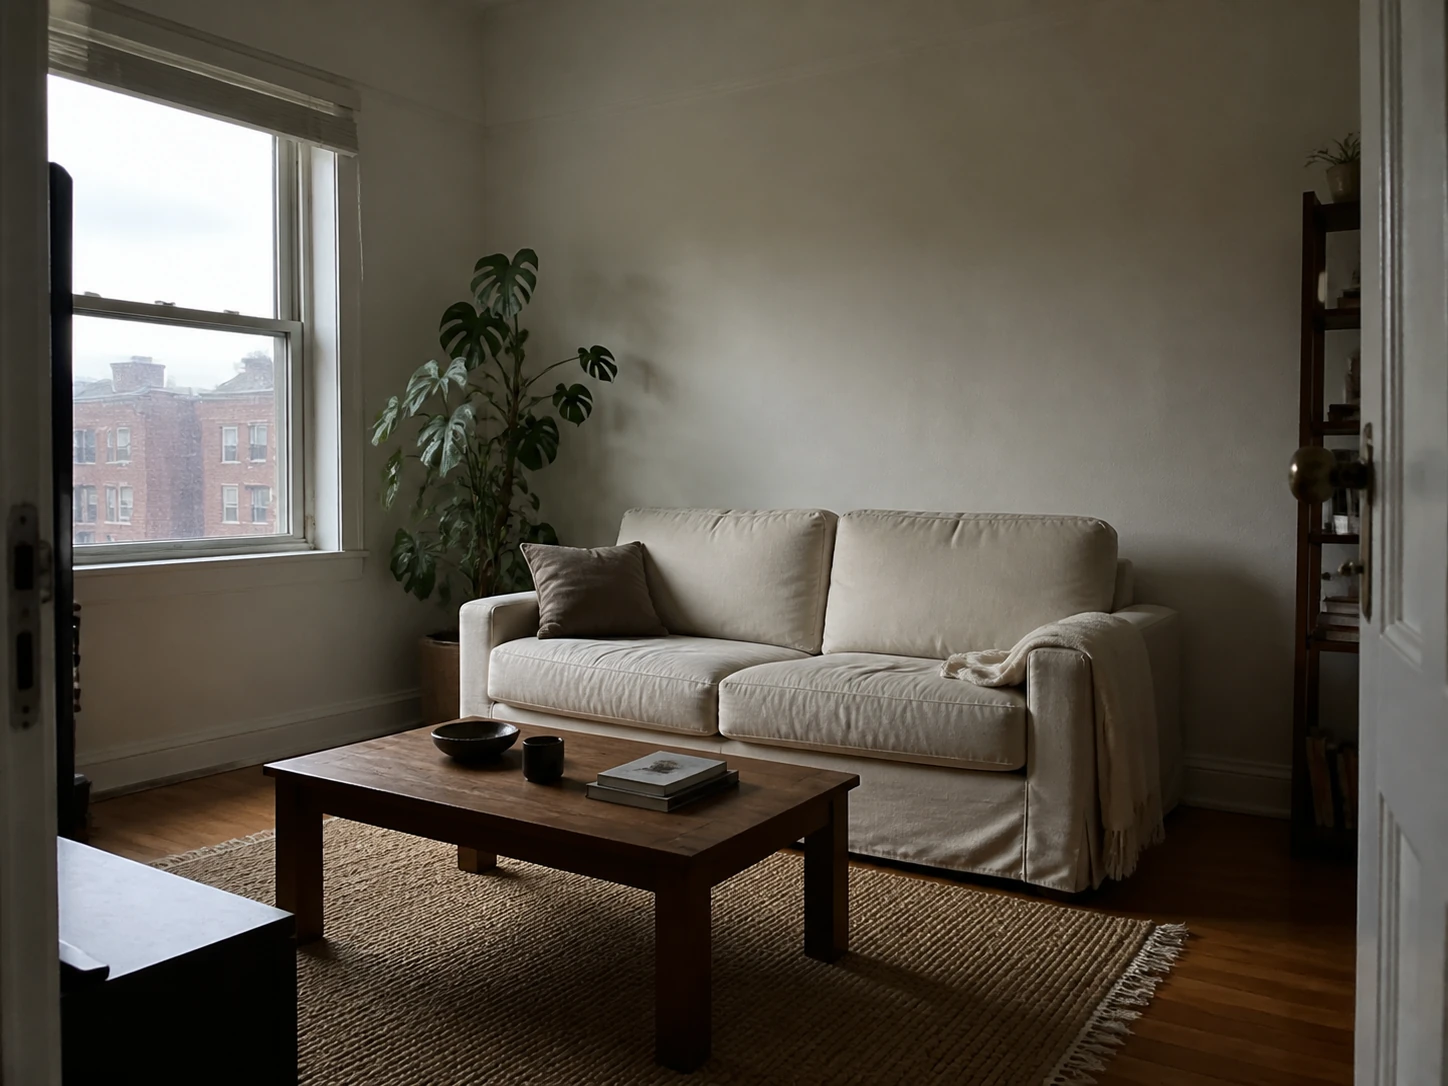
Same living room after balanced natural daylight relightingDaylight
Backlit apartment living room before relightingOriginal
↔

Interior Relighting

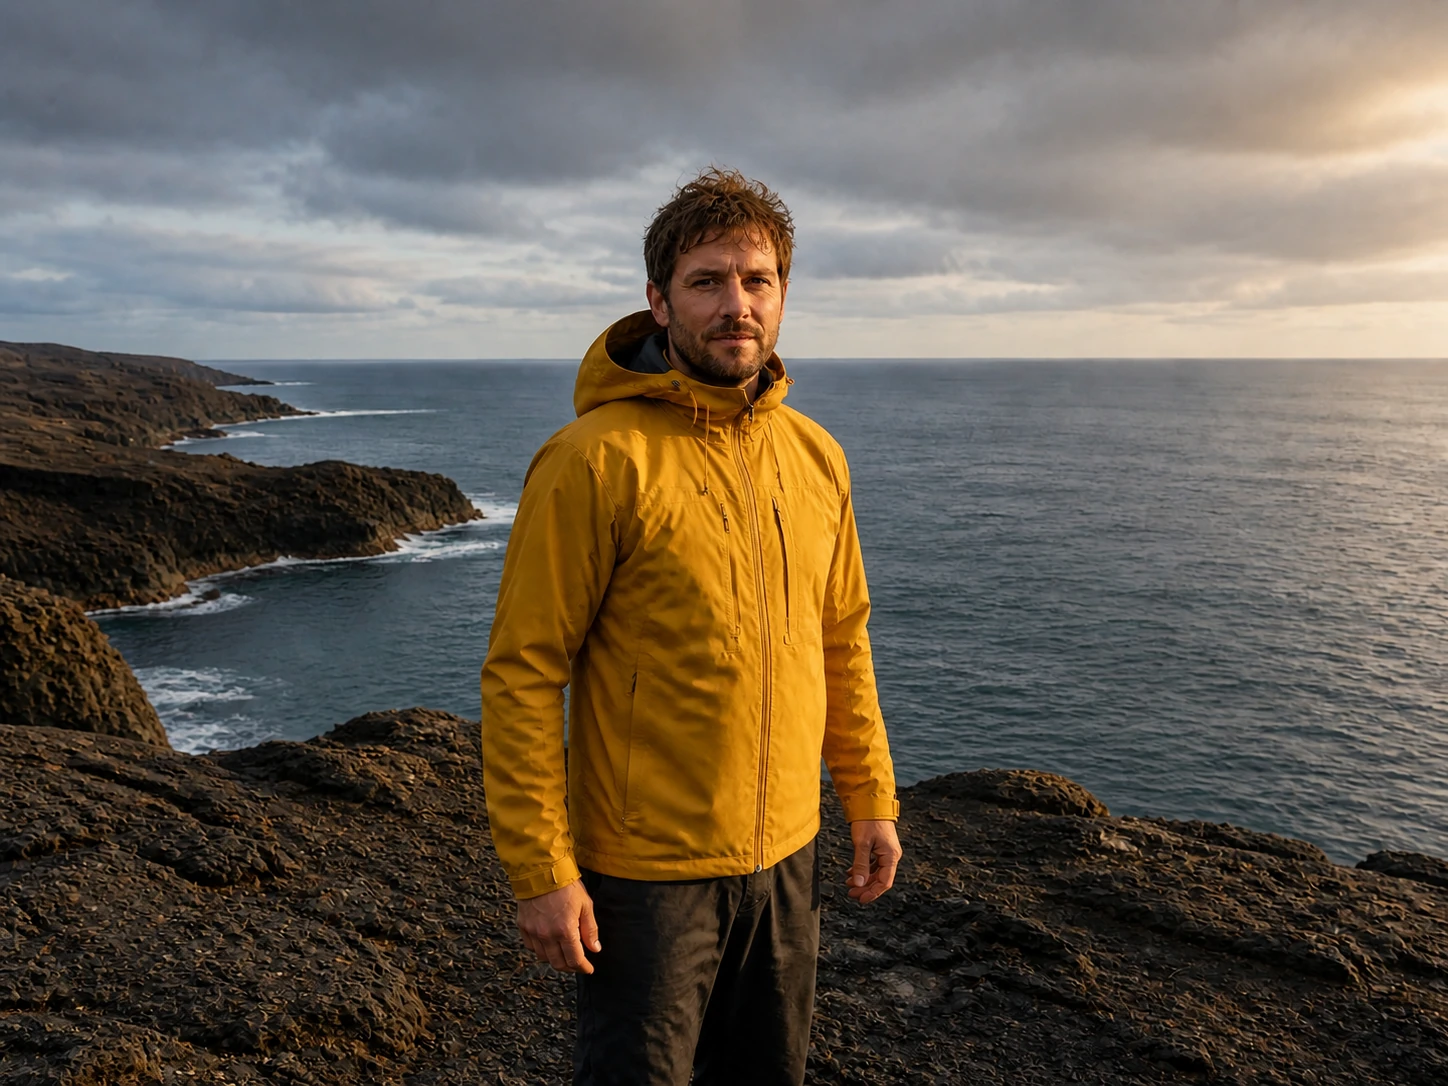
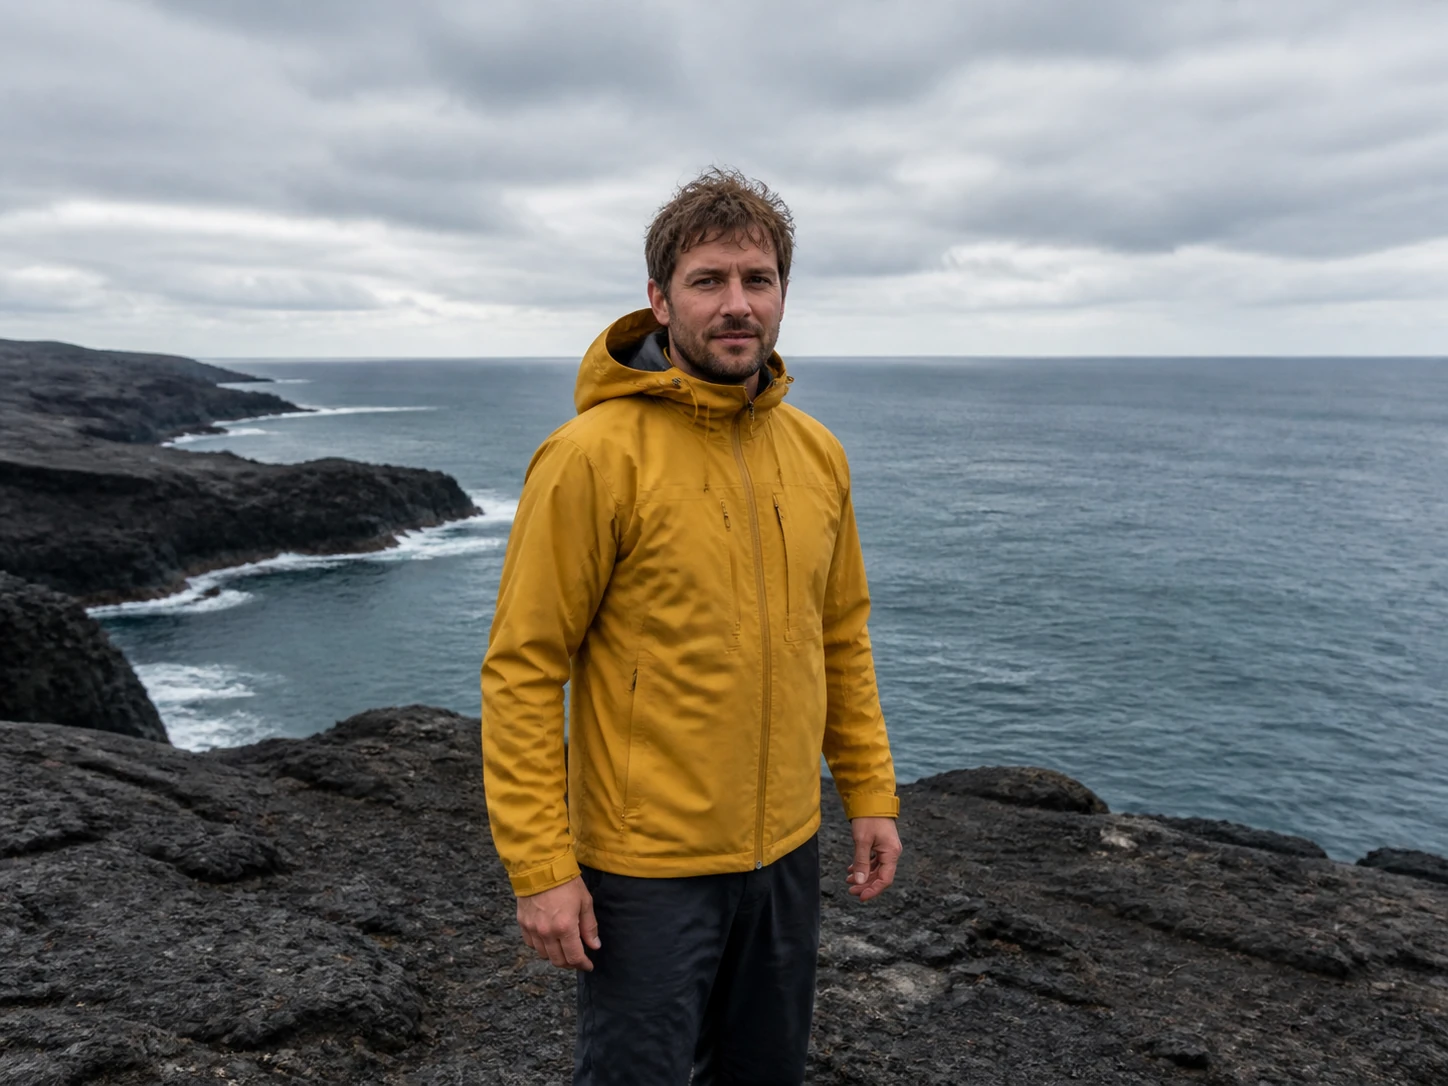
Same traveler after cinematic directional relightingCinematic
Traveler on an overcast coast before relightingOriginal
↔

Travel Relighting

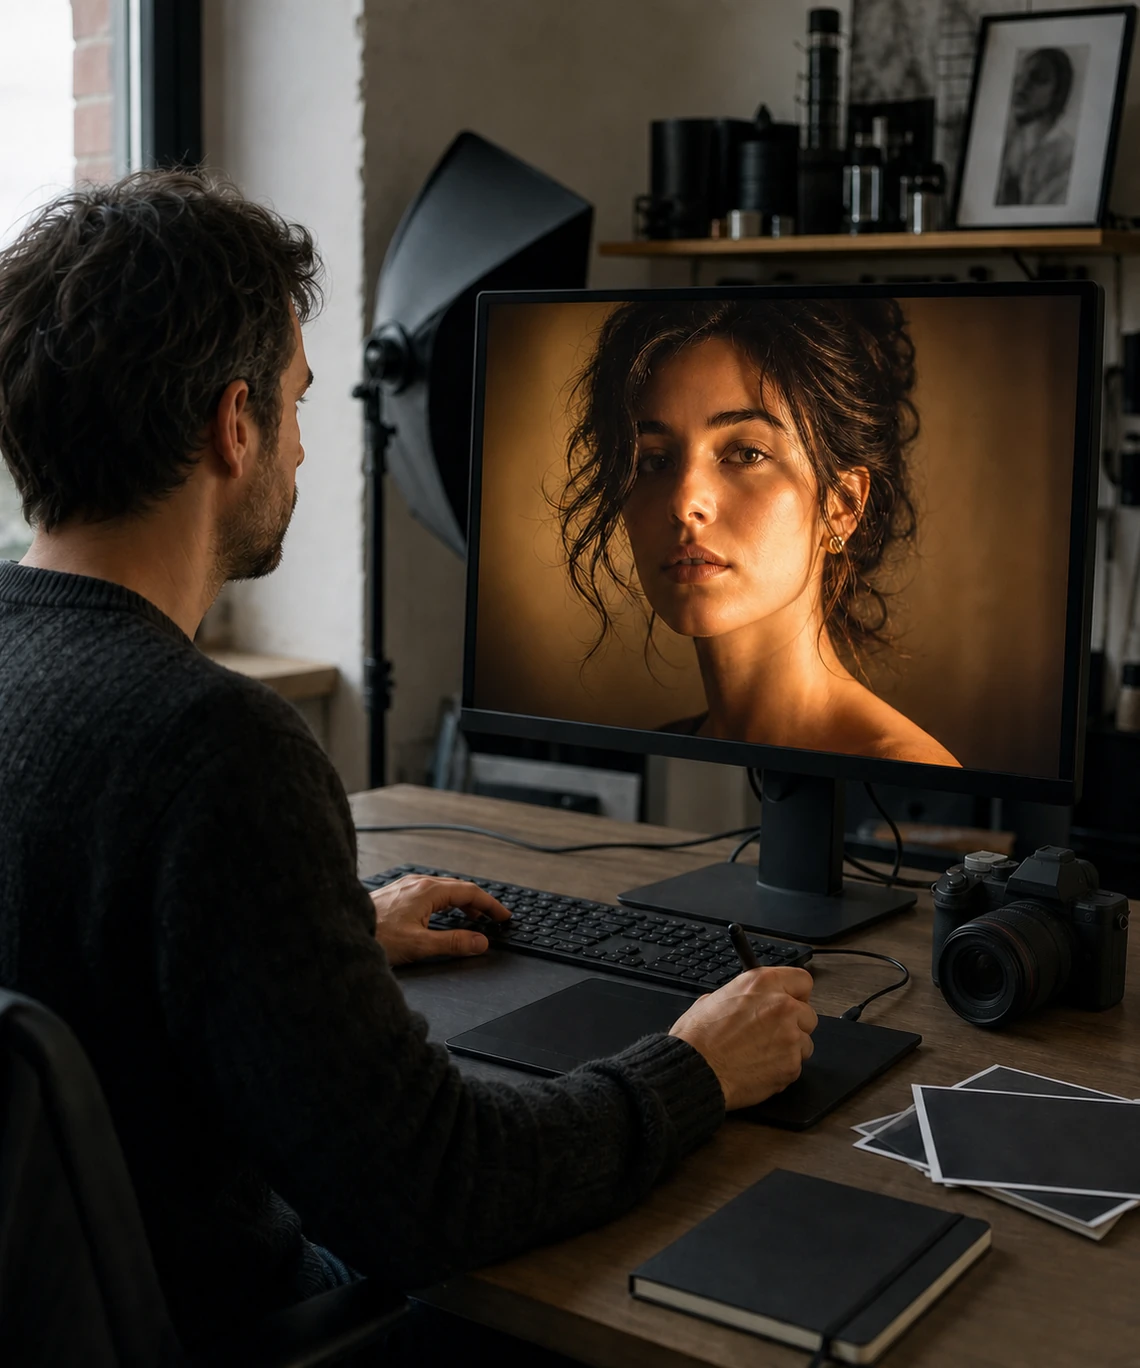
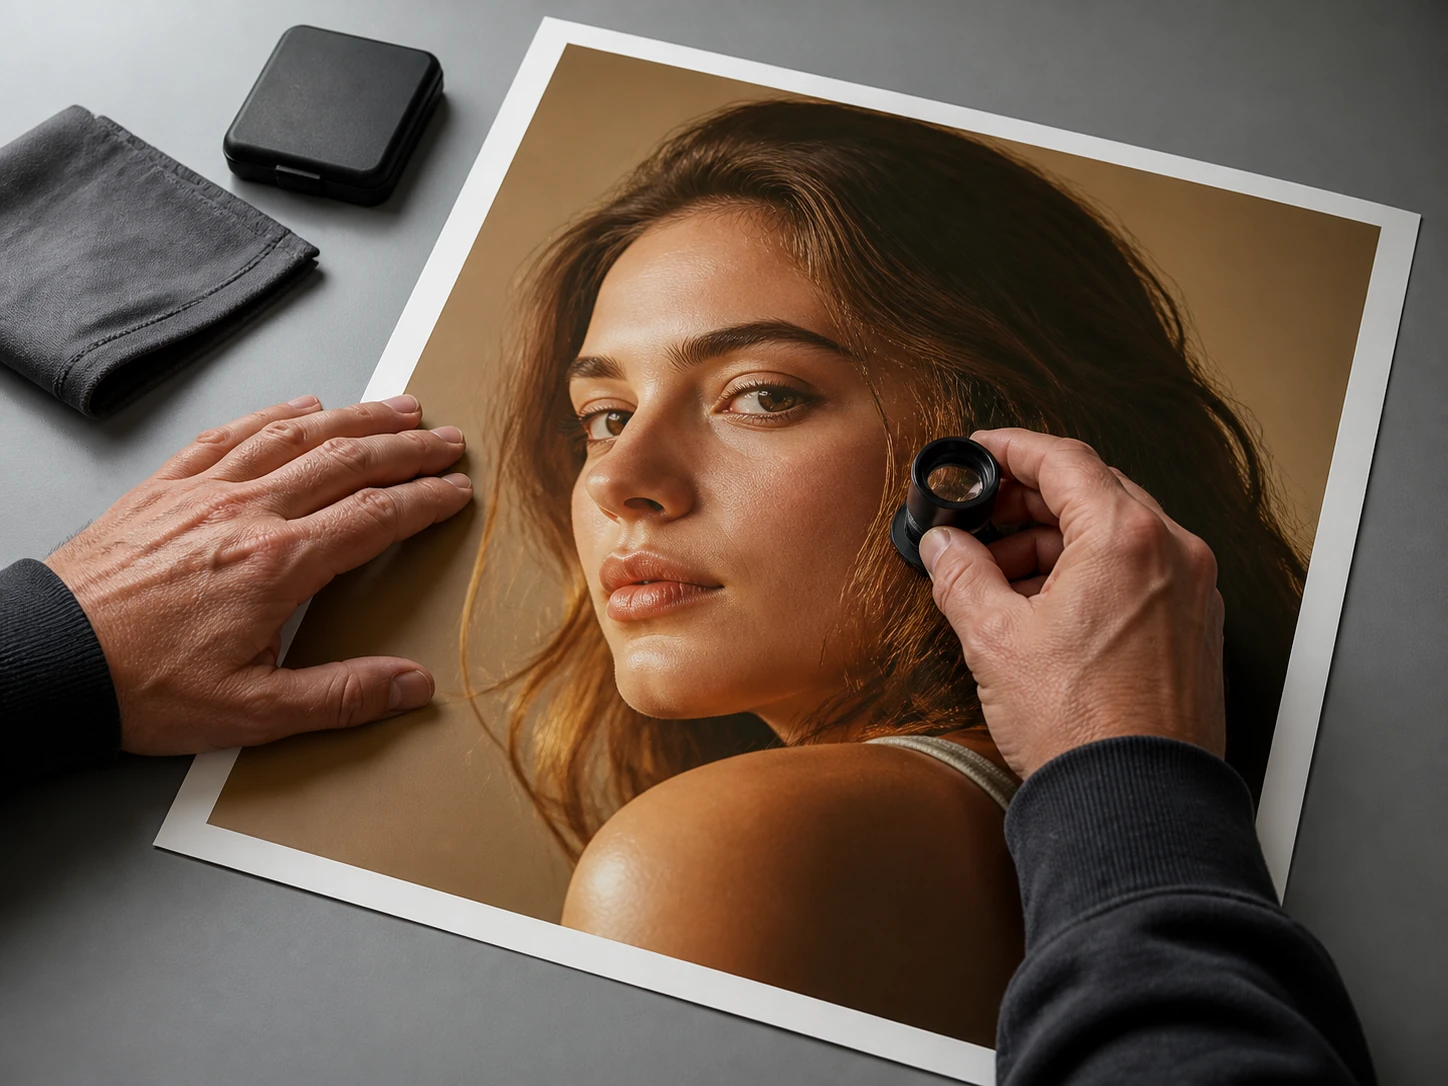
Photographer reviewing a relighted portrait in a realistic editing workflow

How to Relight a Photo

01

Upload Your Image

Choose a portrait, product photo, room image, or travel picture with a clear subject and visible detail.

02

Choose a Lighting Style

Start with natural daylight, golden hour, studio portrait, soft window light, cinematic, neon, or candlelight.

03

Adjust the Instruction

Describe the direction, softness, color temperature, intensity, and mood you want the model to create.

04

Generate and Review

Inspect faces, object edges, cast shadows, reflections, color accuracy, and the background before choosing a result.

05

Download or Try Another Style

Save the strongest version or compare another lighting prompt to find a more natural or expressive result.

What Can AI Photo Relight Fix?

Use relighting for a new interpretation of the scene, then review areas where the source contains limited detail.

Dark and Underlit Photos

Improve subject visibility with more structured light than a basic brightness adjustment.

Flat Lighting

Add direction and depth to photos captured under even ceiling light or cloudy conditions.

Backlit Portraits

Rebalance a scene where a bright background leaves the face too dark.

Harsh or Uneven Light

Create a calmer lighting interpretation with more controlled highlights and shadows.

Unwanted Color Casts

Move cold, green, or mixed indoor light toward a warmer or intentionally cooler mood.

Use Cases for AI Photo Relighting

Test new lighting without recreating the entire shoot, while keeping accuracy requirements in view.

Portraits and Headshots

Explore studio, window, or golden-hour light for profiles, team pages, and personal branding.

Product Photography

Improve flat catalog images while checking that colors, labels, materials, and shape remain accurate.

Real Estate

Brighten dark interiors and test warmer atmosphere without changing the room layout.

Social and Campaign Visuals

Turn ordinary source photos into cinematic thumbnails, posts, posters, and promotional art.

Travel Photography

Add a warmer sunset direction when dull weather flattened the original scene.

Prompt Examples

Write Clear AI Relight Prompts

Name the light direction, quality, color, and mood instead of asking the model to make the lighting better.

  1. 01

    Natural and Golden Light

    Use a clear direction and describe how soft or long the shadows should be.

    • “Add warm golden-hour sunlight from the left with soft long shadows.”
    • “Apply bright overcast daylight with soft shadows and accurate product colors.”
  2. 02

    Portrait and Studio Light

    Describe the key, fill, rim, and skin-tone treatment you want to preserve.

    • “Create professional studio portrait lighting with a soft key light and subtle rim light.”
    • “Add gentle window light from the right with natural skin tones.”
  3. 03

    Creative Mood

    State the palette and atmosphere while keeping the subject and composition unchanged.

    • “Create dramatic cinematic side lighting with deep shadows and warm highlights.”
    • “Add blue and magenta neon lighting for a nighttime city atmosphere.”

Tips for More Natural Results

Start with a photo that contains visible detail in both the subject and background. AI cannot reliably recover information from completely black shadows or fully white highlights.
  • Choose a light direction that makes sense for visible windows, lamps, reflections, and existing shadows.
  • Use moderate changes first; subtle relighting often looks more believable than maximum-strength effects.
  • Inspect skin tones, eyes, hair, text, straight lines, reflective objects, and cast shadows.
  • Use a simpler prompt focused only on light when the subject changes too much.
Photo editor checking skin texture and shadow edges in a relighted portrait

Responsible Photo Editing

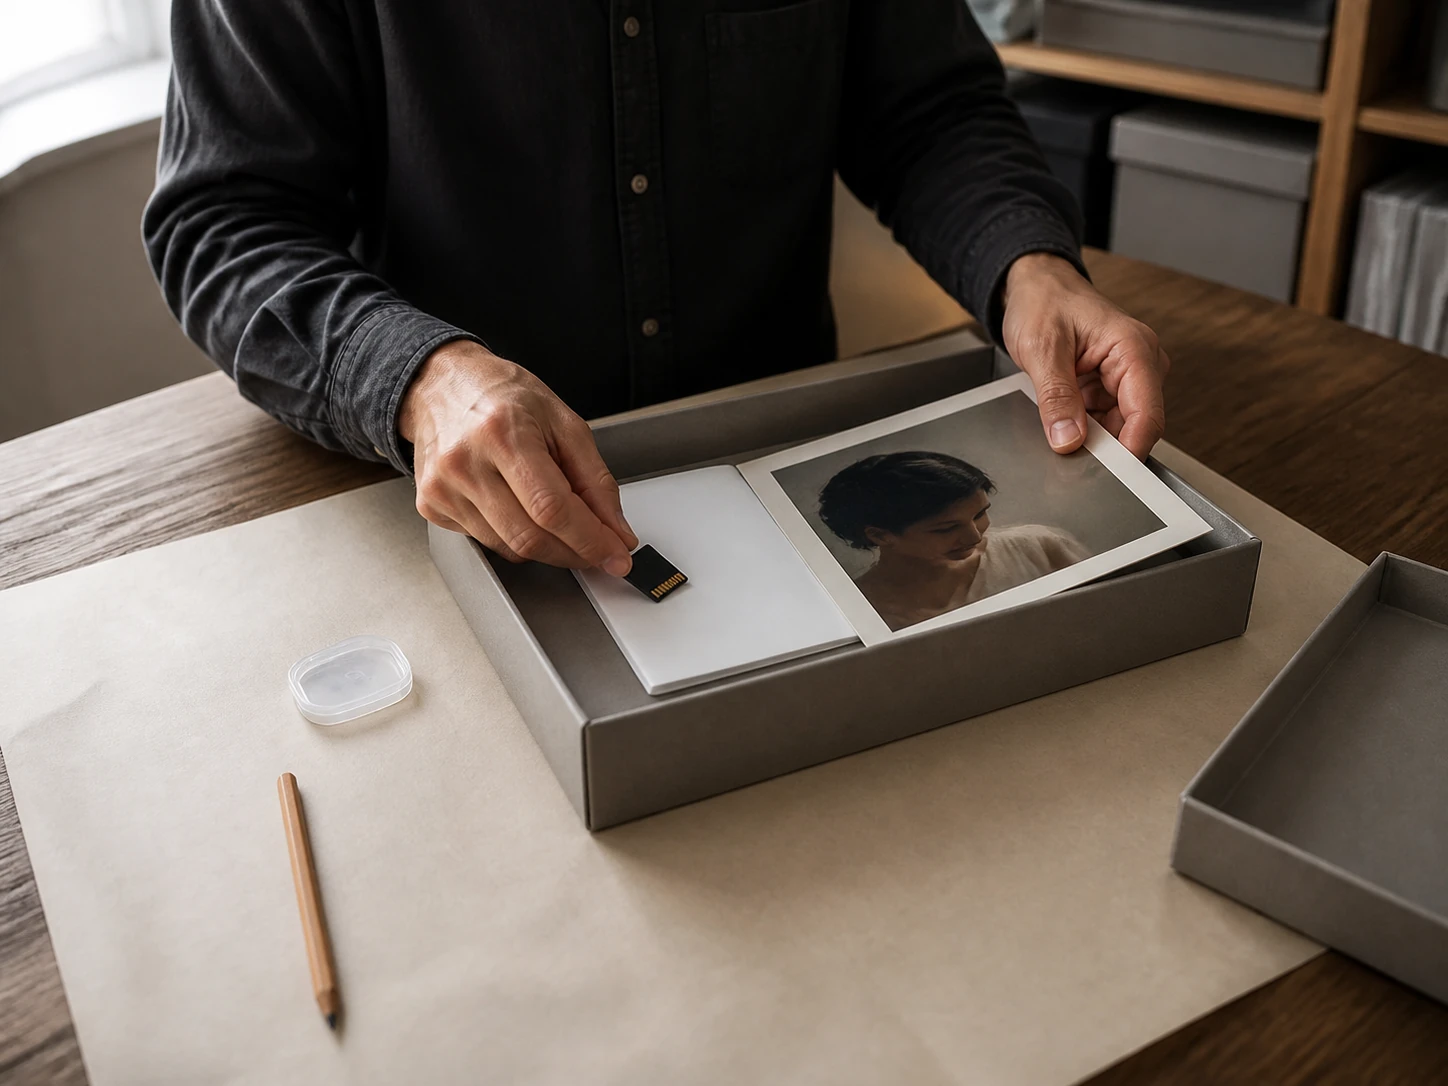
Only edit images you have the right to use. Keep the original file whenever the image supports documentary, legal, historical, property, or product claims.
  • Do not use AI relighting to falsify evidence or create deceptive news images.
  • Check that commercial results do not misrepresent a product, property, event, or environment.
  • Consider disclosing significant AI edits when viewers could draw an incorrect conclusion.
  • Treat a generated lighting result as a creative edit, not a record of the original conditions.
Photographer archiving an original memory card beside an AI-edited photo

Frequently Asked Questions

AI Photo Relight is a generative photo-editing process that changes the lighting of an existing image. It can modify direction, warmth, highlights, shadows, and overall mood while attempting to preserve the original subject and composition.

Continue Your Photo Workflow

Move from relighting into quality enhancement, background replacement, broader prompt edits, or composition changes.

AI Photo EnhancerImprove clarity, noise, color balance, and overall photo quality.AI Background ChangerReplace the background with a color, reference, or generated scene.AI Image ExtenderUncrop an image and generate more scene around the original frame.AI Photo EditorMake broader object, lighting, color, and composition changes with a prompt.

Relight Your Photo with Vizmuse

Upload a photo, choose a lighting style, and create a new mood without recreating the entire shoot.

Relight a Photo
VizMuse LogoVizMuse wordmark in graphite with coral and mint accents.VizMuse
Edit & Enhance
  • AI Photo Editor
  • AI Background Changer
  • AI Image Replacer
  • AI Object Remover
  • AI Photo Enhancer
  • AI Image Extender
  • AI Photo Relight
  • Image Aspect Ratio Changer
Create & Generate
  • AI Image Generator
  • AI Comic Generator
  • AI Thumbnail Maker
  • AI Christmas Photo Generator
  • Image to Prompt
AI Models
  • Nano Banana 2 Lite
  • Nano Banana 2
  • GPT Image 2
  • Nano Banana Pro
Company
  • About
  • Contact
  • Pricing
  • Privacy Policy
  • Terms of Service
  • Cookie Policy

© 2026 VizMuse. All rights reserved.

support@vizmuse.com